
How to customize your settings when you share a Modelo design
Each time you decide you would like to use Modelo to generate a unique web link to share a 3D design with your colleagues and/or clients, you have a number of settings available to help you customize what you share. From customizing the start screen to deciding whether to share all, some, or none of your comment cards and walkthroughs, Modelo makes it easy to craft what you share.
For convenience, all of these settings are presented to you on the same pop-up screen where you enter the recipient’s email address. (To read an overview of the different ways to share your CAD and architectural designs, read this post).

Start screen
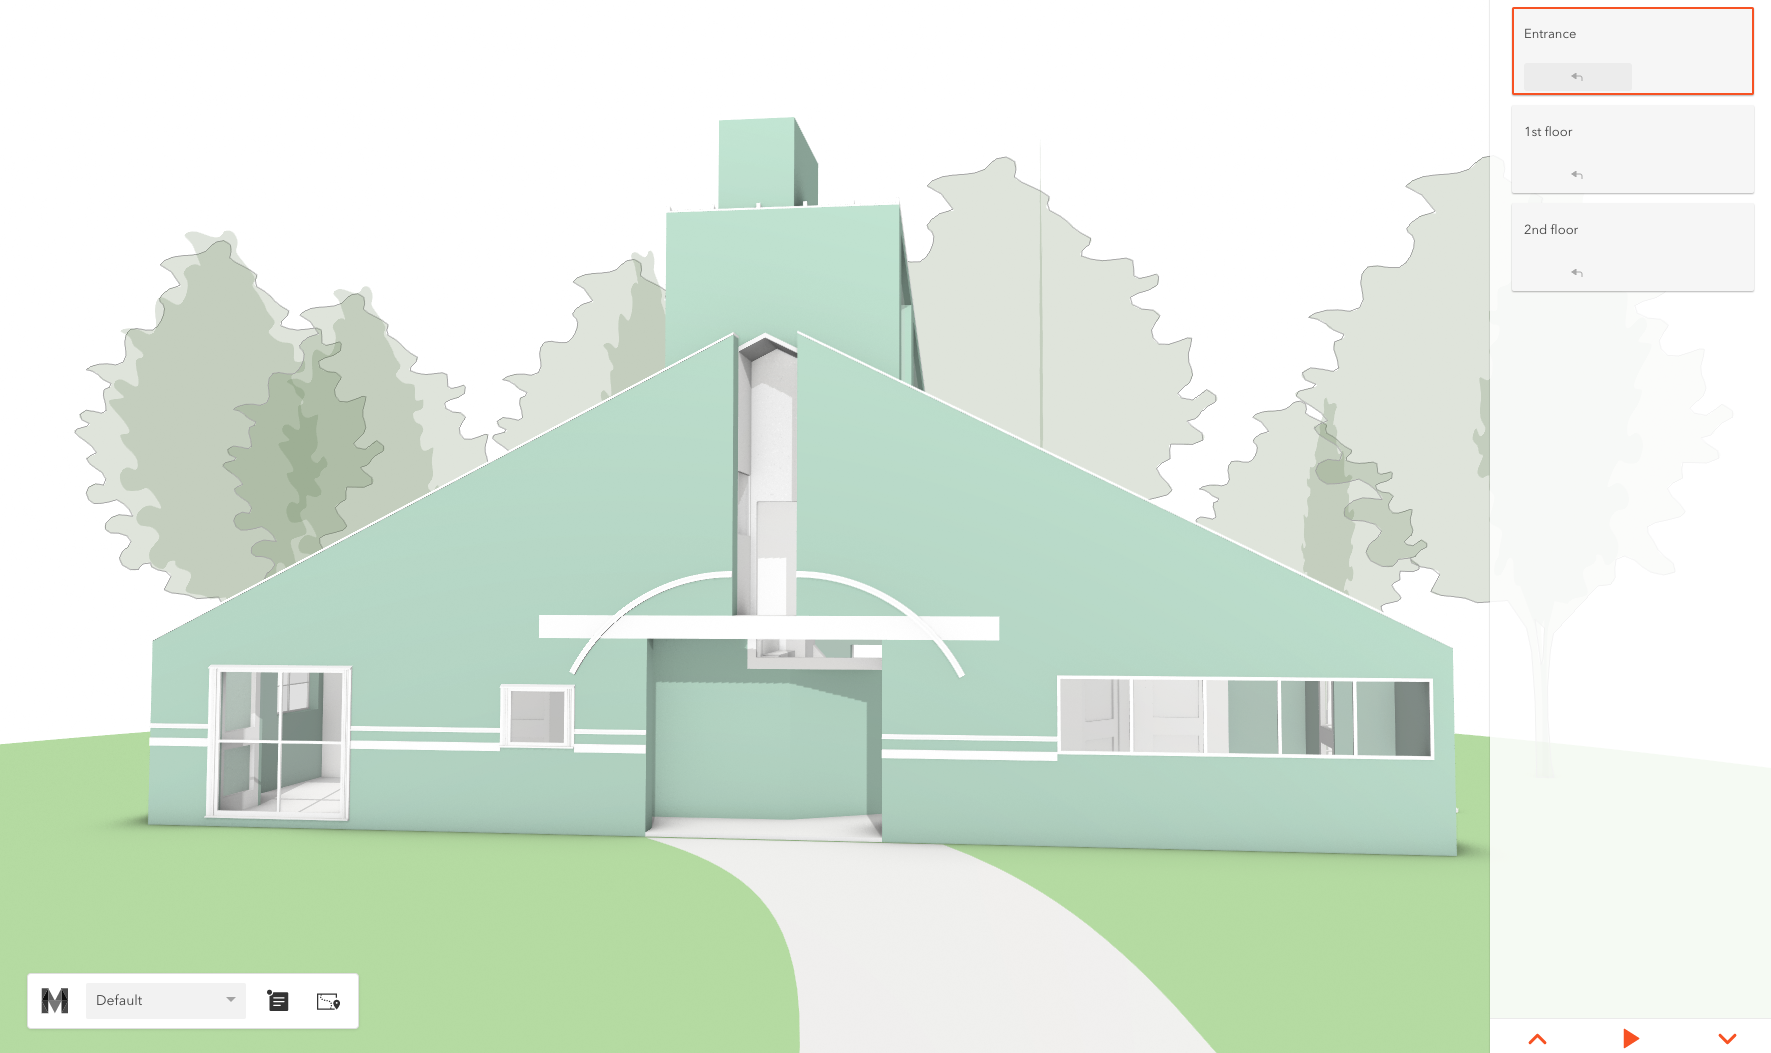
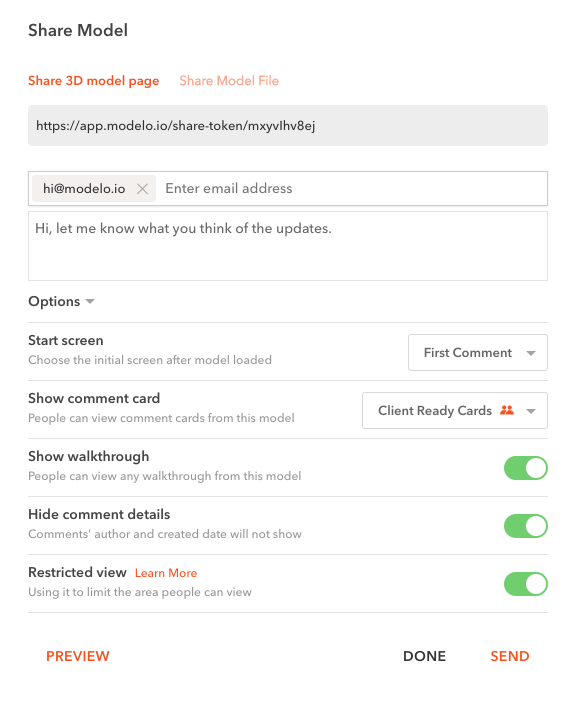
By default, anyone who visits the URL provided when you share your model will first see an overview of your project. However, you can modify this by selecting your ‘current view’, meaning that the view you were on immediately prior to deciding to share your design will be the first screen they see, or the ‘first comment card’. This latter option is useful if you want to encourage your recipient to review a specific piece of feedback on your model or start exploring your design at a prescribed location.
Show comment cards
Modelo makes it easy to conduct design reviews by giving you the tools to mark up, comment, and attach feedback all over your designs. All of this feedback is saved in a comment card and can be accessed on the right side of your screen. When you are ready to then share your model, you can elect to share all of your comments, only those that are ready to be reviewed by your client, or none of them.
By sharing all of your comment cards, you can make internal design reviews much more seamless and transparent. However, when you want to share only a specific part of your design with your client or you want their feedback on specific parts of your design, mark the relevant comment card(s) as ‘Client-ready’ and select the option to share only ‘client-ready’ comment cards. Then, when you share your design, your client will only see what you want them to see.
Of course, if you do not want to share any comment cards, then simply select ‘none’ in the drop-down menu and only your design will be sent.
Show Walkthrough
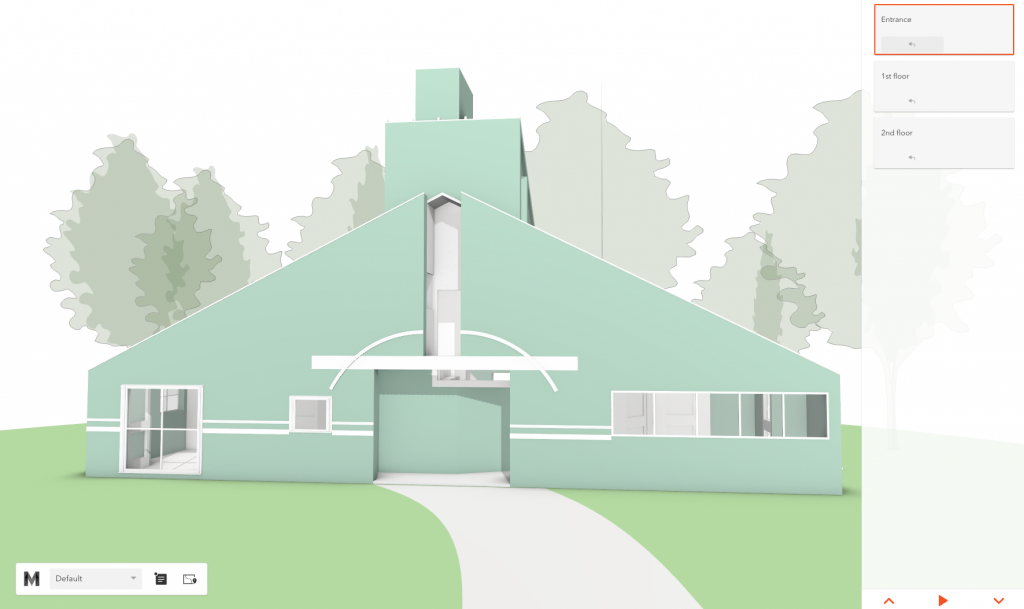
Walkthroughs are an excellent way to highlight your design to clients and colleagues alike. Walkthroughs, sometimes called Flythroughs, allow you to control how your clients and colleagues experience your designs. You can choose to include the all of the walkthroughs you have created when you share your design. To do so, toggle the switch on or off (a green background will indicate that the toggle is ‘on’).
If you haven’t already created a walkthrough, check out this step-by-step guide.
Hide Comment Details
When sharing comment cards, you can stipulate whether you want to include details such as who authored the feedback and when it was created. By default, this option is turned off, but you can easily turning it on by toggling the switch to ‘on’ (to confirm this setting is enabled, you will see a green background in the toggle switch). The contents of the comment cards (including the feedback description and any attachments) will not be hidden if you select this option.
Note: Hiding the details on the comment card will only apply when you have also decided to show all comment cards or comment cards that are client-ready.

Restricted View
If you would prefer to restrict what the recipients of your designs can see and how they can interact with your design, you should toggle the ‘restricted view’ to ‘on’ (to confirm this setting is enabled, you will see a green background in the toggle switch). When this setting is enabled, the following restrictions will apply:
- Orbit view will be disabled. Viewers will only be able to explore your design using first person view by cycling through the comment cards or defined walkthrough path.
- Viewers will not be able to pan through your design
- Viewers will not be able to zoom in and out of your design
- Finally, viewers will be unable to rotate your design
When you share your 3D design, the person you elect to receive your design will be supplied with a unique web link that will allow them to see your design in any web-enabled device. They do not need to have a Modelo account.
The settings described above are designed to give you greater control over what you share and what viewers can see when they access your designs. If you have any questions about configuring these settings or what they mean, please reach out to us at hi@modelo.io.