

Revit has become an essential software in every stage of design because of all of its powerful tools. But users often have painful experience in rendering time-consuming and complex VR tours in Revit. Today we will talk about how with Modelo you can create 360 VR tours from Revit files in one click and have your clients viewing models in VR without any training or fancy hardware needed.
Steps to convert Revit files to VR:
Step 1: Go to www.modelo.io to create a free account and to download the Revit exporter that can be found in the top right corner of your home page when logging into Modelo. If you don’t know how to do that, please watch this video.
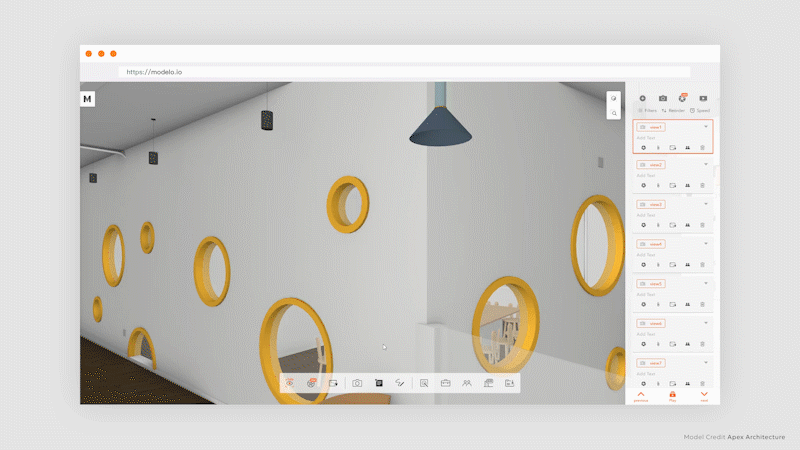
Step 2: Open up your model in Revit, copy and paste your token from Modelo to upload it into the correct project and folder. Make sure to select the view you want to upload with. These views will convert to Modelo Comment Cards automatically. If you need more views, just click one more comment in Modelo.

Step 3: After your comment cards are ready, click “Rendering 360” icon on the left of the Modelo toolbar. You will jump to the panorama page. Then click the “Start Rendering” on the top right of the page. Modelo will start to render your views into HD panorama images. Later, these images will be connected in the correct order automatically.
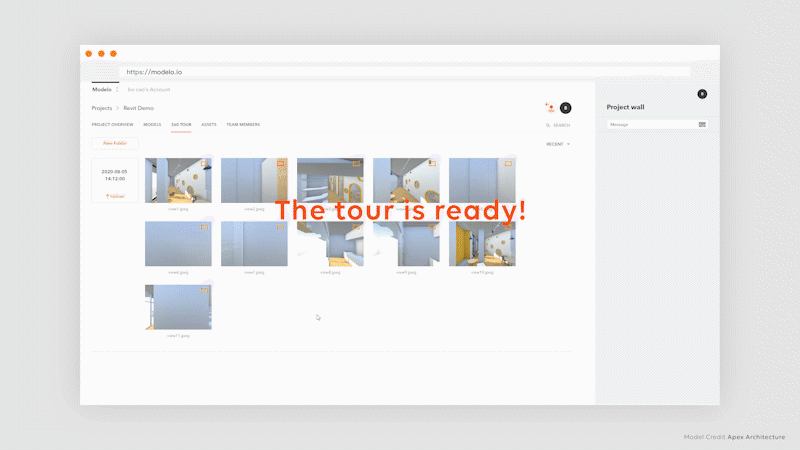
Now that you have your Revit model in 360 VR tour, it’s time to share your 360 VR tour with clients and collaborators. Besides, you can turn everything into a PC compatible executable file.