Cities are constantly bustling with visitors, residents, cars, trains and movement. Cities never sleep, but they do breathe. And cities crave green spaces to provide an oasis for healthy, urban living. Companies around the world have started implementing urban farming initiatives in densely populated areas and even on top of buildings to provide just that.
One company in particular, Green City Growers, located in Somerville, MA and has worked on urban farms and green roofs throughout the Greater Boston area. As an award-winning B Corporation, GCG’s mission is to transform unused space into thriving urban farms, providing clients with immediate access to nutritious food, while revitalizing city landscapes and inspiring self-sufficiency.
Green City Growers (GCG) has worked with both commercial and residential clients in the Greater Boston area, inspiring change and authentic living through urban agriculture. In this post, we’ll highlight some of their diverse work with Modelo’s 360º Tour tool to capture these unique landscapes and urban farms.
Fenway Farms
Success is achieved when you pair the old with the new. That’s exactly what Fenway Farms accomplishes in the heart of Boston, MA. Green City Growers worked with one of the most iconic and oldest working baseball parks in the nation, Fenway Park. GCG CEO and Founder, Jessie Banhazl, adds, “Fenway Farms is an incredible asset to not only the Red Sox, but the City of Boston. Having an innovative, productive rooftop farm on top a city historical icon validates the idea that urban farming is an important part of the fabric of our city”
It’s unarguably an iconic example of successful green spaces and as GCG Urban Farmer and Educator, Lee, comments this project is a “home run for sustainable agriculture.” Fenway Farms represents the dedication of the Boston Red Sox to promote healthy lifestyles and the importance of eating fresh food. This project features a 5,000 square foot milk crate growing system with a smart irrigation system on top of the rooftop. Fenway Farms was accomplished in partnership with Recover Green Roofs and structural engineers designed a one-of-a-kind system that can both hold the weight of the farm, as well as resist environmental pressures such as wind uplift.
Fenway Farms shared by Meghan Barrett Modelo »
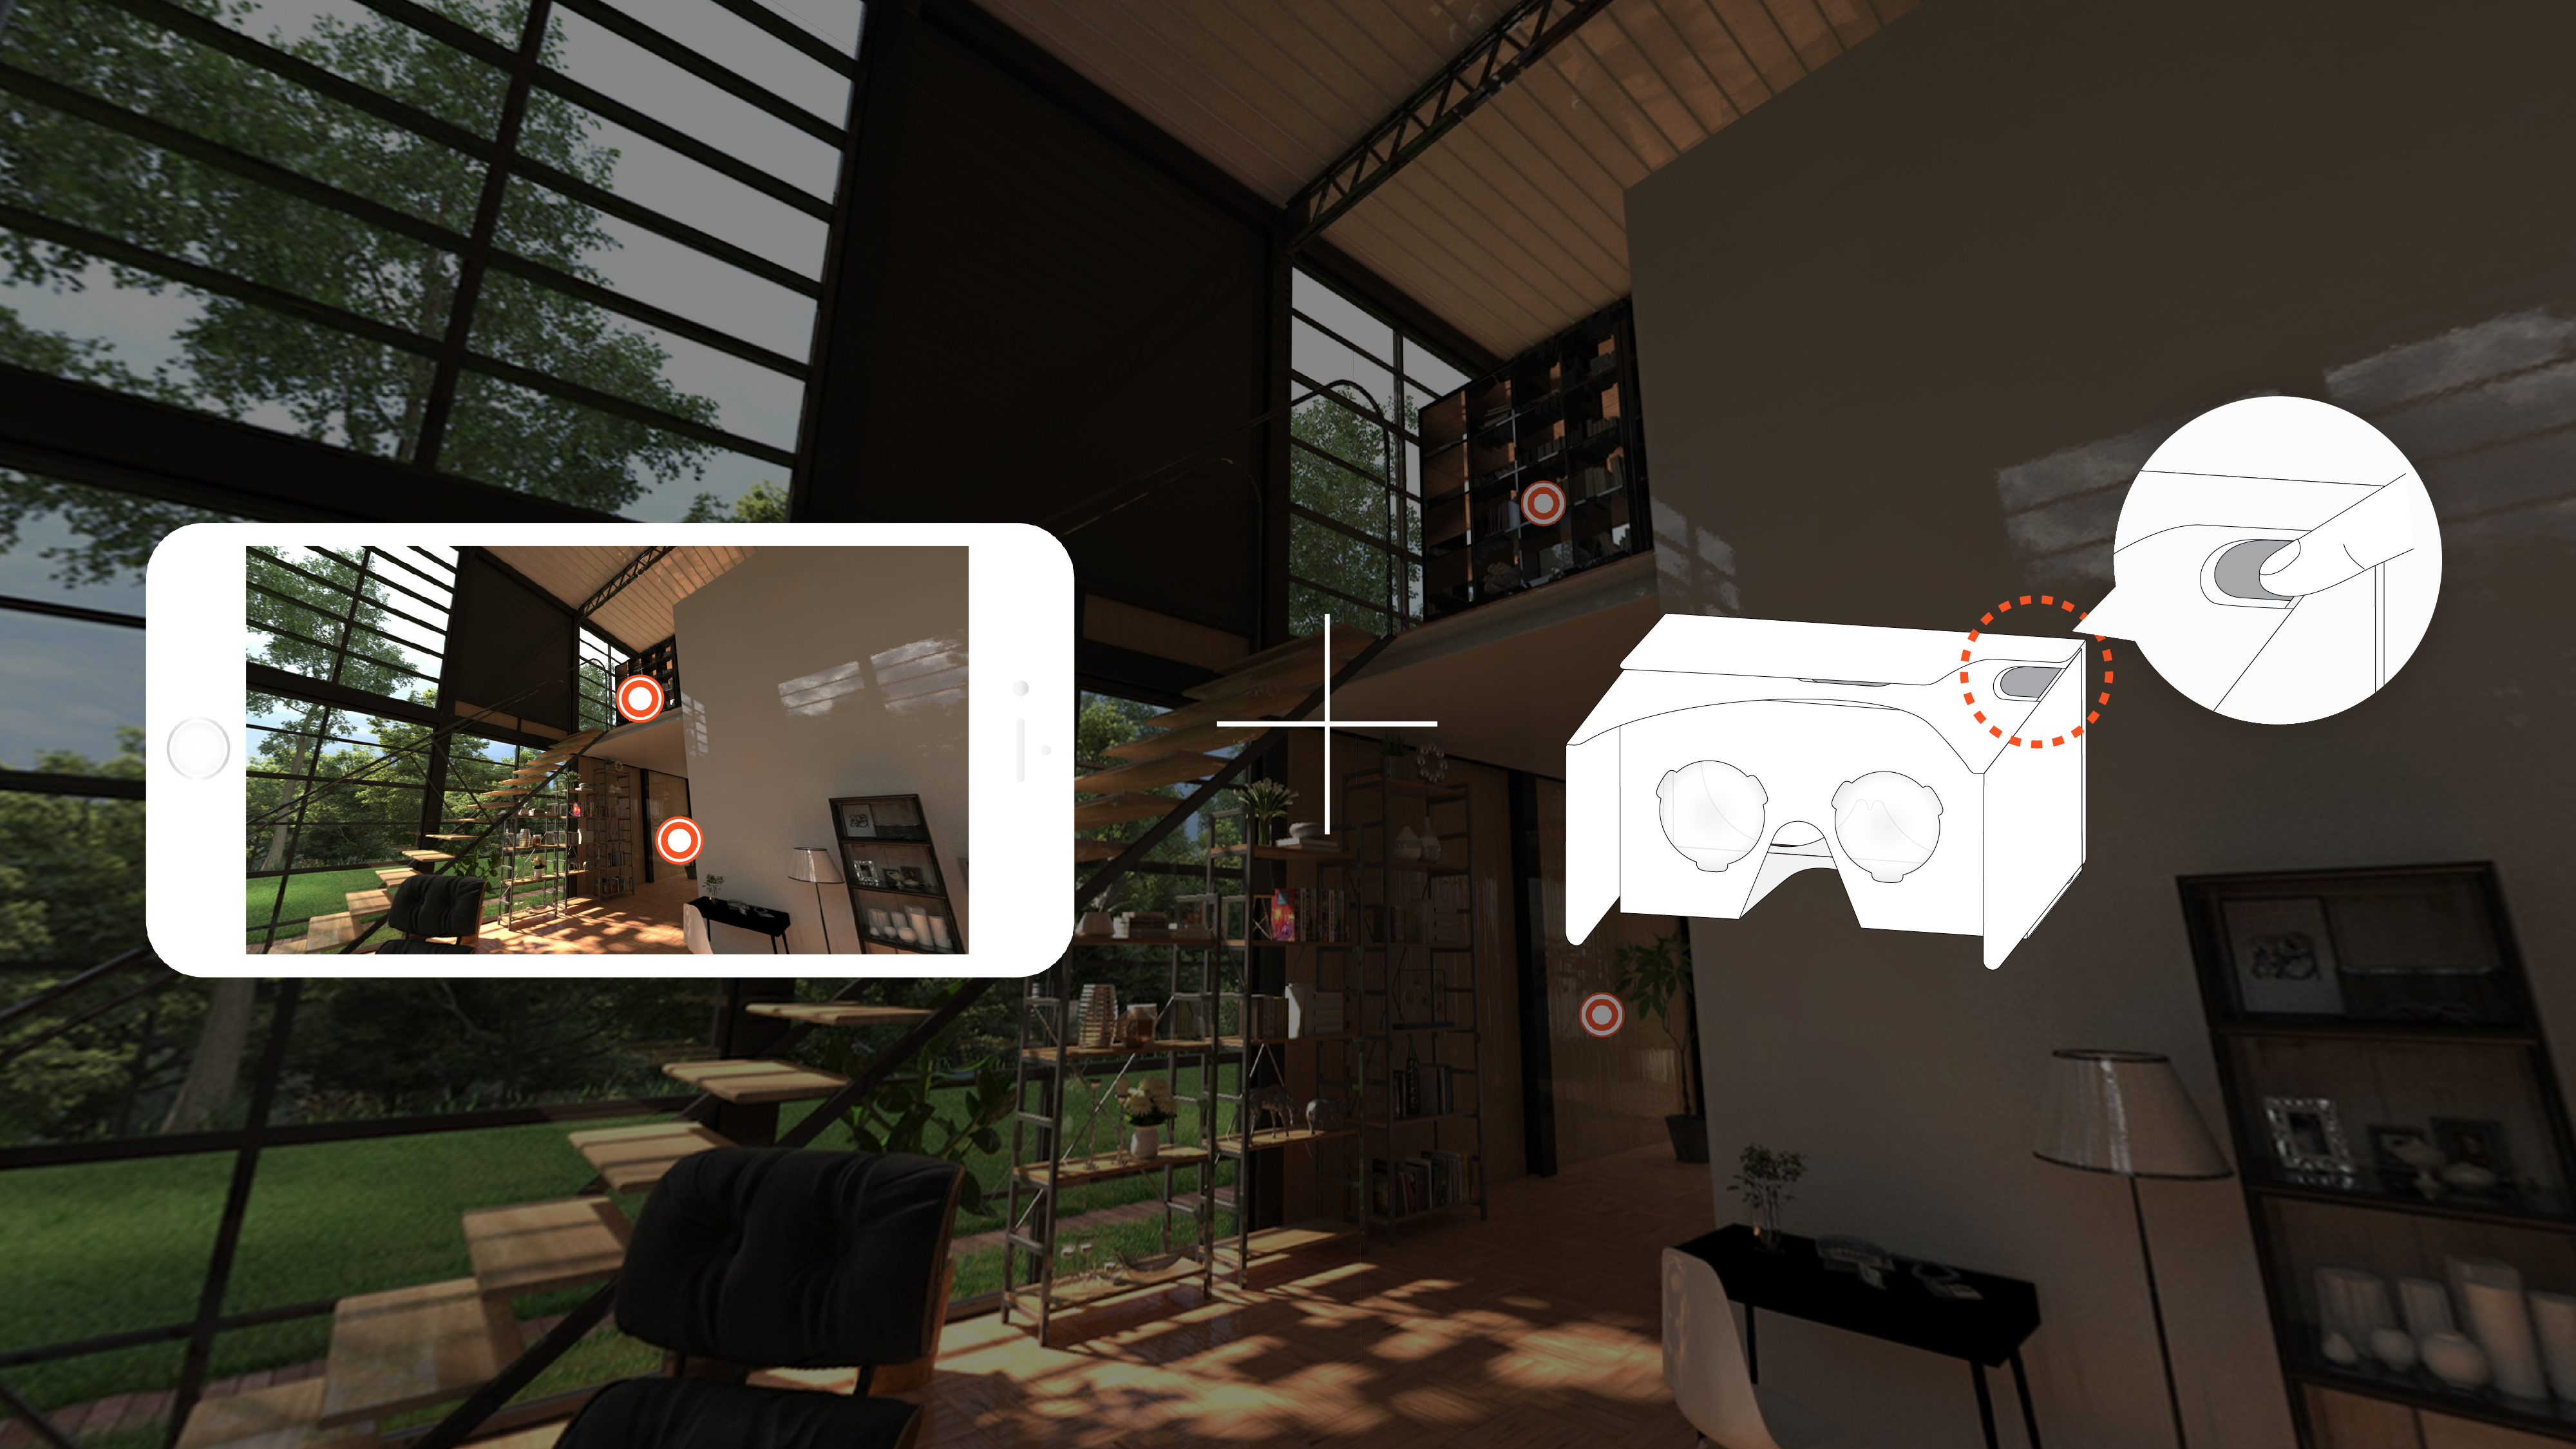
Rotate image to find the orange dots, then click to continue on the tour.
Crops are chosen by the park’s chefs at the EMC Club Restaurant and Fenway Farms has been providing organically grown vegetables and fruit to the restaurant since 2015, with a collaboration between the Boston Red Sox and Fenway Park. There are two harvesting seasons in Spring and Summer, and approximately 6,000 pounds of produce is harvested each season. Crops vary depending upon the season and the chefs’ desires, but some staples in the Spring include broccoli, arugula, kale, cilantro, carrots, greens mix, spinach, lettuce mix, mint, rosemary, thyme, oregano, parsley, radish, scallions, snap peas, and strawberries. And summer harvesting usually includes beans, chard, chives, cucumbers, eggplant, hot peppers, kale, basil, mint, oregano, parsley, rosemary, thyme, scallions, strawberries, sweet peppers, sweet potatoes, tomatoes, zucchini, and flowers.
The Strega Deck, opened in 2016, provides an exclusive look at the garden and was created as a result of Fenway Farms. It is an event venue for special occasions and directly located next to the rooftop garden. Green City Growers also maintains garden beds at Strega Deck and donates all food to the community via a food rescue partner, Lovin’ Spoonfuls.
Fenway Farms shared by Meghan Barrett Modelo »
Rotate image to find the orange dots, then click to continue on the tour.
Kendall Center
Public educational gardens bring new life to urban areas that were once empty. A prime example of this is at Kendall Center in Cambridge, MA, where the area is bustling with greenery, vegetables, and flowers. Green City Growers partnered with Kendall Center to bring garden beds to the roof-deck level. This area is known for being a hub for technology leaders and innovation and is home to companies such as Google, Akamai Technologies, MIT, Novartis, The Broad Institute, Biogen, and Microsoft. Overall, this urban garden space provides a gathering area for activity, and creates a sense of community that provides inspiration through innovation.
The garden beds at Kendall are maintained by Green City Growers and open to the public, so visitors from around the world and tenants of the building can grab a book and enjoy the scenery while catching some rays on their lunch break. What’s more, they can learn about the benefits and process of urban farming from one of Green City Growers’ farmers during weekly educational sessions (on Wednesdays at 12p.m.).
Green City Growers Urban Farmer and Educator, Anna, discusses the educational sessions a bit further by adding, “the program adapts to each group of participants, and this season the group has focused on propagation techniques, pollination, seed saving and the importance of creating and maintaining a bio diverse garden. Weekly participants tend to this garden oasis and go home with bags full of beautiful, nutritious produce grown a small rooftop plot in Kendall Square!” Plus, a portion of the produce from this program is donated to Green City Growers’ food rescue partner, Lovin’ Spoonfuls. Follow @kendallcntr on Instagram for an exclusive glimpse at the garden area.
Kendall shared by Meghan Barrett Modelo »
Rotate image to find the orange dots, then click to continue on the tour.
3rd & Binney
Collaboration is the name of the game when it comes to urban farming. At 3rd & Binney in Cambridge, MA, corporate and municipal stakeholders came together to benefit a local school. Located in a busy urban area in Cambridge (not far from Kendall Center), students from the Community Charter School of Cambridge are able to learn the basics of organic farming, planting and tending plants, soil health, harvesting, and using fresh produce in a variety of recipes, with guidance from a Green City Growers urban farmer. 3rd & Binney is a site that highlights the connection between utilizing space to connect education, farming, and community in an urban context that was not possible before.
One of these urban famers, Anna from GCG, expands on this idea even further by elaborating on the collaboration aspect, “the 3rd & Binney garden is a true representation of community. The project is made possible through the hearts and minds of Boston Properties, Cambridge Redevelopment Authority, CCSC and GCG, where we have collaboratively developed installation, maintenance and an education program in the midst of a bustling Cambridge street. The students of CCSC, through their Urban Agriculture Club, plan and tend the garden communities; taking care of the rich soil, learning about insects and animals in the garden, harvesting the diverse array of produce all while deepening relationships with each other.”
3rd & Binney shared by Meghan Barrett Modelo »
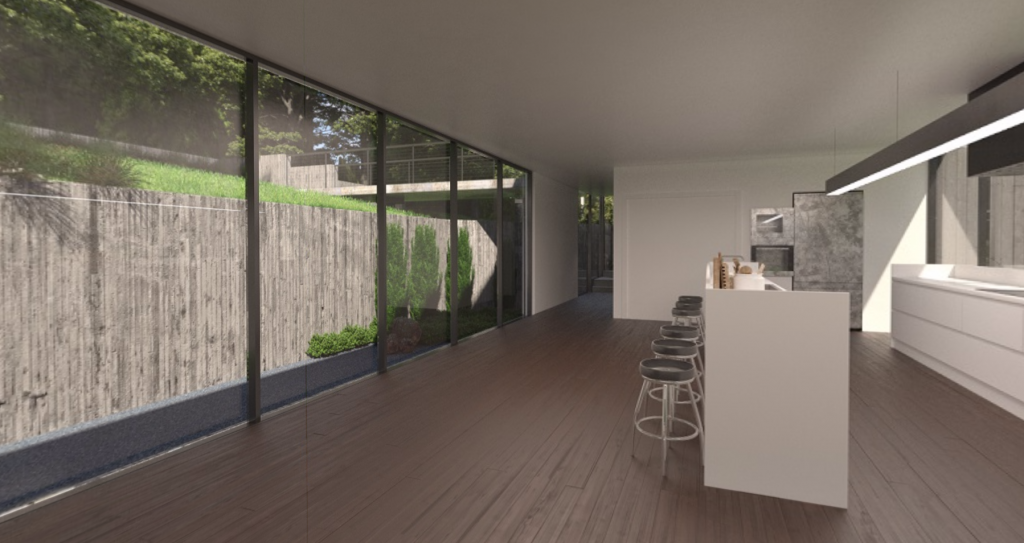
Rotate image to look around the space.
Independence Wharf
When the harbor, a great view, and urban farming combine, you get a completely unique space in the heart of the Seaport District in Boston, MA. Located right next to the Harborwalk is 470 Atlantic Avenue, or Independence Wharf. The Harborwalk is a huge attraction in Boston, as it is a publicly accessible wharf and walkway that provides easy access to Boston Harbor and other popular Boston attractions for miles.
Green City Growers Urban Farmer and Educator, Anna, portrays a great visual of the location, stating “it’s a unique site in that it shares great views, the garden does really well, and you have the perspective to see other green spaces and rooftops within [the] Seaport while you are up there. You’re participating in green spaces while observing other green spaces in Boston.”
On both the fourteenth floor Observation Deck and ground floor of Independence Wharf, Green City Growers maintains raised bed gardens. The observation deck is open to the public during weekday hours, which allows visitors to come and appreciate the greenery while taking in the breathtaking view of the harbor and cityscape from the fourteenth floor. Green City Growers provides hands-on education with weekly sessions (on Fridays at 12p.m.), where excited participants learn how to grow their own food in a city environment. Lastly, a portion of the produce from this program is donated to Green City Growers’ food rescue partner, Lovin’ Spoonfuls.
Independence Wharf shared by Meghan Barrett Modelo »
Rotate image to find the orange dots, then click to continue on the tour.
Conclusion
The power of urban farming lies in its accessibility and ease of implementation and learning. With educational training and environmental awareness initiatives, Green City Growers helps both businesses and individuals grow their own food and be a little bit greener. On a local, national and even global level, we can all learn something from Green City Growers: green spaces revive us and help keep our urban spaces clean, so it’s crucial to keep the momentum going to transform underutilized and unconventional spaces into flourishing oases.
Curious how we created these 360º tours?
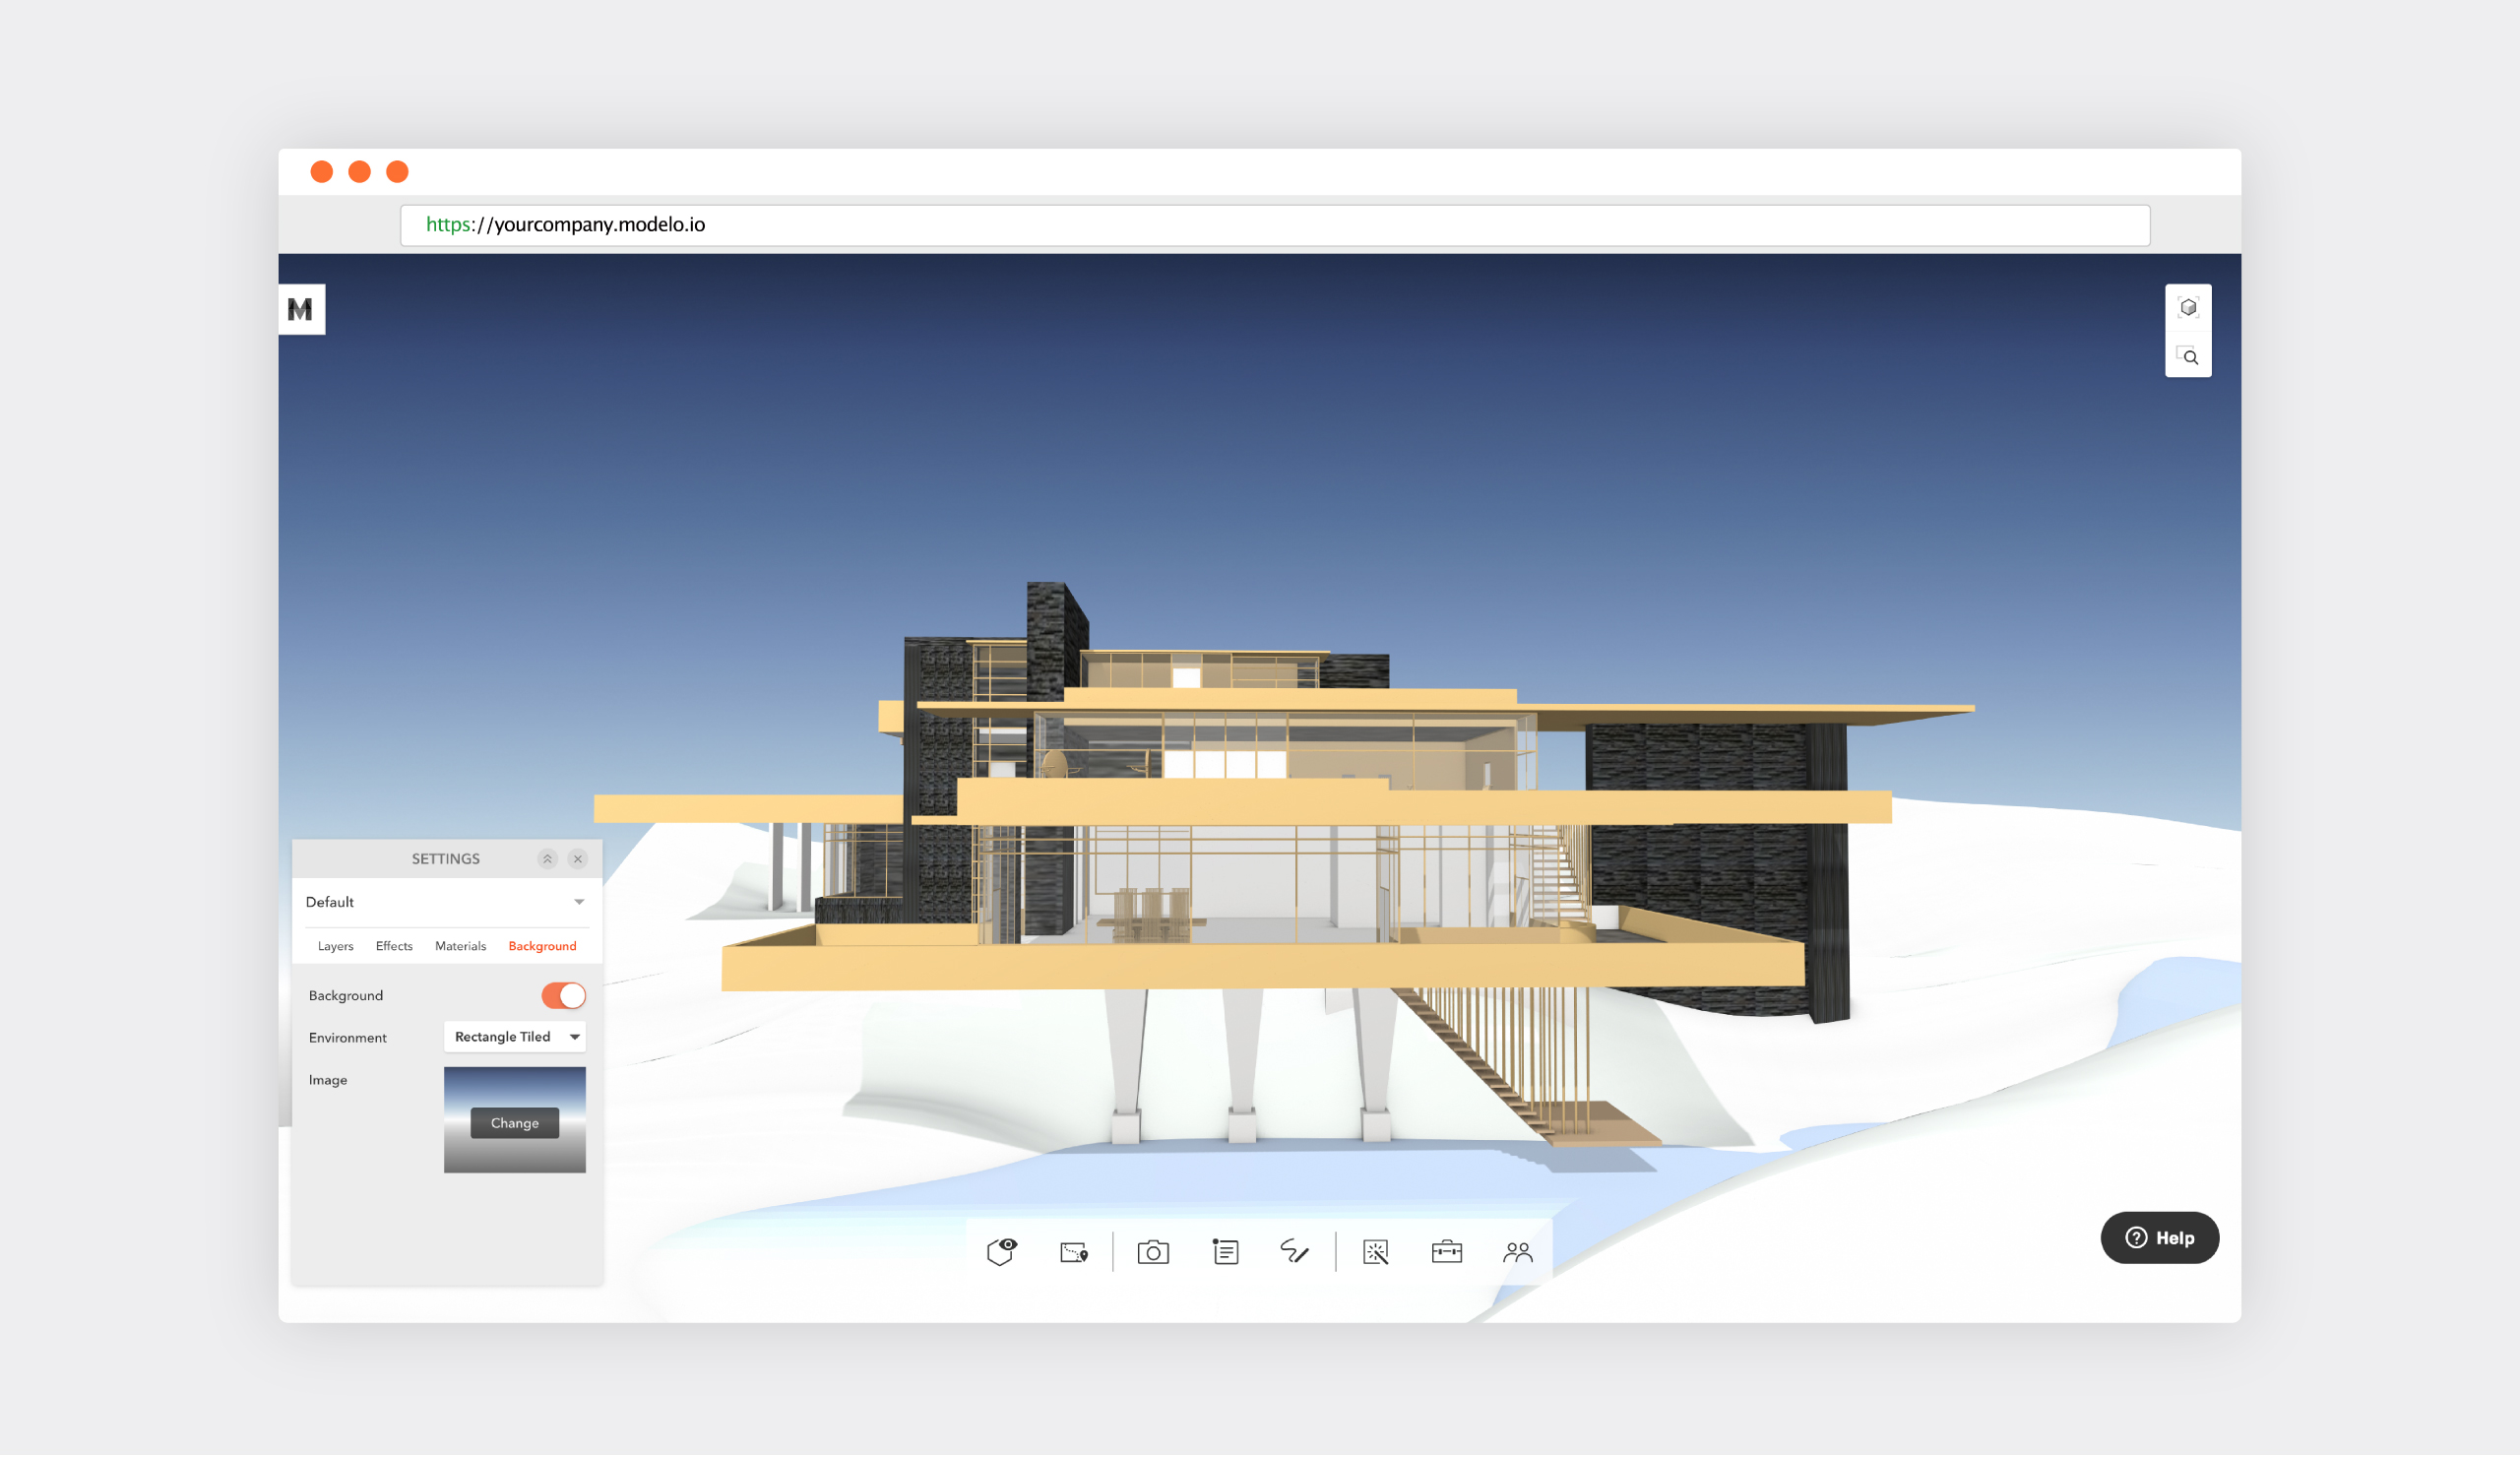
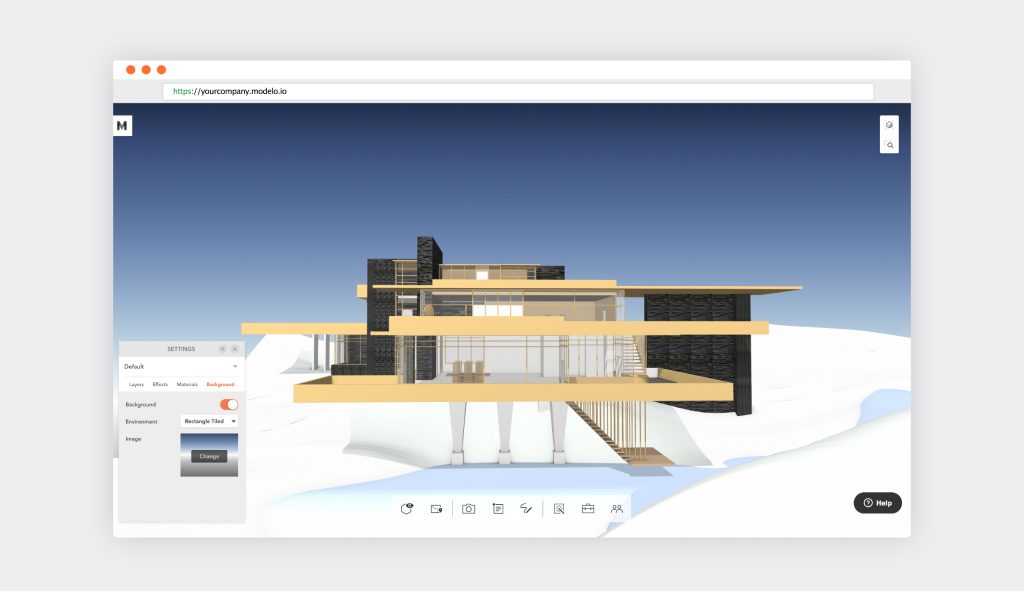
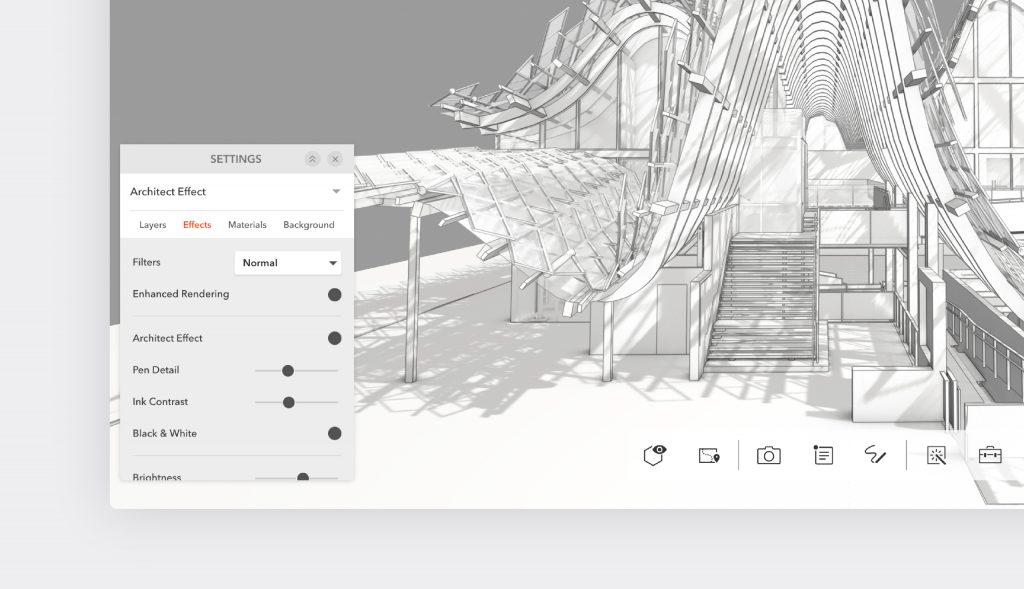
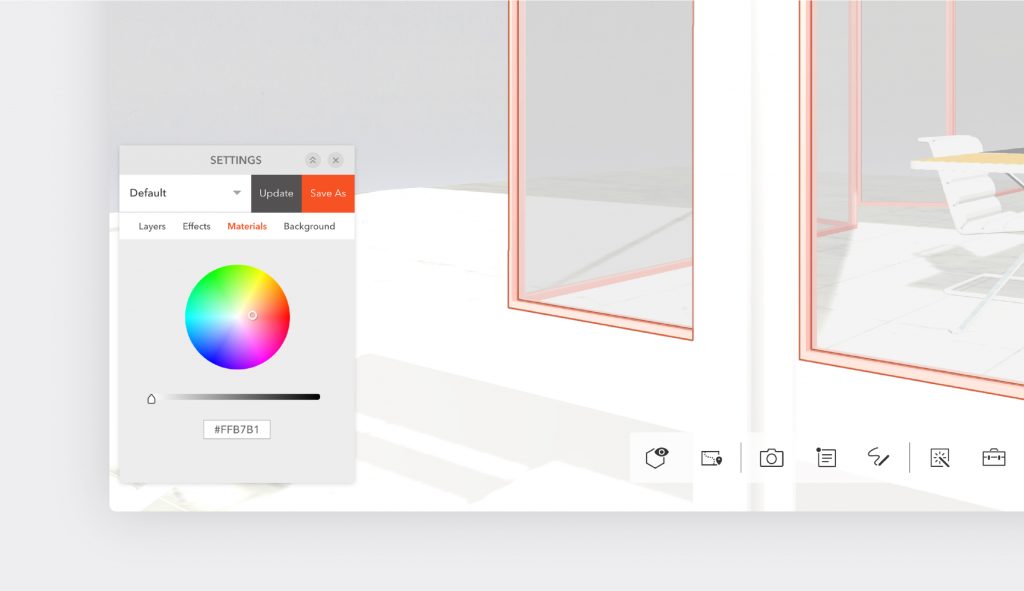
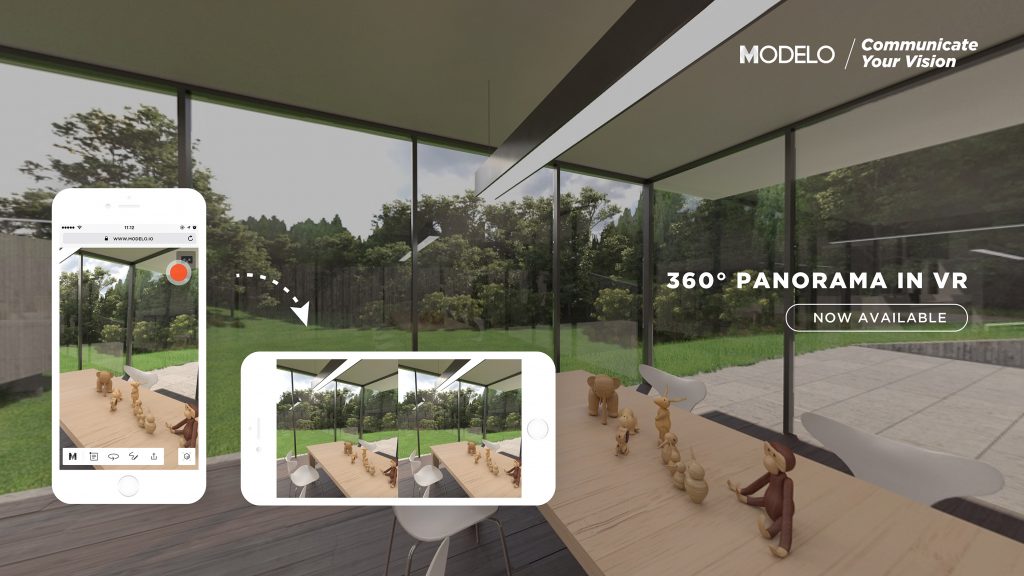
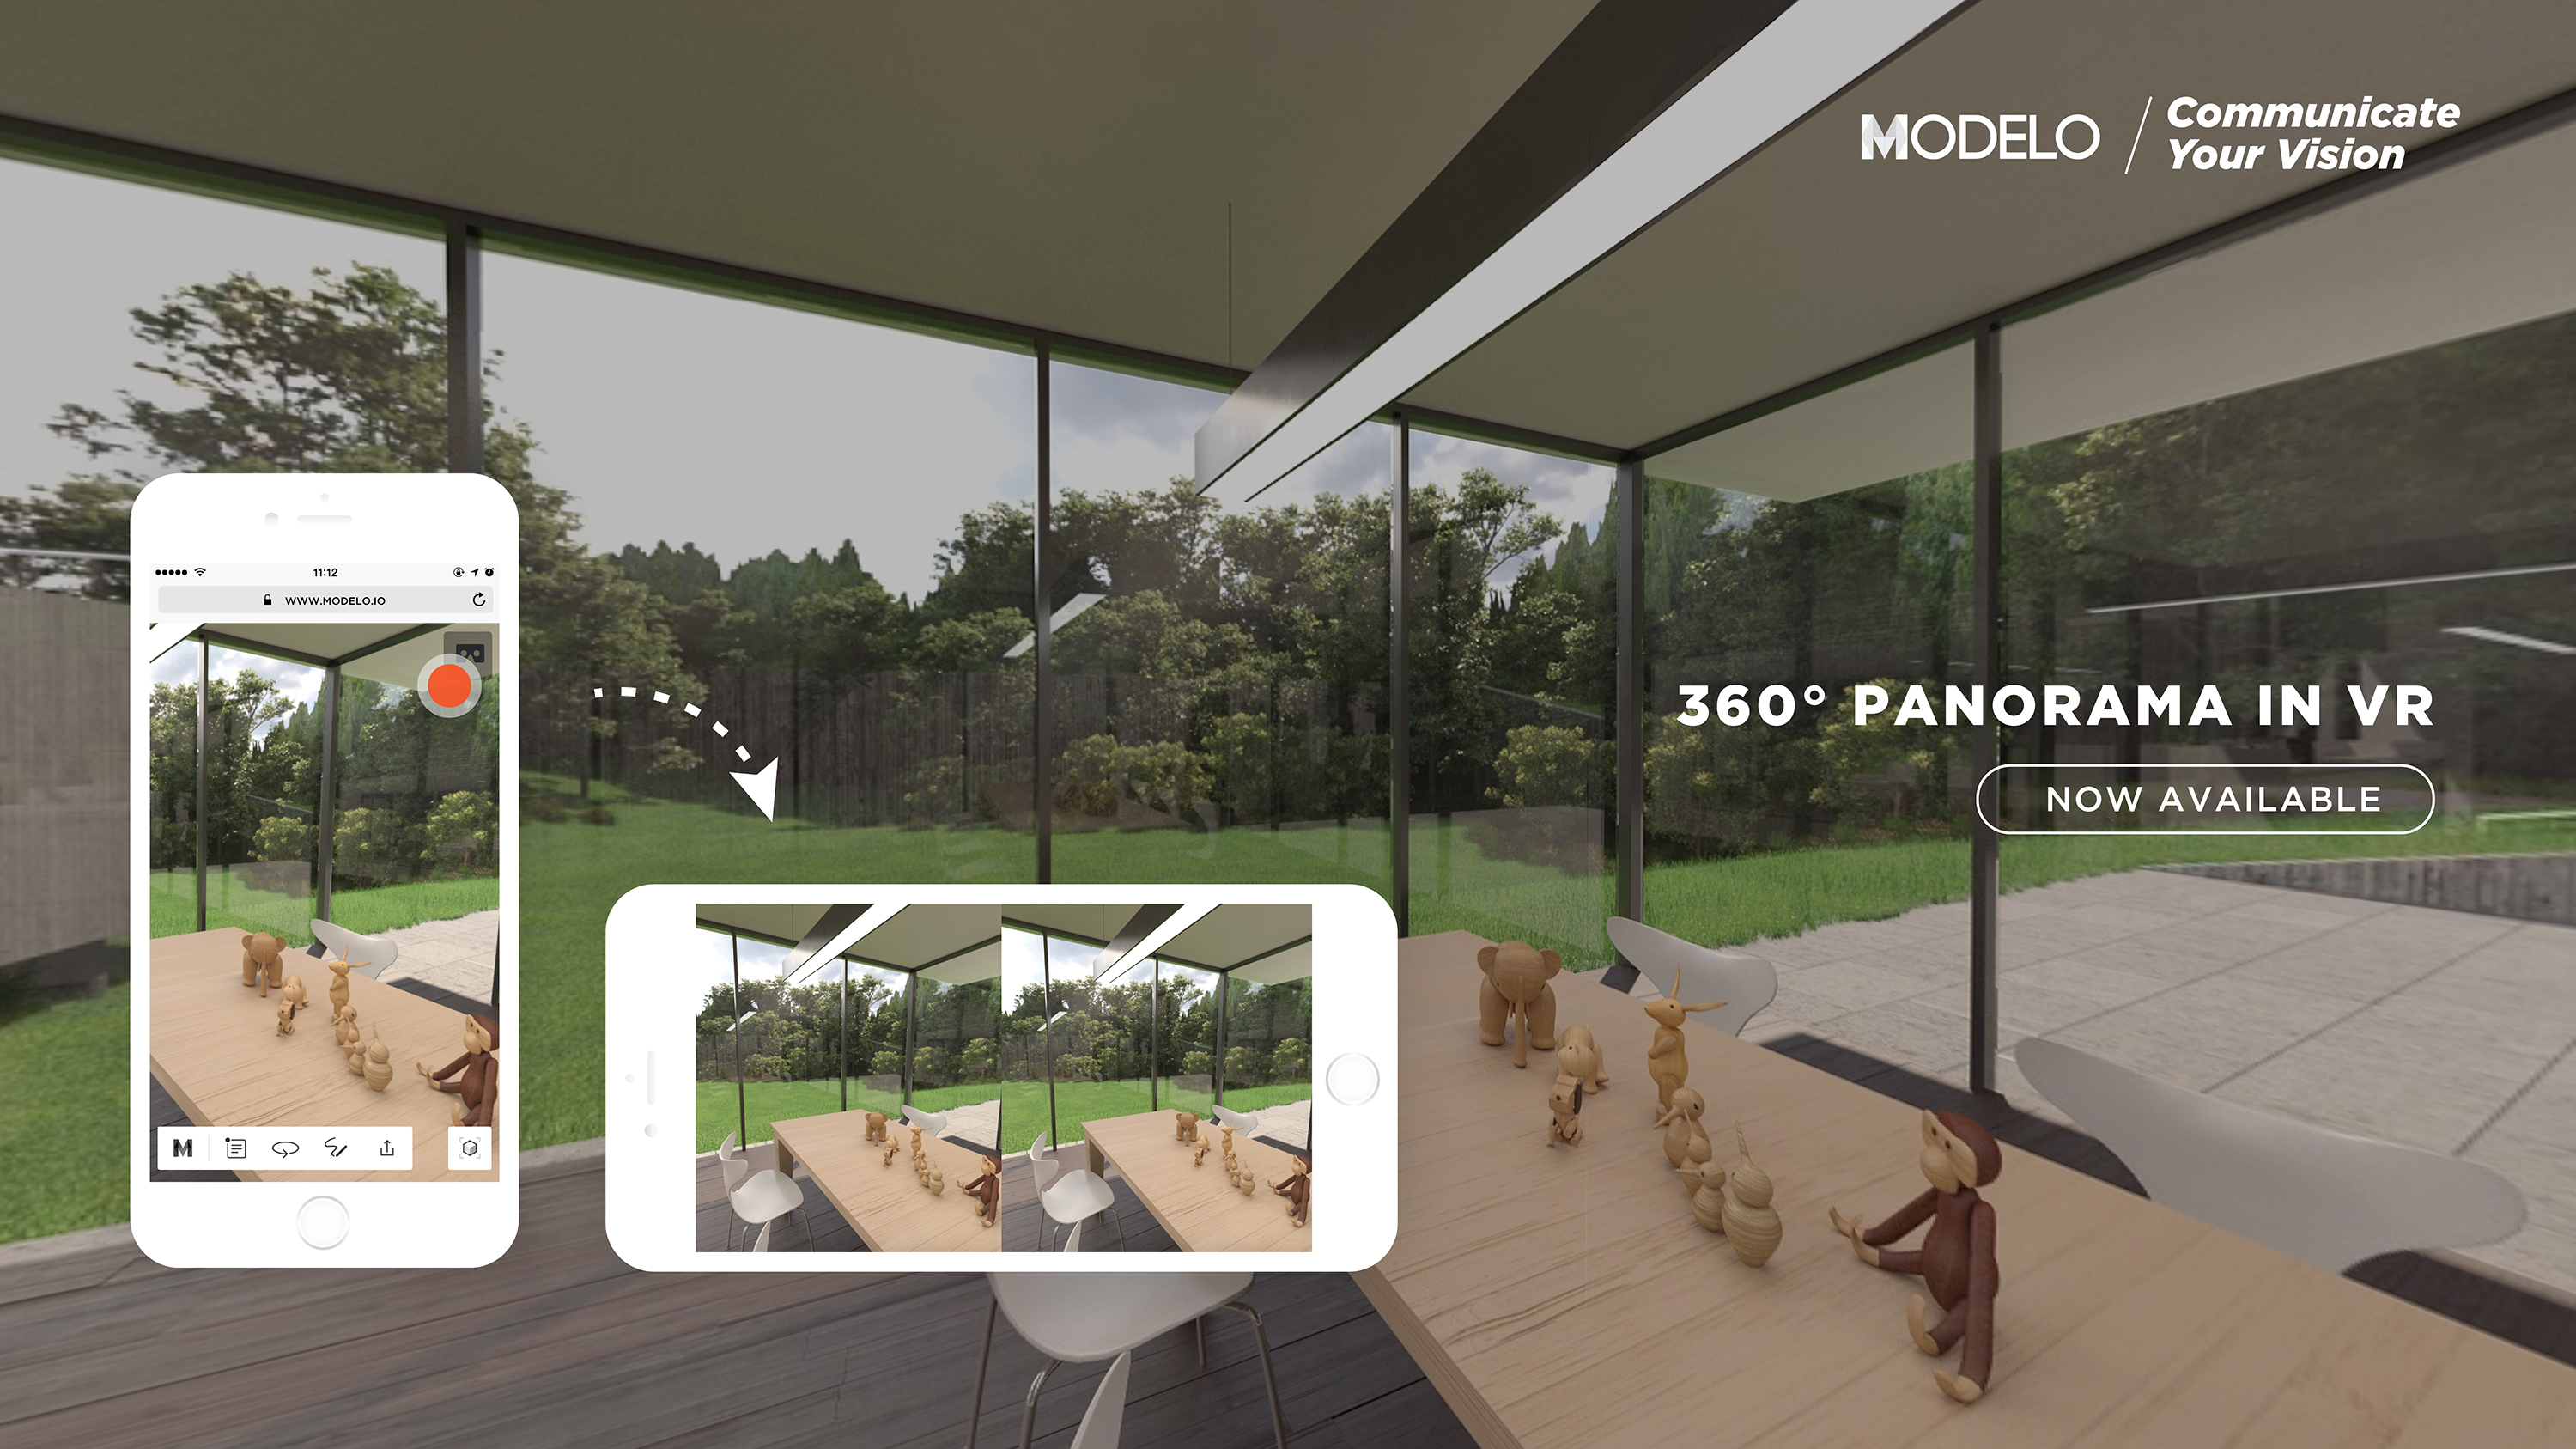
With Modelo’s Design Asset Management (DAM) solution, users have the power to collaborate and present 3D models online, host models on their websites, sketch on and markup 2D and 3D assets, create 360º tours of panorama images, plus so much more.
When you upload a 360º image to Modelo, you have the ability to create an interactive 360º Tour using hotspots that guide viewers along the path you set for them. Then once your tour is ready to go, you can share with anyone by generating a unique URL or by generating a line of HTML code from within Modelo, and embedding these 360º Tours on your website, just like we did above.
If you want to learn more about embedding panorama tours on your website, read this blog post, or create your own 360º Tour by signing up for a free account here.