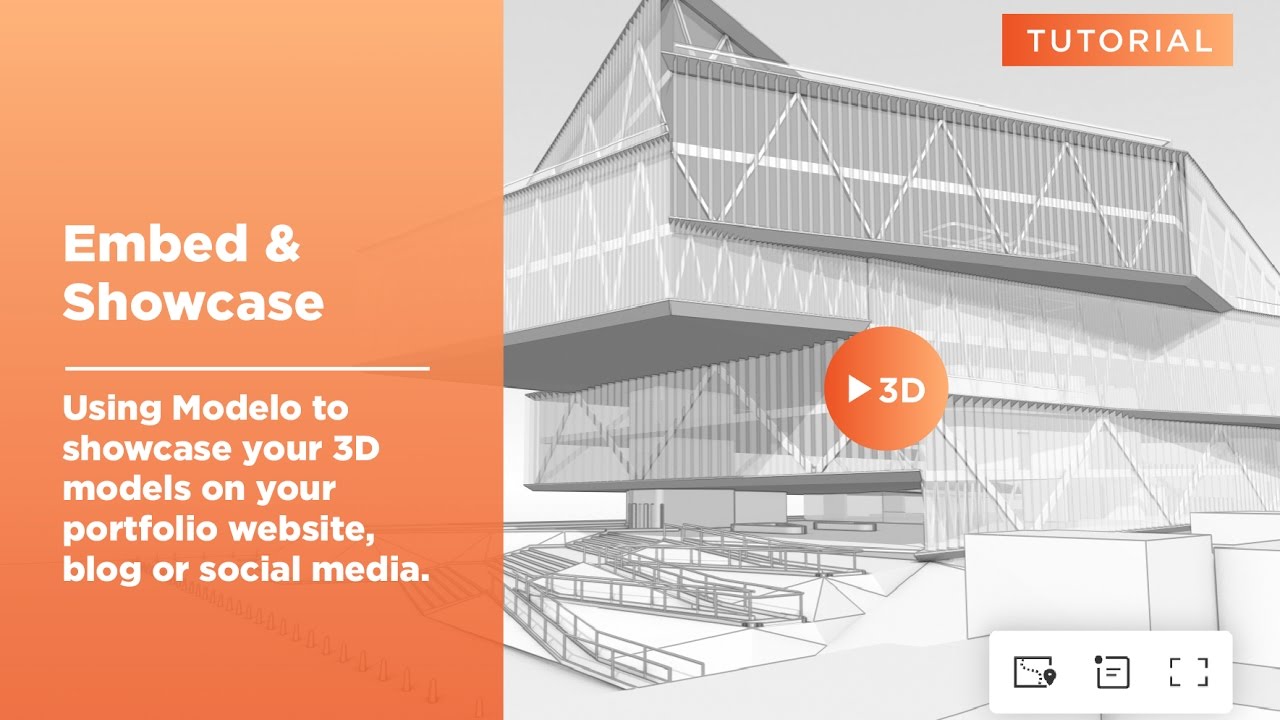
If you want more people to see your design, embedding the 3D models will be the best choice. This article will introduce how to embed 3ds Max models into your websites via Modelo.
1. How to embed 3D models: Upload your Model to Modelo

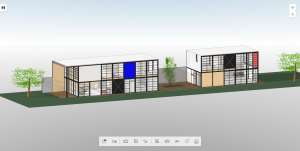
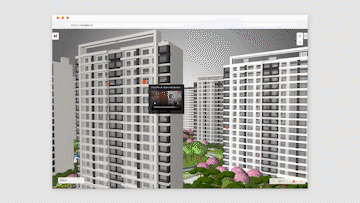
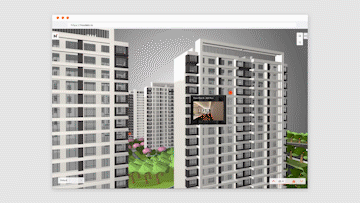
Drag and upload your 3ds Max models to Modelo. Once you finished uploading your model, navigate to the 3D view page, which looks like the screenshot above.

2. Click the Share icon and select “Embed”
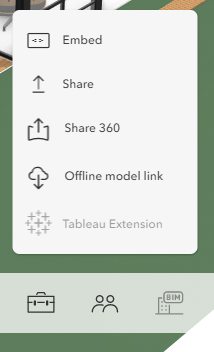
Click the share icon at the far right of the toolbar and select the “Embed” option. This will open an Embed Options popup, which provides you with your HTML code for the iframe.
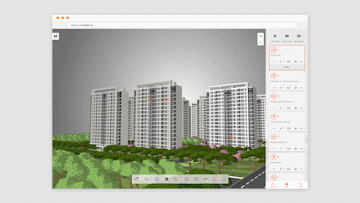
3. Choose your Embed options
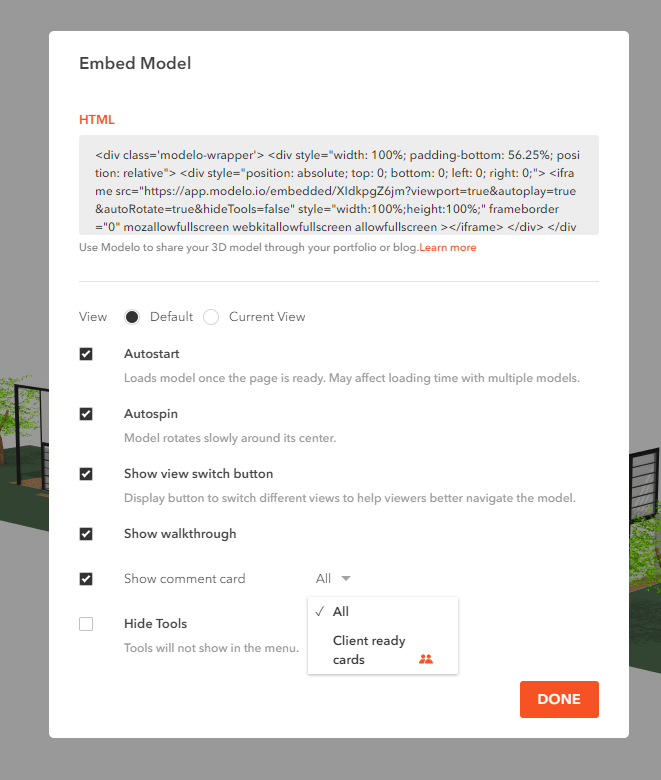
Modelo provides many display options in the embedding window. They can help you display models perfectly in different situations. Please read “Modelo Embedding Option” for more details.
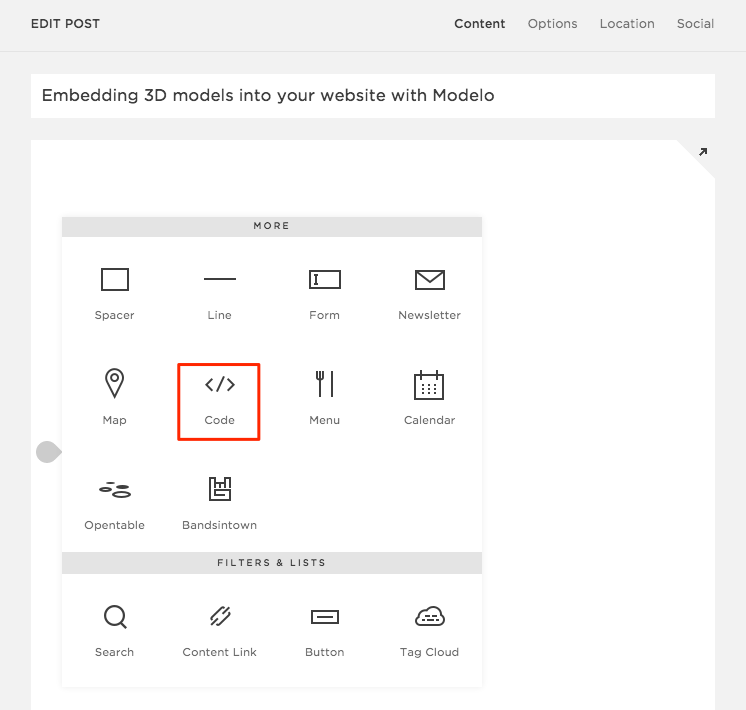
4. Copy and Paste your Embed iframe HTML
With your Embed settings selected from Step 3 copy the iframe text (which will change slightly based on your preferred settings). Switch to the page in your blog or website in which you want to embed, select the embed option and paste!
Keep in mind: You will probably need to play around with the settings a bit and explore the embed support options within your own publishing platform.