Modelo is the easiest way for Rhino users to create and share VR experiences of their models. By using Modelo’s new auto 360 tour feature, you can effortlessly create 360 VR tours in one click, allowing for clients and colleagues to truly understand the design vision throughout the design process.
Step 1. Import your model into Modelo
Drag your Rhino models into Modelo. All the views in your model will automatically transfer to Modelo Comments. If you need more views, just create one more comment in Modelo!


Step 2. Start Rendering
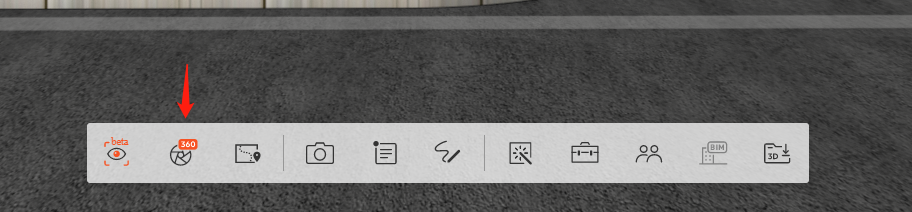
Click “Rendering 360” icon on the left of the Modelo toolbar. You jump to the panorama page. Then click the “Start Rendering” on the top right of the page. Modelo will start to render your views into HD panorama images. Later, these images will be connected in the correct order automatically.
Now your 360 VR tour is ready. Isn’t it easy? Try it now!