Make Design Decisions Faster by Using VR

Virtual reality visualizations allow AEC professionals to make informed design decisions on complex 3D designs quicker, allowing you and your firm to close more deals.

When you create VR tours of your 3D models, you essentially bring your design to life. No longer are you staring at a 2D drawing or even a 3D model on a computer screen. But you and your client are virtually walking through the front door, deciding which new kitchen counters to install, examining the specs of the bathroom, and truly immersing yourself in a realistic representation of the brand new charming house your client has dreamt of all her life. Plus, add a 360º image as the background of your 3D model and surround the house with the mountain flowers of Aspen, Colorado to give the full effect. After all, seeing is believing.

It’s not a mystery that designs go through many phases, and with those phases come lots of decisions. VR allows you and your client to come to design decisions quicker and it prevents misunderstandings or costly rework down the road. By using VR as a collaboration tool throughout the design review process, everyone can be on the same page, looking at the same model in VR. Modelo encourages thoughtful and beautiful design, but above all we encourage collaborative design.

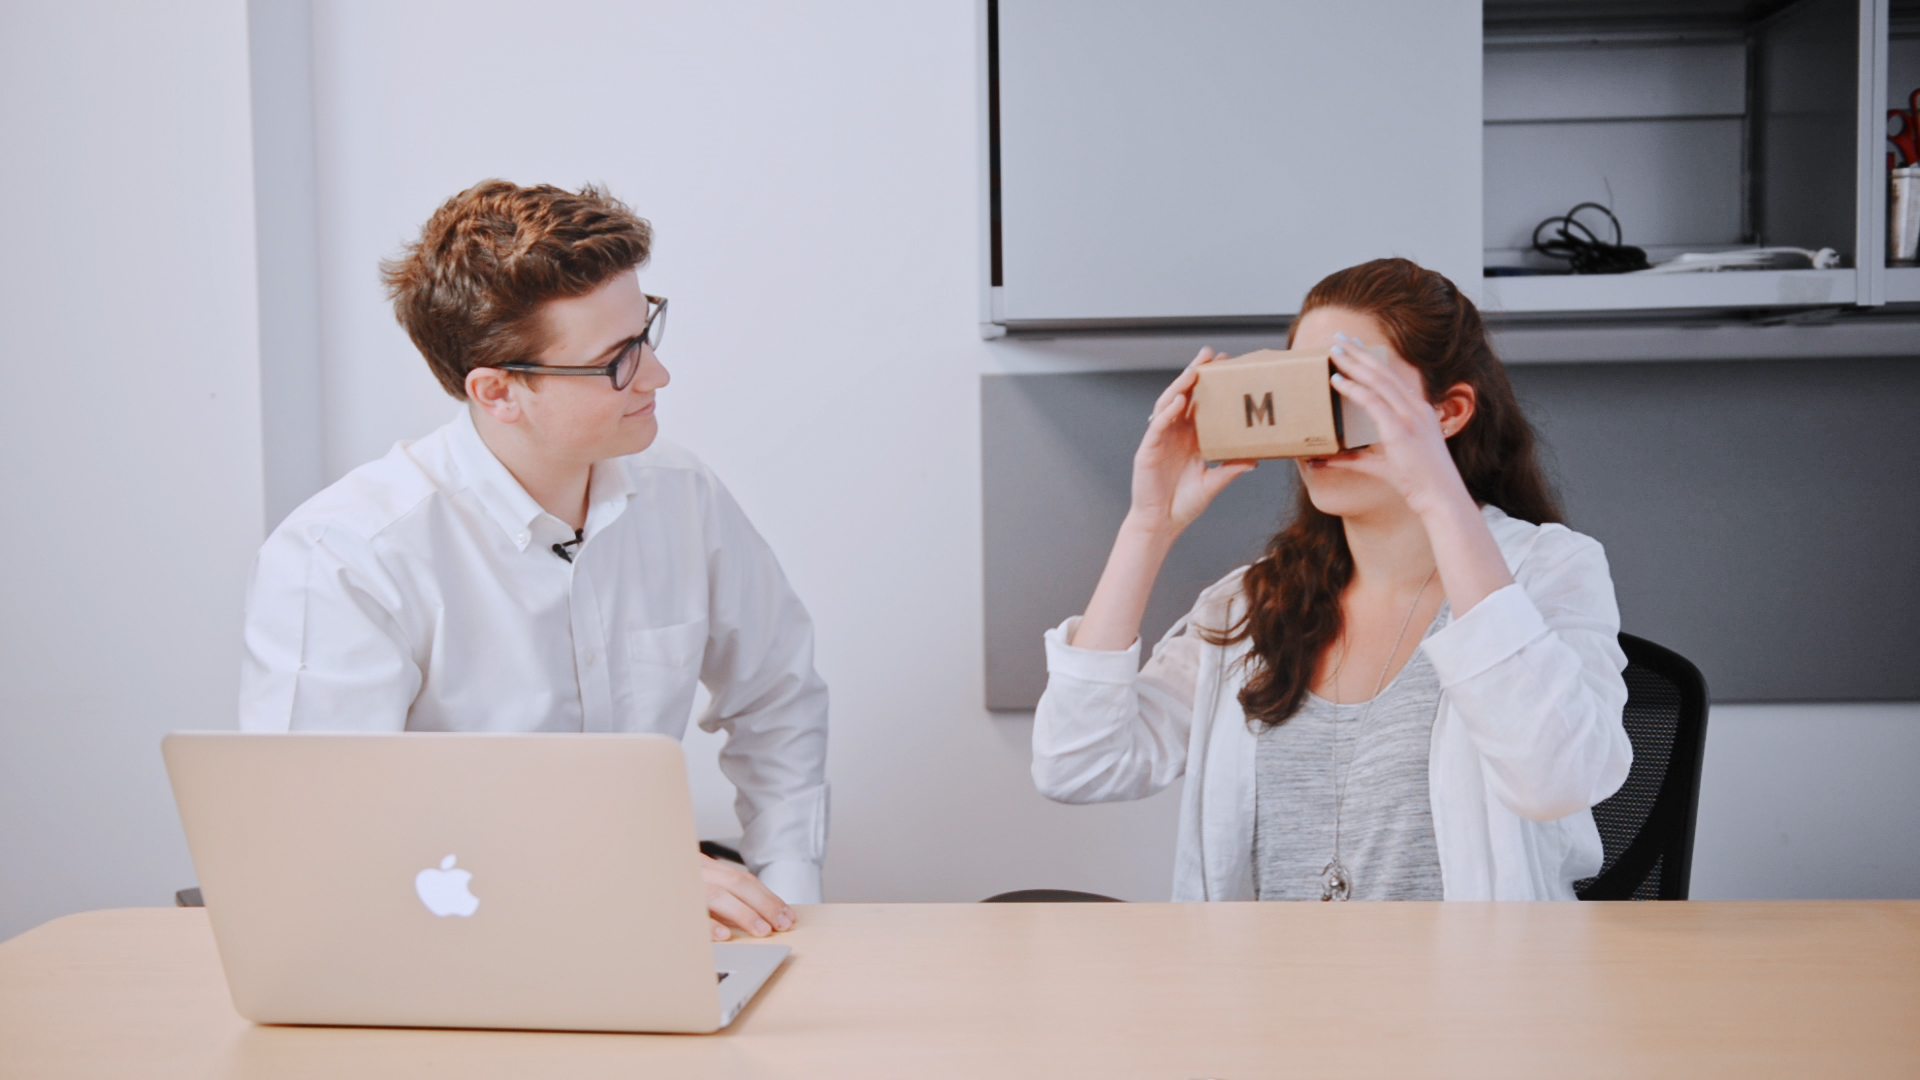
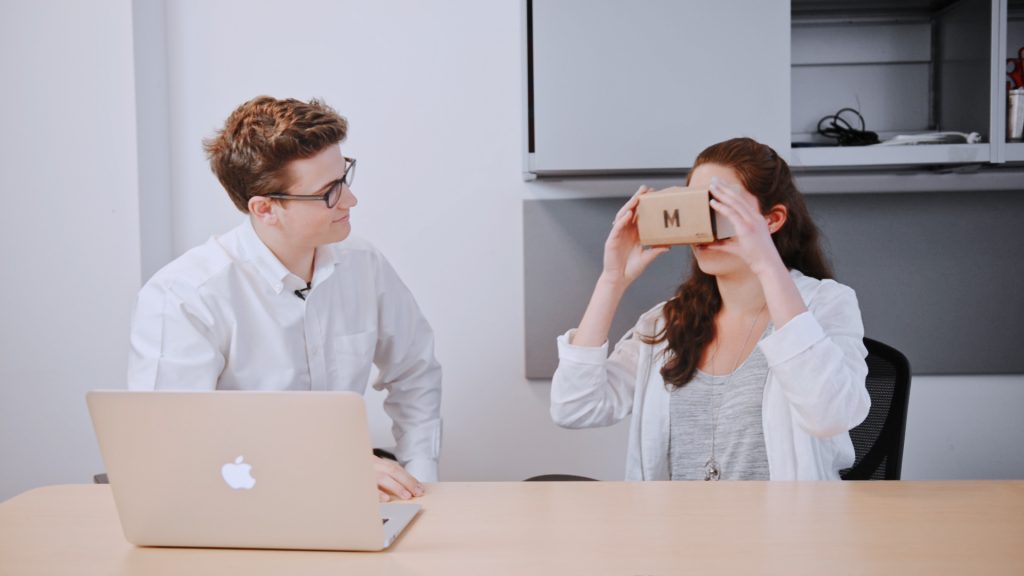
When firms use Modelo’s VR tool, they upgrade their design capabilities and decision making to the next level. Learn how Modelo works perfectly with Google Cardboard, a less expensive but equally effective VR headset that’s easy to set-up. Further, pairing Modelo + Google Cardboard is especially easy for clients to use because there are no downloads required and it’s extremely intuitive for non-designers. When clients are immersed in the project along the way, they are more involved in the decision making, meaning that it’s easier to come to necessary conclusions. A client-centered approach means closing more deals and making your organization more money.

Use Modelo to view complex 3D designs in VR.

Besides client communication, VR is especially beneficial for internal collaboration. VR helps architects and designers understand their own designs better, thus allowing them to make design decisions quicker, be more productive and win more deals.

View complex 3D designs and make informed design decisions easier by using VR and Modelo throughout the design process. Sign up today for a free forever account.

View Rhino Files in VR with Modelo

Experiencing your Rhino models in VR has never been easier with Modelo. The first step is uploading your Rhino model into Modelo. We’ve created a guide for how to do that here:

Once your Rhino model has been converted to Modelo, you can create customized VR experiences for your team to use when evaluating design options and for your clients to engage with and understand your design vision throughout the process.  

Our unique comment card feature allows for custom VR experiences for Rhino models. Views and design options created in Rhino are imported to Modelo as comment cards and new views can be created and saved as comment cards within Modelo. These 3D views are very easy to create and are a powerful tool for VR.

When viewing your Rhino models in VR, these 3D views can be cycled through using the clicker on your google cardboard. This allows Rhino VR to be applied easily throughout the design process for team collaboration and client communication. Your team will be able to use Modelo to instantaneously visualize different design options, allowing more informed decision making and better design work. For client communication purposes, the 3D views can be arranged to create a VR walkthrough tour of your Rhino model. Learn how to create VR tours in Modelo here.

The beauty of using Modelo for your Rhino files in VR for client communication is how easily it can fit into your workflow. Your Rhino VR experiences can be shared with clients instantaneously with a URL link. Your client doesn’t need to download any application or software, nor do you need to implement a complicated VR setup.  

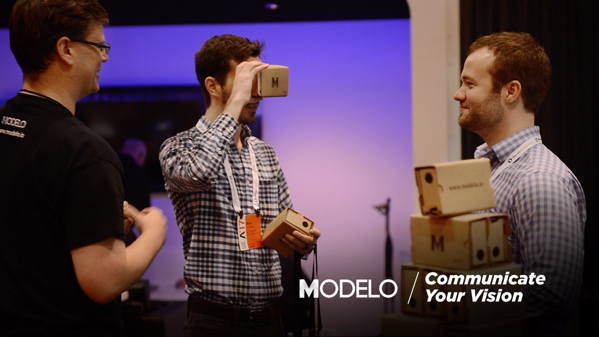
All clients need to experience your vision in VR is a mobile device, an internet connection, and a Google Cardboard. Bring some branded Google Cardboards to your onsite presentation for an added layer of engagement, or send them over to your client in advance so they can view your model in VR and provide educated feedback throughout the design process. Implementing VR into your worklfow and using it to deliver on client expectations has never been easier than it is with Modelo.

Learn about our VR requirements and our compatibility with Google Cardboard. Sign up to Modelo for FREE today to start viewing Rhino files in VR!

Convert 3ds Max Files to VR fastier and easier with Modelo

Converting your 3ds Max files to VR has never been easier. By using Modelo’s 3ds Max plugin you can effortlessly drag, drop, and upload your 3D model from 3ds Max to create 3ds Max VR presentations faster and easier than anything available on the market by following these simple steps:

  1. Within your Modelo account, you can download and install the 3ds Max exporter. Once installed simply open your 3D design in 3ds Max, click the Modelo tab within 3ds Max and select the “Export Scene to Modelo” option. From there 3ds Max will prompt you to input an “upload token” which is found in the Modelo browser.
  2. On the projects page simply click the “Upload Token,” go to the folders tab and select “3ds Max to VR in Modelo” which will give you your “Upload Token” to copy. Go back to 3ds Max, and paste the token into the “Export to Modelo” window, hit upload, and start to upload the model to Modelo. Refresh the Modelo screen and you will see that in seconds your model will be uploaded onto the Modelo projects page. Now you are ready to view in VR.
  3. To prepare your mobile device to view in VR make sure your turn on the “Do not disturb” option so that when you are in VR, you won’t be interrupted by notifications from your other apps. Also, turn off the “Orientation Lock.”On any mobile device, you are able to open your Modelo browser and find the 3ds Max model you uploaded. Open the project and click “View 3D.” Find the VR icon in the bottom right hand corner of your phone, click on this VR icon and then rotate your phone 90 degrees, slide it into a Google Cardboard, and view your 3ds Max files in Virtual Reality.

For a guided step-by-step tutorial of how to convert 3ds Max files to VR, watch the video above. Next up, learn how to create VR tours of your 3D models and sign up for a FREE account with Modelo.

Convert Vectorworks Files to VR with Modelo

Convert Vectorworks files to VR with Modelo in seconds. Below we’ve outlined the steps you need to follow for both MAC and PC systems:

For Mac users:
First, download the required installation zip folders from either the Vectorworks Partner Products Page, or from within your Modelo user interface by clicking on your avatar.
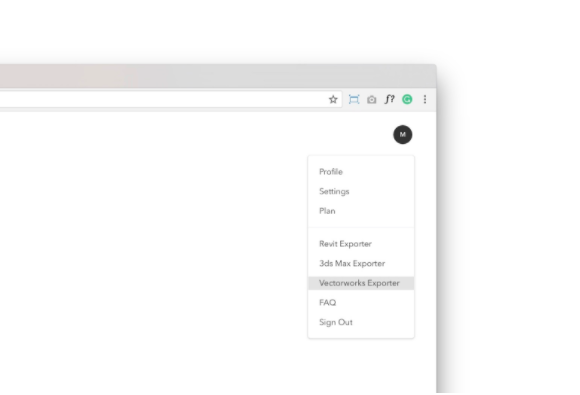
Unzip it and open the folder called “Export to Modelo.” Within this folder you will see:

    • “Export to Modelo.vsm”
    • “ExportVGX.vwlibrary”
  • “requests” folder

Step 1:
With Vectorworks closed, find the folder where you installed your Vectorworks application, in our case, it’s a folder named Vectorworks 2016. Open it and then open the folder Plug-ins. Then move the “Export to Modelo.vsm” and “ExportVGX.vwlibrary” files into this folder.

Step 2:
Now go back to applications, open the Vectorworks installation folder (the first folder you opened in step 1) again, and right click on the actual executable Vectorworks app (the icon which you click to open the application), and select “Show package contents.” Then follow this path: Frameworks/Python.framework/Versions/3.3/lib/python3.3/. You want to copy & paste the entire requests folder here.

Step 3:
Now, open up your Vectorworks application. Go to the Tools menu and select Workspaces. Select Edit Current Workspace.

On the right side, expand File and then scroll down and expand Export.

From the Commands List expand All Menus scroll down to the Export section of the list and then drag and drop Export to Modelo over to the Menus list on the right and drop it in Export, which you expanded a couple moments ago. Hit OK.

Now you’re officially done with all the installation steps.
Go back and open a model you want to export from Vectorworks to Modelo. Click File, Export and then you can select Export to Modelo from the list.

When you choose to export, you will be prompted to paste in a token to set the destination of your exported file in Modelo. At this point we’re assuming you’ve already signed up for Modelo.

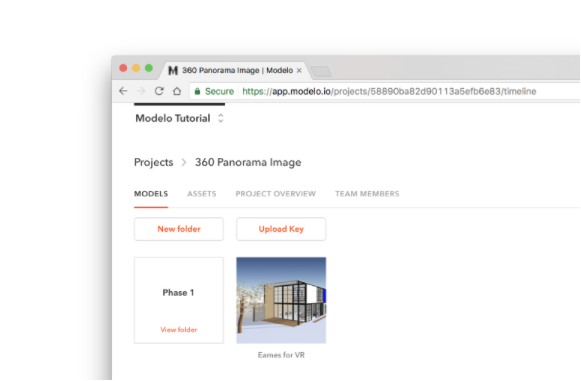
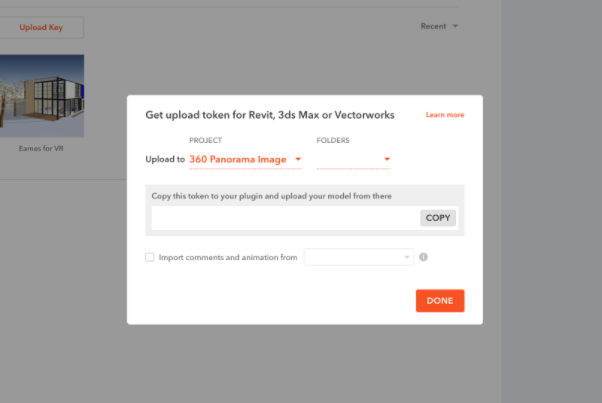
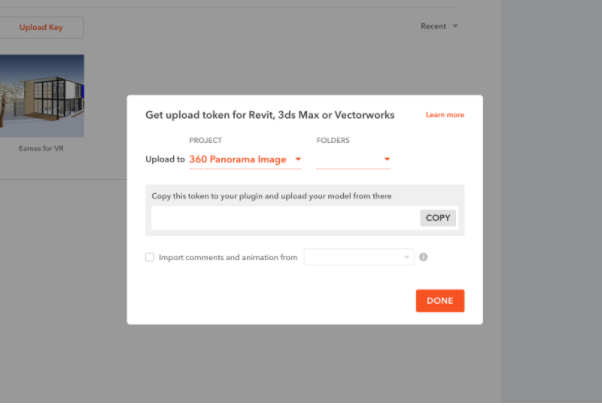
Log into your Modelo account in the browser, go to the project where you want to upload your model to, click the upload key. This is going to prompt us to select our Project and folder that we want to import our Vectorworks file to.

With those selected, Modelo generates a token. Paste the token into Vectorworks and click OK. In only a few moments you will see a model begin uploading in the folder you selected!
And there you have it, your Vectorworks file imported to Modelo for Mac.

For PC users:
First, again download the required installation zip folders from either the Vectorworks Partner Products Page, or from within your Modelo user interface by clicking on your avatar.
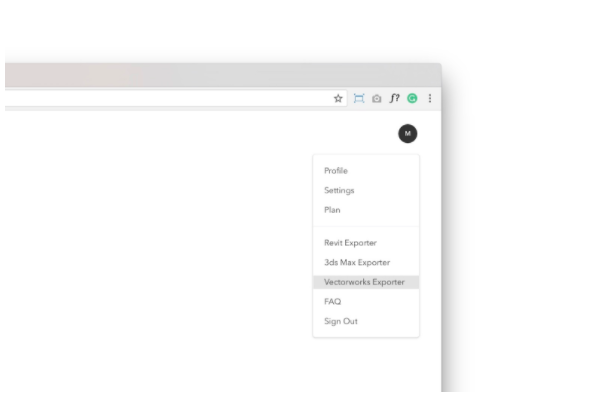
Open the zip you just downloaded, look for the folder named “Vectorworks_Plug-in_PC”, and open that folder, then you will find two other zips are included:

    • “Export to Modelo.zip”
  • “Requests.zip”

You’re going to want to unzip both of these folders and place files within into specific Vectorworks application folders.

Step 1:
With Vectorworks closed, find the folder where you installed your Vectorworks application, in our case, it’s a folder named Vectorworks 2016. Open it and then open the folder Plug-ins.

Now open the Export to Modelo folder you just downloaded and unzipped and copy the three files within:

    • “Export to Modelo.vsm”
    • “ExportVGX.vlb”
  • “ExportVGX.vwr”

Paste these three files into the Plug-ins folder.

Step 2:
Now return to the Vectorworks 2016 folder and from there open the Python33 folder. Then from within Python33, open the Lib folder (not to be confused with the libs folder).

Within Lib, open the site-packages folder. This is where you’re going to paste the requests folder you downloaded.

Step 3:
Open up your Vectorworks application. Go to the Tools menu and select Workspaces. Select Edit Current Workspace.

On the right side, expand File and then scroll down and expand Export.

From the Commands List expand All Menus scroll down to the Export section of the list and then drag and drop Export to Modelo over to the Menus list on the right and drop it in Export, which you expanded a couple moments ago. Hit OK.
Now you’re officially done with all the installation steps for PC.

Go back and open a model you want to export from Vectorworks to Modelo. Click File, Export and then you can select Export to Modelo from the list.

When you choose to export you will be prompted to paste in a token to set the destination of your exported file in Modelo. At this point we’re assuming you’ve already signed up for Modelo.

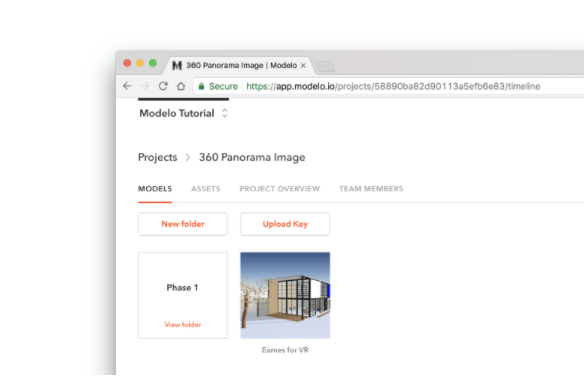
Log into your Modelo account in the browser, go to the project where you want to upload your model to, click the upload key. This is going to prompt us to select our Project and folder that we want to import our Vectorworks file to. With those selected, Modelo generates a token. Paste the token into Vectorworks and click ok and in a few moments you will see a model begin uploading in the folder you selected!
And there you have it, your Vectorworks file imported to Modelo for PC.

Once you’ve converted your Vectorworks file to Modelo, it’s time to view in VR. Follow this easy step-by-step guide to learn how to create VR tours of your 3D models to then view in Google Cardboard. Plus check out the VR requirements for Modelo.

Start converting your Vectorworks files to VR with Modelo today!

Why Clients Need to See Designs in Virtual Reality

Virtual Reality (VR) in the architecture, design, construction, engineering and even gaming industries is more popular than ever. VR is being integrated into workflows for professionals seeking an immersive perspective and collaborative environment. Quite frankly, VR gives architects and designers the different perspective they need in order to communicate design intent in 3D and visualize a space in 3D. VR is useful at any part of the design process, but most importantly, it’s crucial for engaging clients throughout the entire process.

Clients need to see designs in virtual reality because it not only makes the project more real, but it cultivates collaboration. Clients and architects can be on the same page and have deeper conversations to make more informed design decisions. Although renderings are wonderful, they simply are not enough.

Ultimately, clients need to see designs in 3D and not only 2D. For people whose brains do not think in spacial terms by default, VR bridges the gap by allowing the client to virtually see what the architect sees. This allows the architect to truly communicate her or his vision.

On the flip side, when designers show a 3D model in VR to clients, it automatically gives a sophisticated first impression that will last throughout the design review process. VR is the shiny new tool that AEC professionals seek to integrate into their workflow because it helps them visualize and design better, and helps them win more clients to ultimately make more money.

Impress and involve clients in the architectural design process with virtual reality

Clients should feel as if they are walking through the building before it’s built because this prevents major design changes down the road once the design is near completion. By allowing clients to view 3D designs in VR, everyone is equally informed, can reach design decisions quicker and save essential time.

Master how to create VR tours of your 3D models in Modelo and start not only impressing clients, but truly involving them in the design process so you can communicate your vision clearly. Sign up to Modelo today for FREE and give it a try!

Convert SketchUp Files to VR with Modelo

Using SketchUp with Modelo is designed to be as simple as possible for users. Additionally, using Modelo for Virtual Reality presentations throughout the design process is simple, effective and collaborative. In fact, it only takes 80 seconds to convert your SketchUp file to VR. First there are few things you are going to need beyond your computer:

  1. a relatively current smartphone either an Apple or Android (to make sure you have the correct specs, click here)
  2. Either the Modelo App or Modelo in browser open to your account on your phone
  3. A Google Cardboard which are only $15 and can be found on Amazon.

Once you have those things ready, simply drag and drop the file of your SketchUp design from your computer into Modelo (or use the Upload option). Then go to your phone and look in the projects section of Modelo and find the model you just uploaded and click on it.

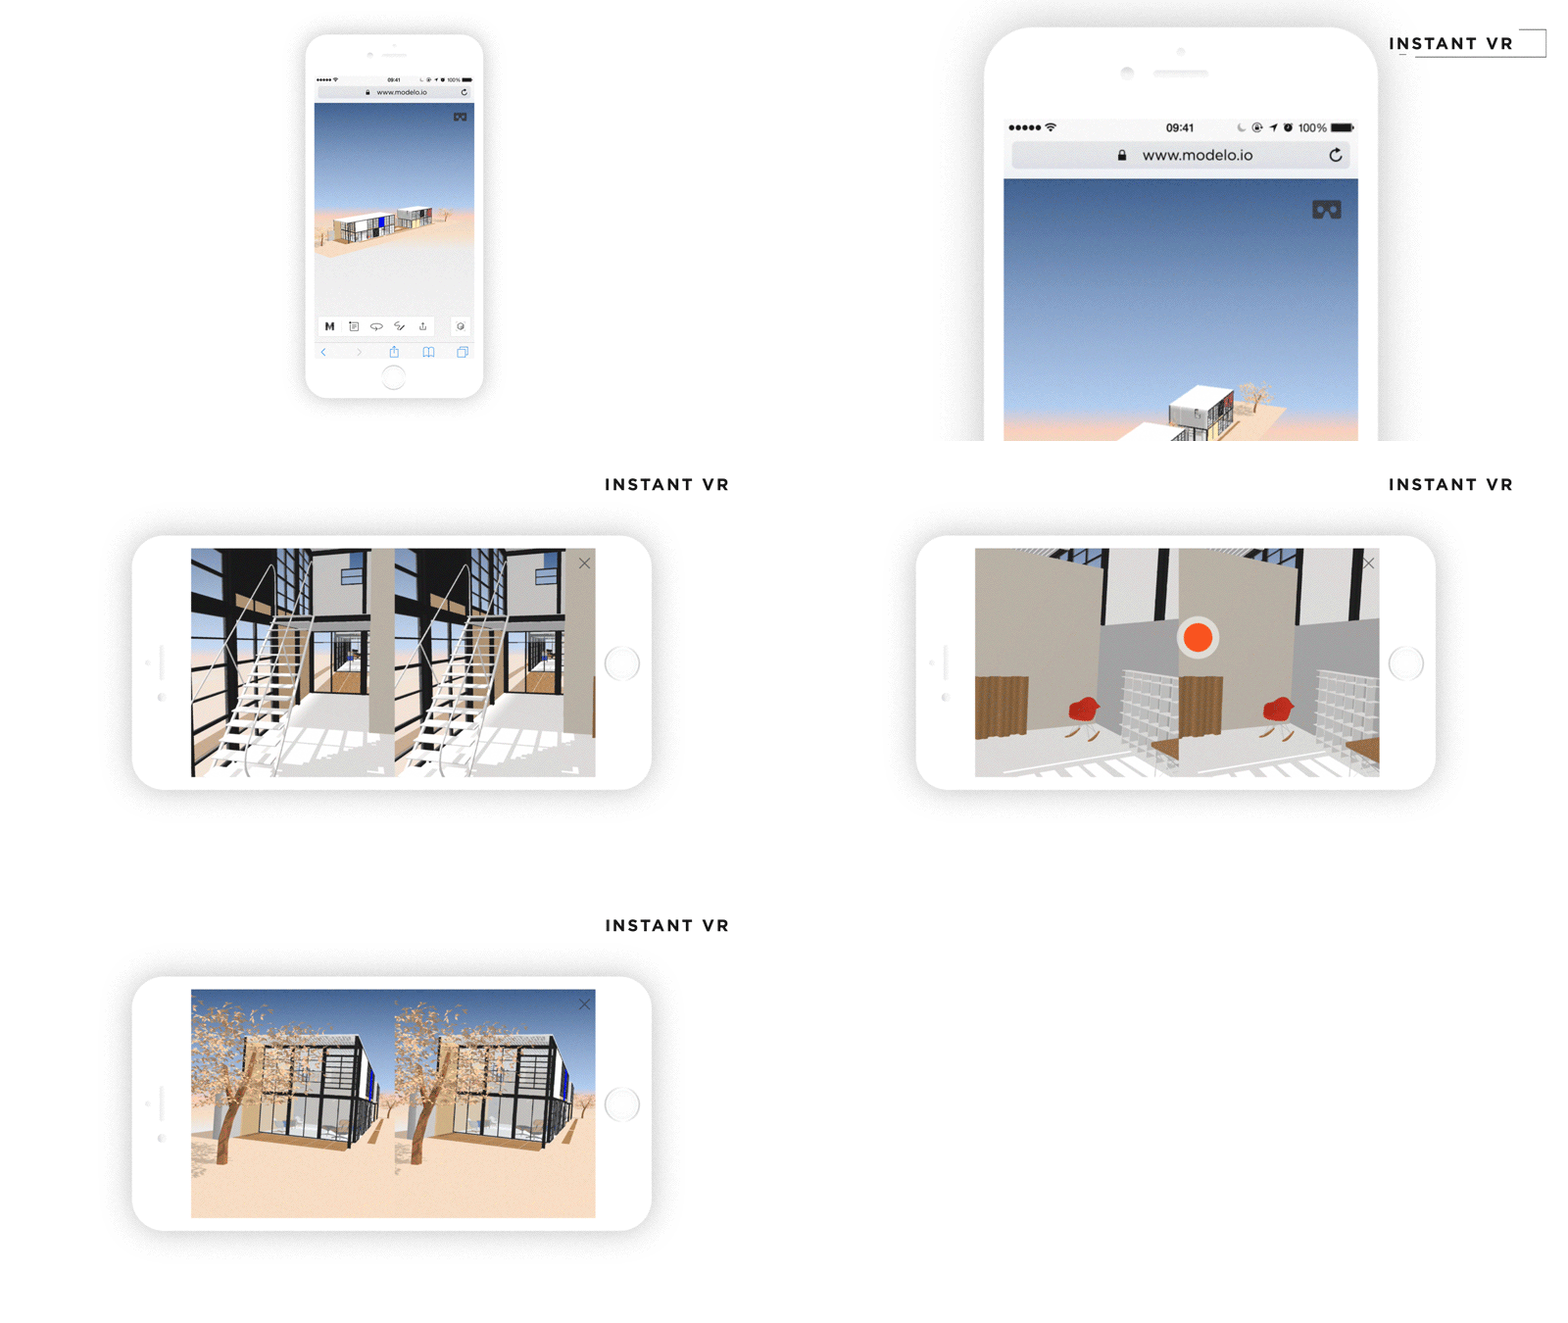
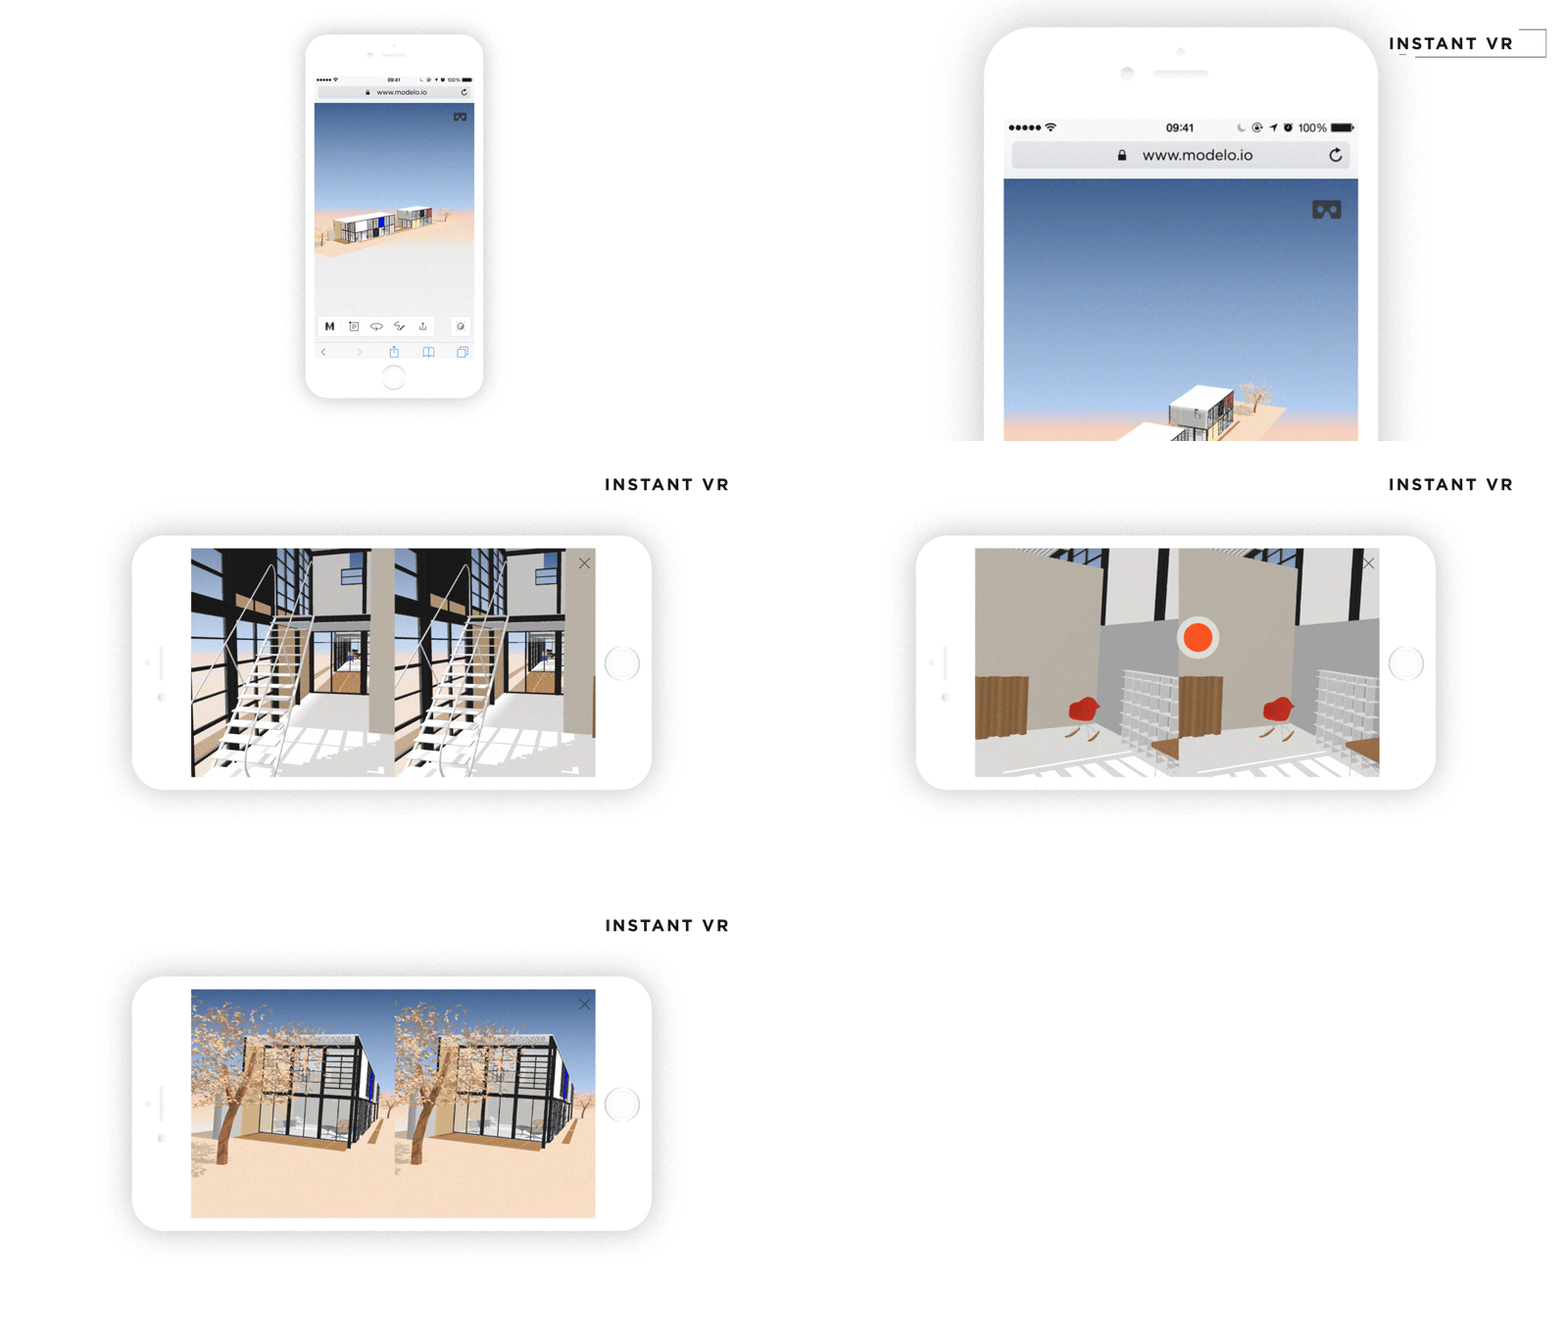
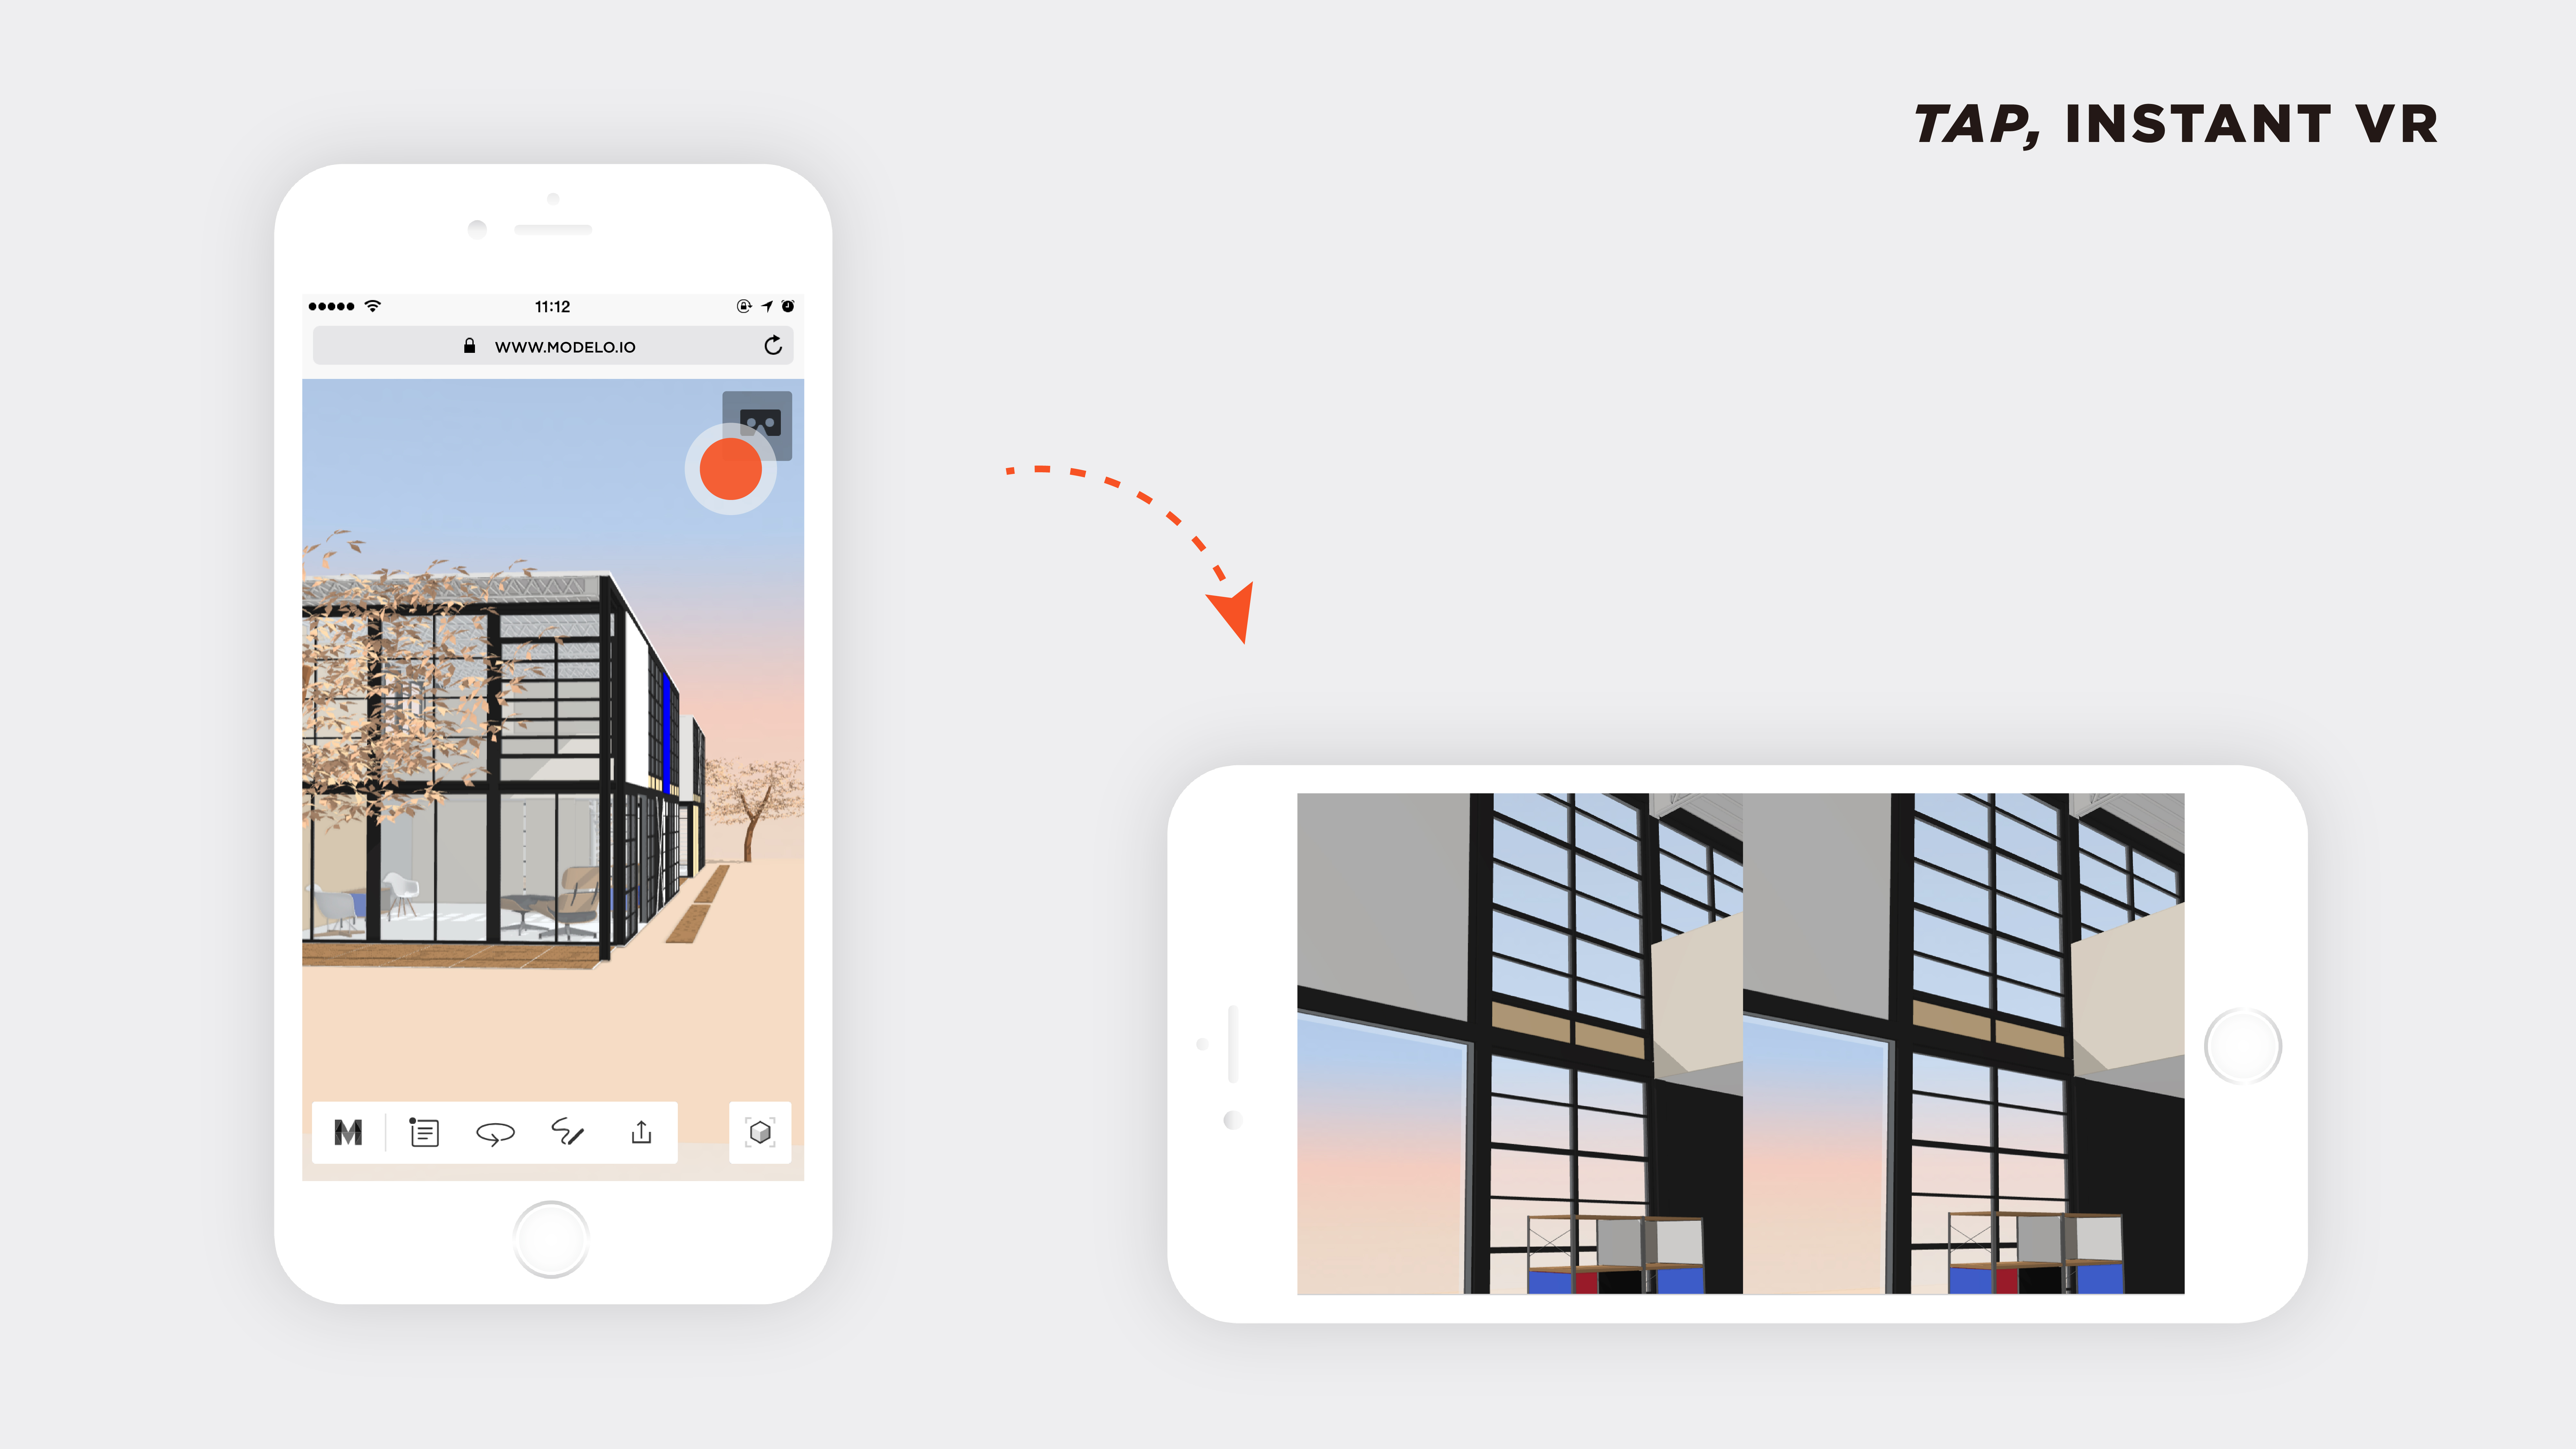
When you have the model open, all you need to do is tap the VR icon in the top right corner. From there just slip your phone into the Google Cardboard. And there we have it! For a more visual explanation, check out our SketchUp to VR video on Youtube below. 

Learn more about the 10 reasons to use Google Cardboard and Modelo to view CAD files here and sign up today to get started on collaborating with VR.

Convert Revit Files to VR with Modelo in less than 120 seconds

Let’s face it, VR is here and it is here to stay. The main issue around VR currently in the building industry is that everyone wants to have their hands on it, but nobody really knows where it fits best in the workflow. Is it used best in early stages or late stages of design? Is it a tool to communicate your vision more effectively with clients? Or is it a design tool used to understand the space as it is being designed? From what we hear from our users, the verdict is still out on where VR best fits but one thing we do know is that the only way to successfully implement VR into your workflow is to make it easy and fast. In this article, we are going to discuss how to convert Revit files to VR using Modelo and how you can do it in less than 120 seconds.

Revit has become an essential software in every stage of design and construction because of all of its powerful tools. But Revit is usually not complimented on its speed. Today we will talk about how with Modelo you can convert Revit files to VR in less than 120 seconds and have your clients viewing models in VR without any training or fancy hardware needed.

Steps to convert Revit files to VR:

Step 1: Go to www.modelo.io to create a free account and to download the Revit exporter that can be found in the top right corner of your home page when logging into Modelo.

Step 2:  Open up your model in Revit, copy and paste your token from Modelo to upload it into the correct project and folder. Make sure to select the view you want to upload with and make sure export textures is turned on and hit upload.

Step 3: Jump into your Modelo account to view your model and use Modelo’s comment cards to quickly create a couple views that will double as the scenes in VR mode.

Step 4: Log into Modelo on your mobile browser, click on your project and tap the VR button in the top right corner. From there you will be prompted to turn your phone to landscape mode and place it in a Google Cardboard.

In only a few steps, you are able to convert Revit files to VR using Modelo and all you would need is a Google Cardboard to view. (Learn about the 10 reasons you should use Google Cardboard to view CAD files in VR here.) Now that you have converted your Revit file to VR, it still leaves the questions on what to do next. Will you then use this internally to walk through your design or create a VR walkthrough and share it externally with a client using a unique URL?

Remember that a client would not have to download or log into anything to view your model with Modelo. They would just need to open the URL on their mobile phone and tap the VR button. This is another benefit that separates Modelo from other software out there because it was built with clients in mind and makes it as easy as possible for you to communicate your vision to them.

The next time someone in the office gets the urge to jump into VR. Head over to Modelo and convert your Revit file to VR. You will be blown away by easy it is to do, how fast it can be done and it will have you thinking about why you spent all that money on the fancy VR hardware that is still in the corner of your office.

Convert Rhino Files to VR with Modelo

Modelo is the easiest way for Rhino users to create and share VR experiences of their models, allowing for clients and colleagues to truly understand the design vision throughout the design process.

The transition from Rhino to VR will take place in a matter of 80 seconds. When logged into Modelo on your desktop, open the page for the Project you are working on and open the Folder in which you would like to upload the Rhino model. Click on the “Upload” button, which will pull up the “Upload Model” window. Simply drag and drop the Rhino file right into that window and click the orange “upload” button. The file will be processed into Modelo in a matter of seconds.

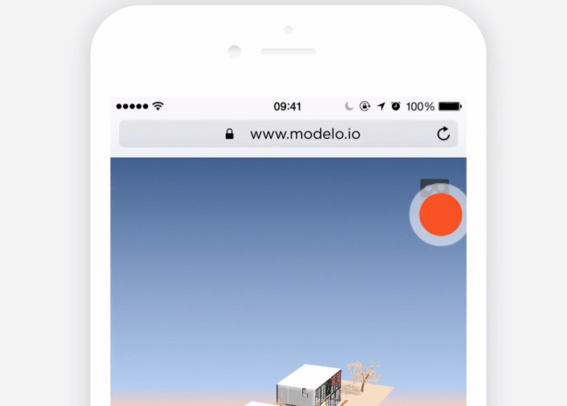
To view the model you have uploaded from Rhino in VR, open Modelo on your mobile device. Go into the project and folder where the model was uploaded.  You will see a circular orange “3D” icon in the bottom right of the model. Click this icon to bring up the 3D view of your model. When you bring up the 3D view, you will see a VR icon in the top right of your screen. Click that icon and turn your phone to landscape and you will be in VR. Put your phone into Google Cardboard and you will be immersed in your design. Not using Google Cardboard yet? Check out these 10 reasons why you should use Google Cardboard to view 3D CAD and BIM files.

Now that you have your Rhino model in VR, it’s time to create a VR walkthrough tour of your model and share your VR experience with clients and collaborators. To learn more, check out how to Create VR tours of your 3D model and Share your model with clients.

10 Reasons to ONLY Use Google Cardboard to View CAD Files in VR

We’ve outlined the top 10 reasons to use Google Cardboard and Modelo on your phone. We’ll uncover how you can you save hundreds of dollars and hours of tedious set up time, while still getting the same quality VR experience to view your CAD files with Modelo.

  1. Pricing

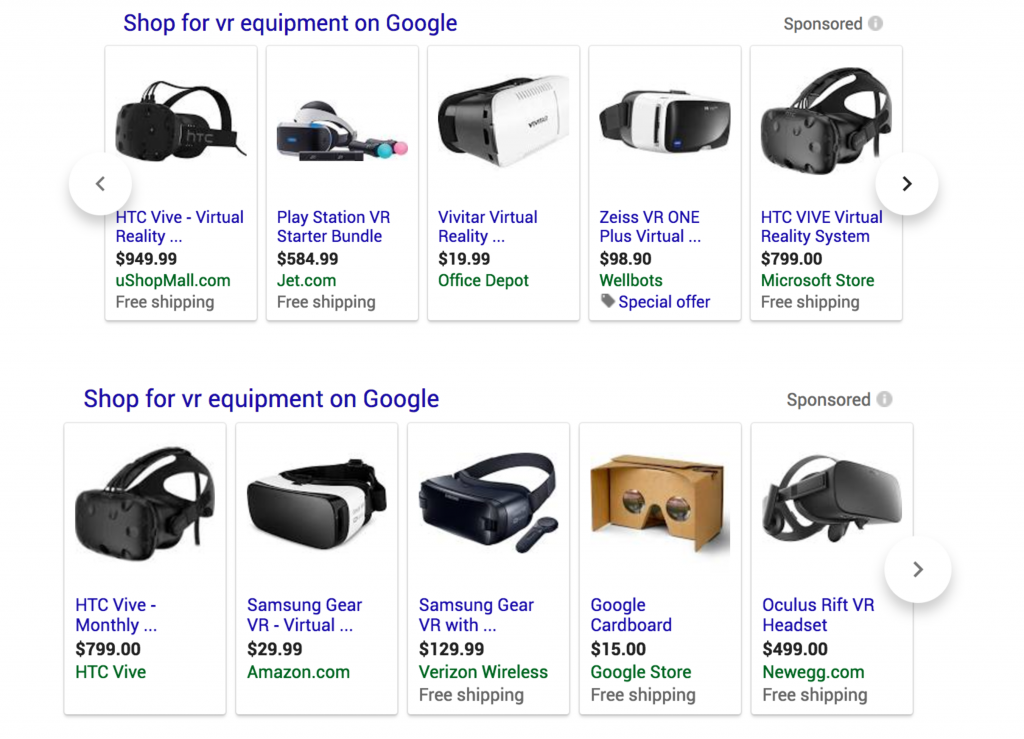
There are many VR headsets on the market now. But the Google Cardboard only costs $15, while other brands may cost hundreds of dollars more. Not only can you save money, but you can have a high quality VR experience and use multiple cardboards at the same time rather than just one headset, making it a more collaborative VR experience. Plus, as an added bonus if you misplace or break one it won’t matter as much. 

  1. Set up

To set up the HTC Vive, you need to read through an 89-page manual just to set up the physical equipment alone. Not to mention, to make it work with your own customized content, like your 3D model, on their interface or platform there are more instructions.

I have personally tried to set it up and it took me a whole day but ultimately I failed, proving how difficult it is to set up these complex VR headsets.

It’s not worth spending hours to set up equipment for a 5-minute-moment of your presentation, and sometimes you will need to pay for other professionals to help you set up. But that’s another extra cost.

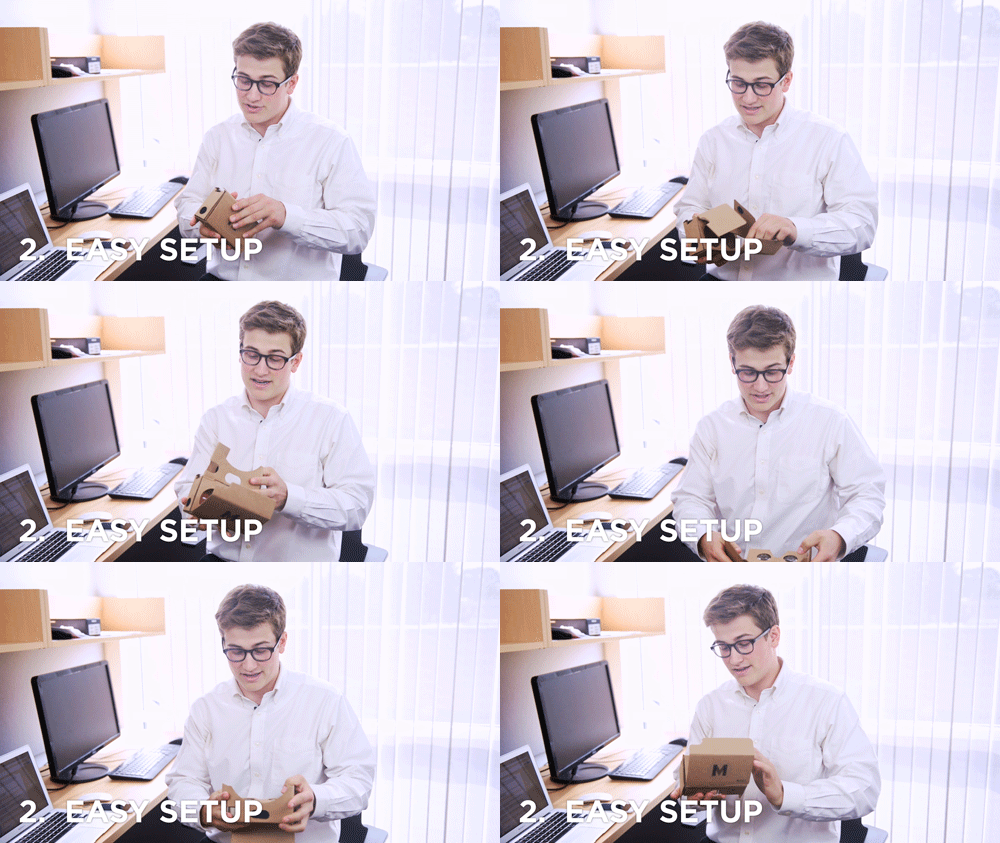
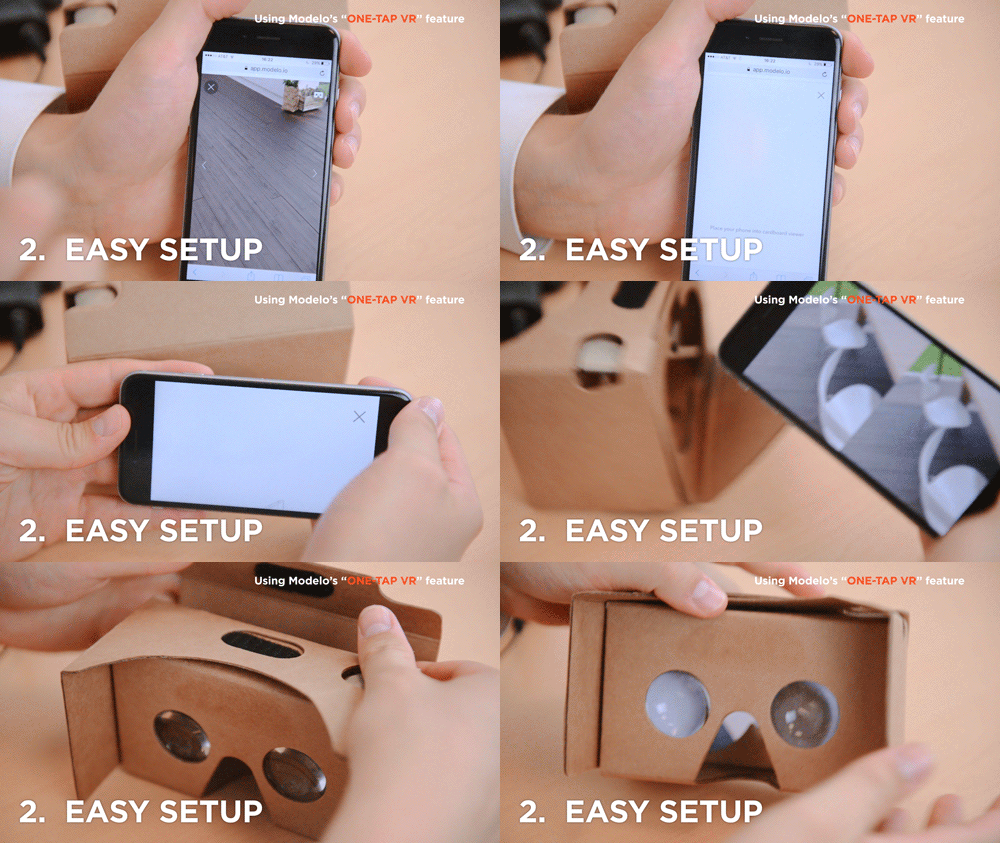
Overall, the time plus the cost you put into the equipment isn’t worth it for a quick presentation. Plus, if your client gets VR sickness, all of the effort put into the set up isn’t worth it. But with Google Cardboards and Modelo all you need to do is to fold the box, open the model on your phone, and with one click on the VR button, you are immediately in VR mode.

  1. Screen limitations

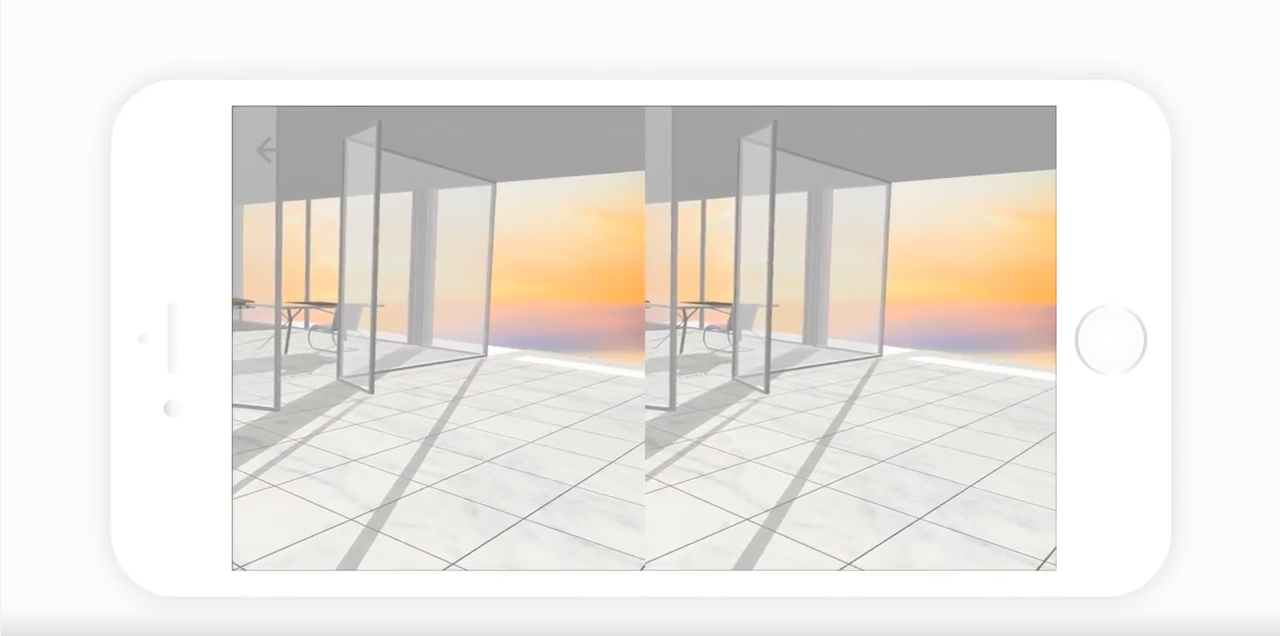
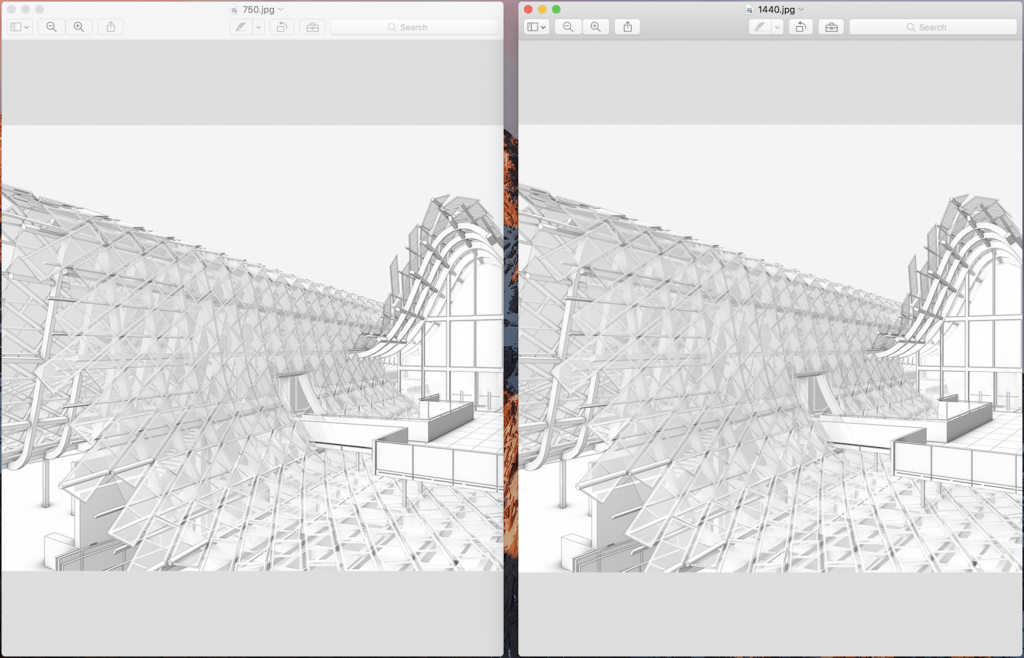
According to the opinion of professional opticians, the base station plays a big role in regards to the display resolutions of your VR equipment. Which means you can achieve the similar visual experiences if you use similar or higher resolution phones with google cardboard. Actually the highest VR resolution display on the market is 1440 x 1280 per eye, but normally the iPhone’s screen resolution is 750 x 667 per eye. Below is a comparison between the two resolutions:

Not so different, right?

  1. Device requirements

Now let’s discuss the base device more in-depth, which is what you display your design on. Generally, most of the VR equipment requires its own specific device as the base device and they will only work with certain brands. For example, Google Daydream will only work with Google’s Pixel phone, and Samsung Gear only works with its own phones or those that have embedded screens.

On the flip side, Google Cardboard works with any mobile device, and Modelo does as well. That means pairing Google Cardboard with Modelo gives you the most flexible choice when viewing in VR. As long as you have a Google Cardboard, you can immediately dive into VR mode.

  1. Mobility

If you use HTC Vive, Gear VR or Play Station, you will be hooked up to messy wires. Not only is that unattractive but you can only move around within a certain vicinity. With Google Cardboard, there are no strings attached. It’s convenient to carry around, present to your clients and view VR on the go.

And best of all, it’s so light and small so you can store it anywhere or even travel with it.

  1. Modelo was built for Google Cardboard

Modelo’s platform was designed to work with Google Cardboard and be as convenient as possible for users. Modelo can host all the major 3D file formats online, like Revit, Rhino, 3ds Max, SketchUp and Vectorworks. All you need to do is to open your 3D model on your phone in the browser, and with one click, you can present anywhere, anytime.

Modelo was designed to cut down the time it takes to prepare presentations. Now you can use that valuable time to work on the one thing that truly matters, your design.

  1. Be effortlessly impressive

When we present, we want to impress our clients with the details of the design effortlessly. The goal is not to intimidate clients with fancy gear and the design should be the center of attention, not the equipment. 

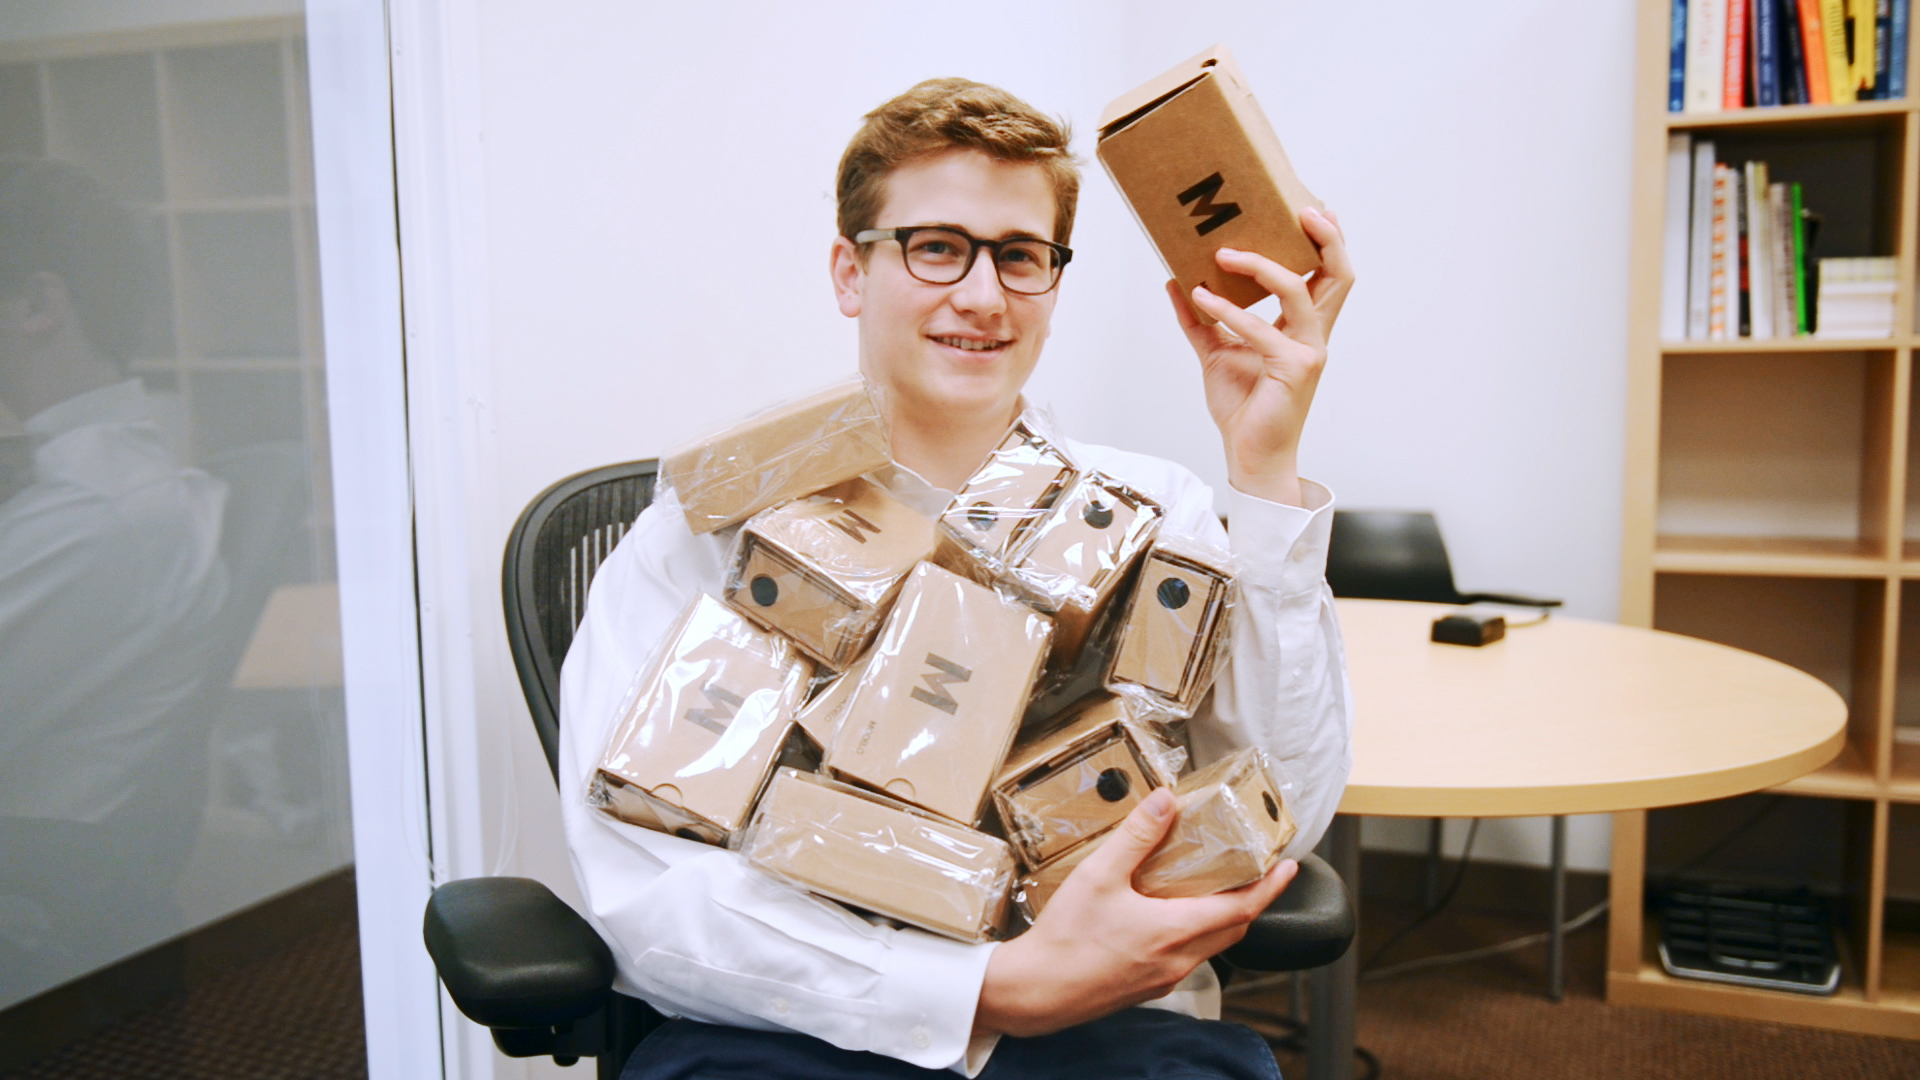
With Google Cardboard, you can hand out a dozen of them to your clients, so they don’t need to wait to view in VR. This way no one will be left out. Then you can walk them through your design all at the same time together without repeating yourself.

  1. A great gift to give away

Give the Google Cardboards away as a very practical and nice gift to your clients, so they can check the project’s progress remotely anytime they want. The communication will become more direct.

  1. Self-branding

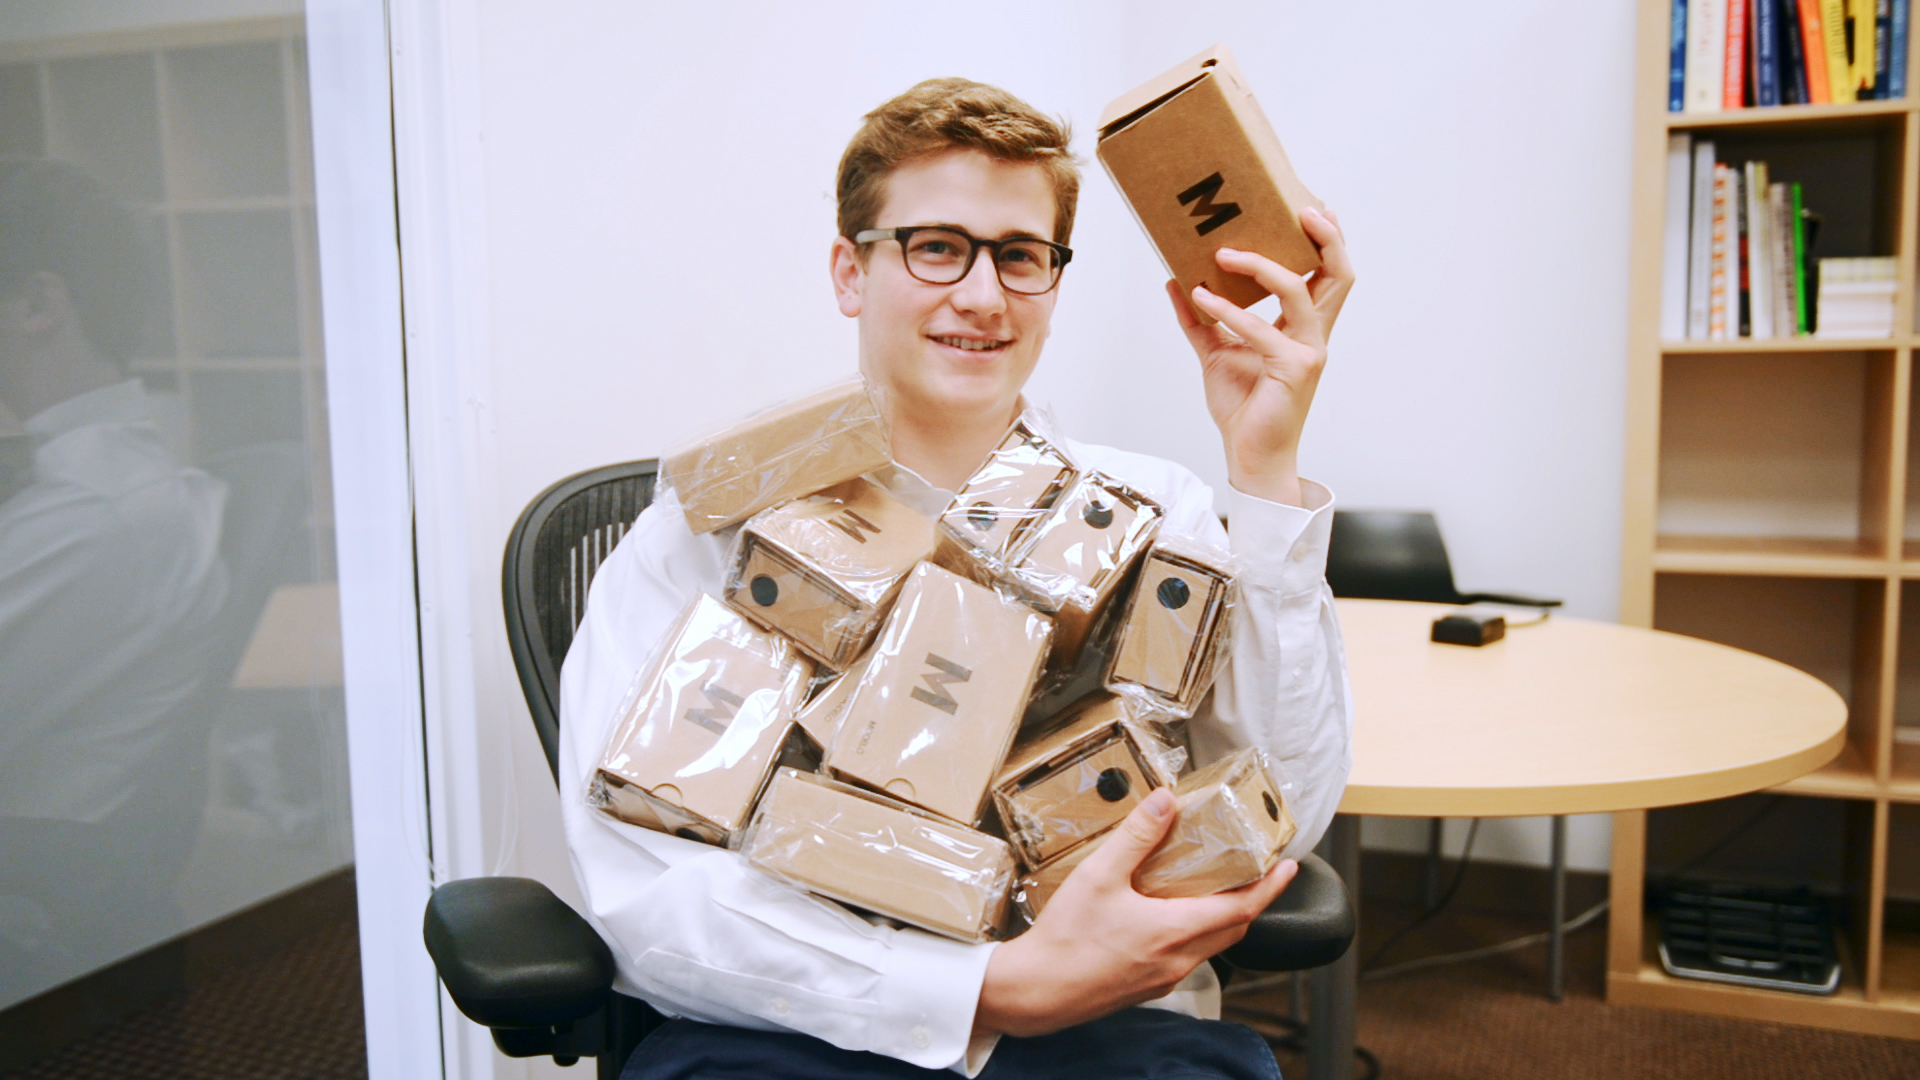
Another great feature of Google cardboards is that you are able to brand them with your own logo or visual identity, meaning the surface is printed with your own design at an affordable price.

  1. Eco-friendly

Last but certainly not least, Google Cardboard is eco-friendly so you are helping the world by using it.

Essentially the purpose is to present to clients in a fast and easy way and to catch their attention immediately. Also, use Google Cardboard and Modelo VR as a handy tool to study your own design. Try it now for free and learn how to create VR tours of your 3D models.

Create VR Tours of Your 3D Models in minutes using Modelo

When it comes to communicating the vision of a design with clients and curbing the time spent reworking models, VR can be a powerful tool if used effectively. The effectiveness of VR is often related to the type of VR experience created for the client.  

A VR experience that provides a first person perspective from a single viewpoint is a good way to bring a client into a scene and allow them to get the feel for a particular space. This is particularly useful when creating a VR experience on the fly or when the viewpoint is centered in a 360 degree panorama image. (learn how to view 360 degree Panoramas in Modelo).

Creating more of a VR walkthrough experience is an immersive way for clients to visualize and understand the true scale of a design. However, giving a client free reign to walk through a design can be counterproductive since that type of free movement can be distracting and ultimately take focus away from the objectives of a presentation.

Modelo gives users the ability to create scripted VR tours of 3D designs, allowing clients to be fully immersed in the space while maintaining the vision of the design team. This is done using our Comment Card feature to create 3D views within a model. The 3D views can be created easily from anywhere in the model and with different rendering effects to create the ideal experience.

When the model is shared with clients and viewed in VR on a mobile device, the 3D views are cycled through sequentially using the interactive clicker on Google Cardboard. At each 3D viewpoint, clients will be able to explore the space by moving their head and looking around the model. With these abilities, as Modelo users, design teams are able to create and share This is done using our Comment Card feature to create 3D views within a model. VR tours of their models in minutes. Try out Modelo VR today and sign up for a free account!