Creating Powerful Presentations with 360º Panorama Images

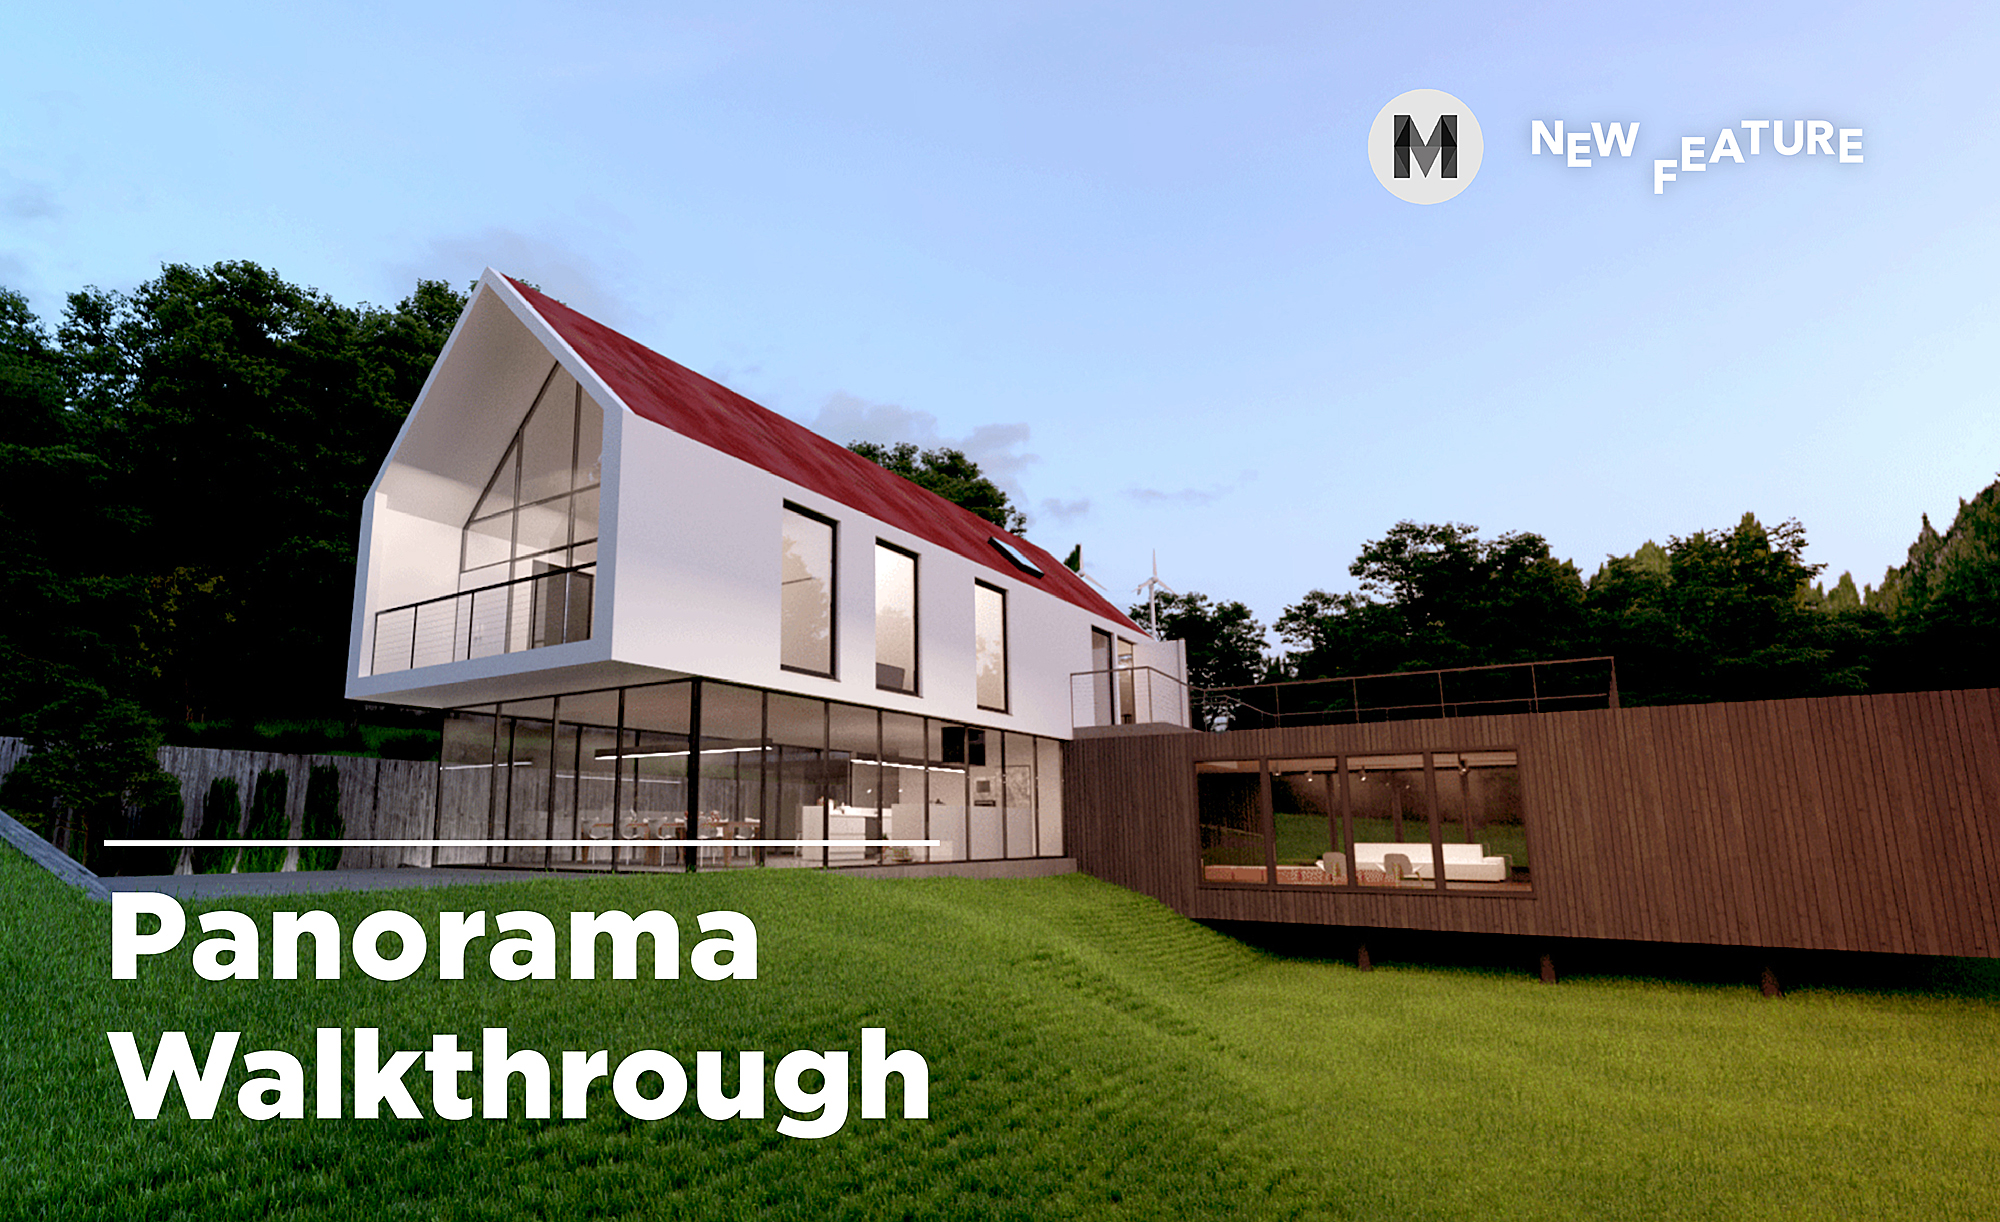
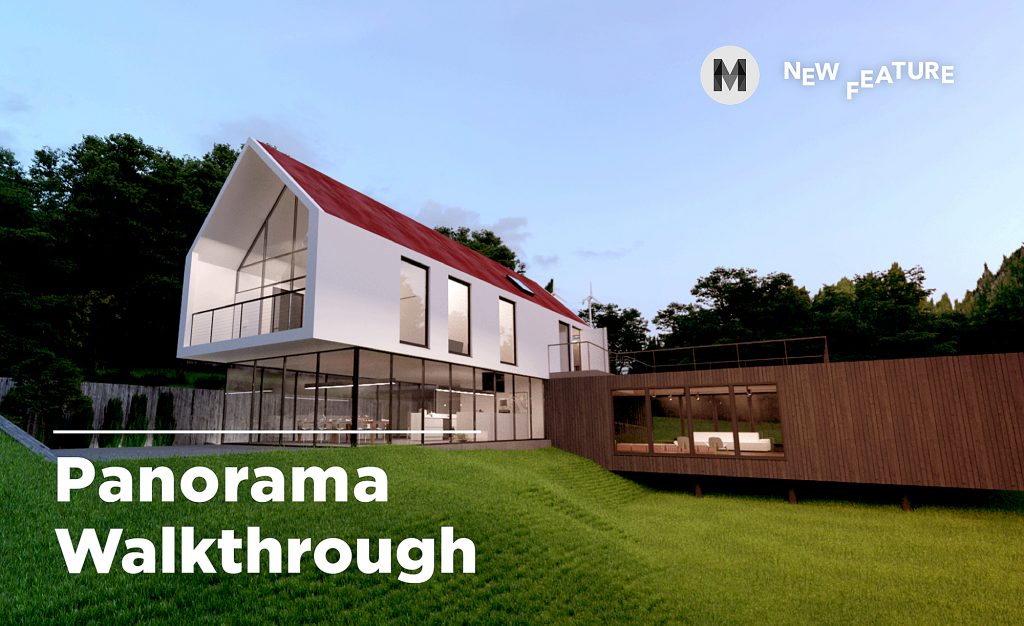
Architecture is about designing a space for people to connect with each other, create memories and come together. And realizing this noble pursuit is easily achieved when the building has been constructed. But, how do you communicate this sentiment with your client when you are still in the designing stage? Enter panorama images. Or, more specifically, presenting beautifully rendered, 360º panoramic images.

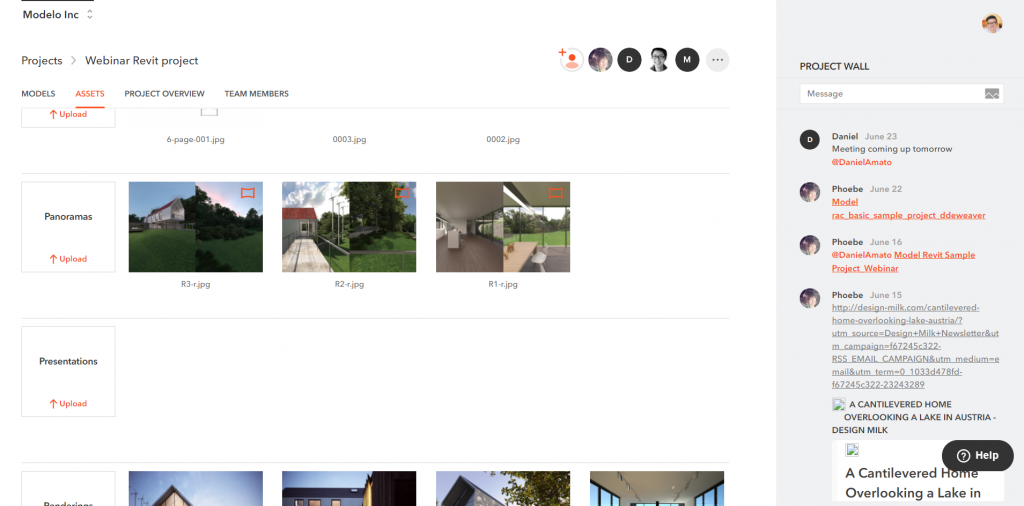
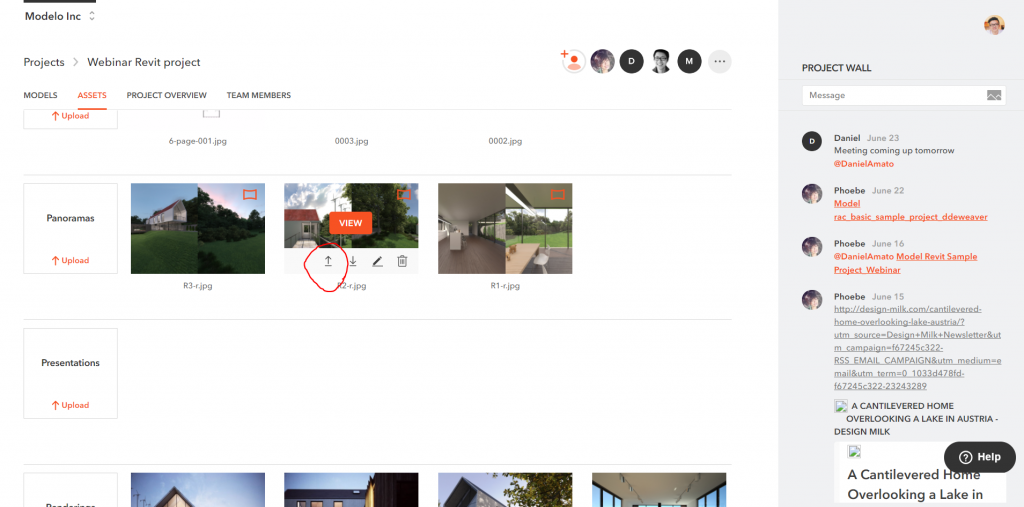
Presenting 360º images, particularly in Modelo, is a powerful and very easy way to immerse clients, contractors, and colleagues alike in your vision. To make your next presentation a success, try presenting panoramic images in context.

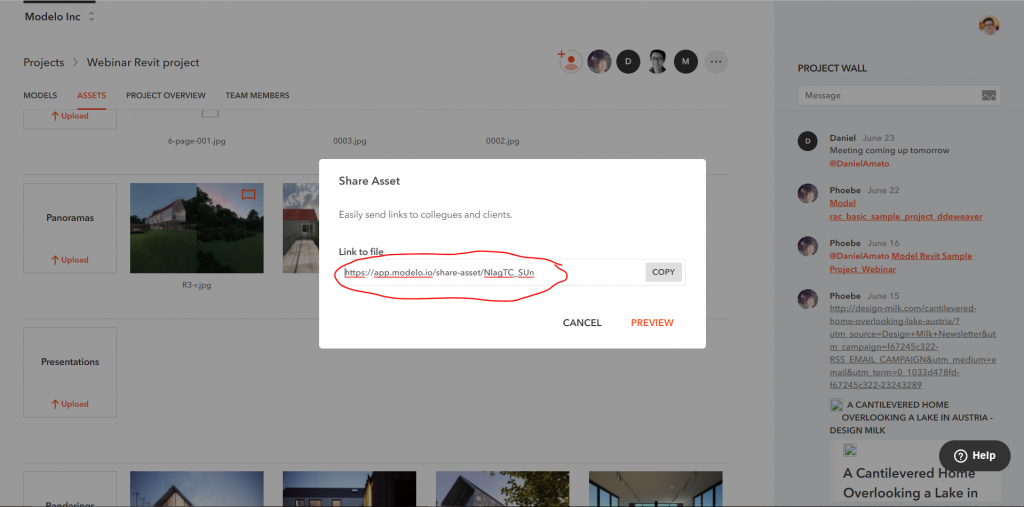
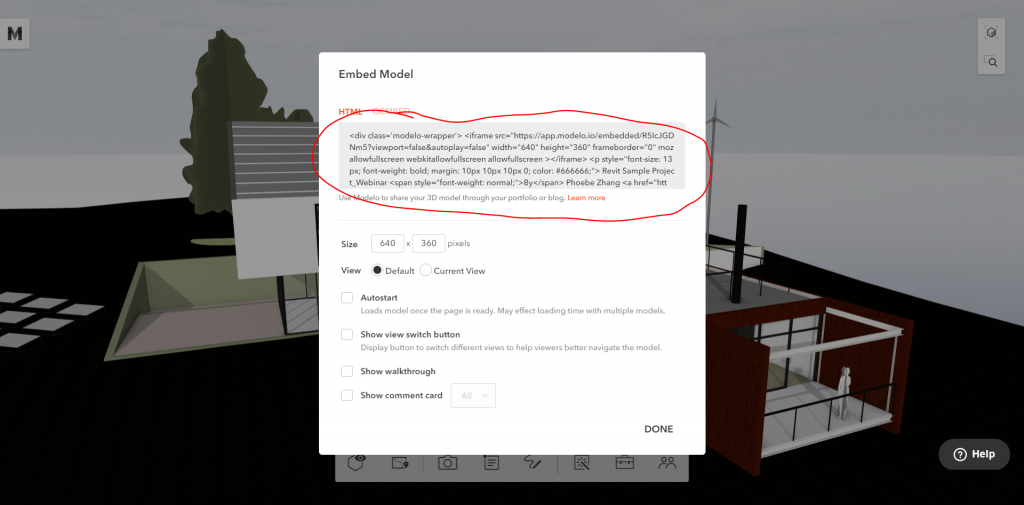
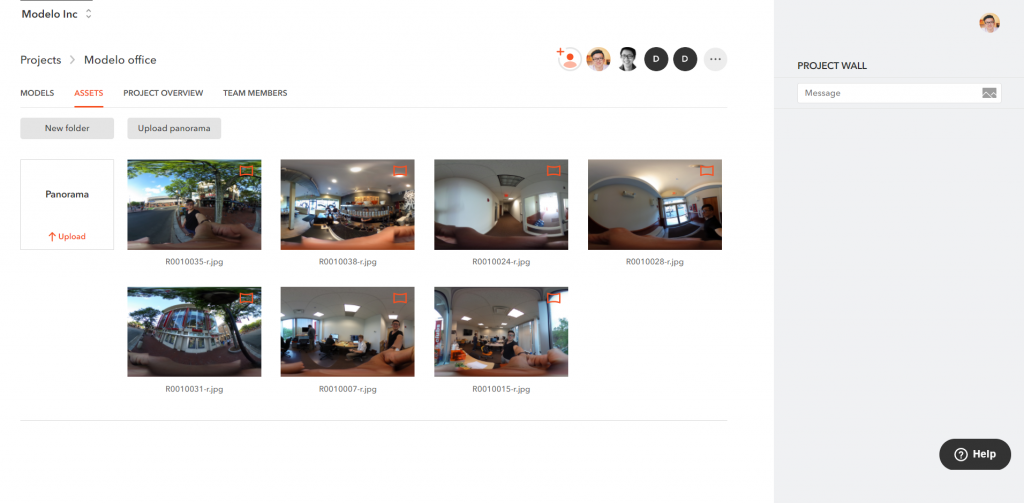
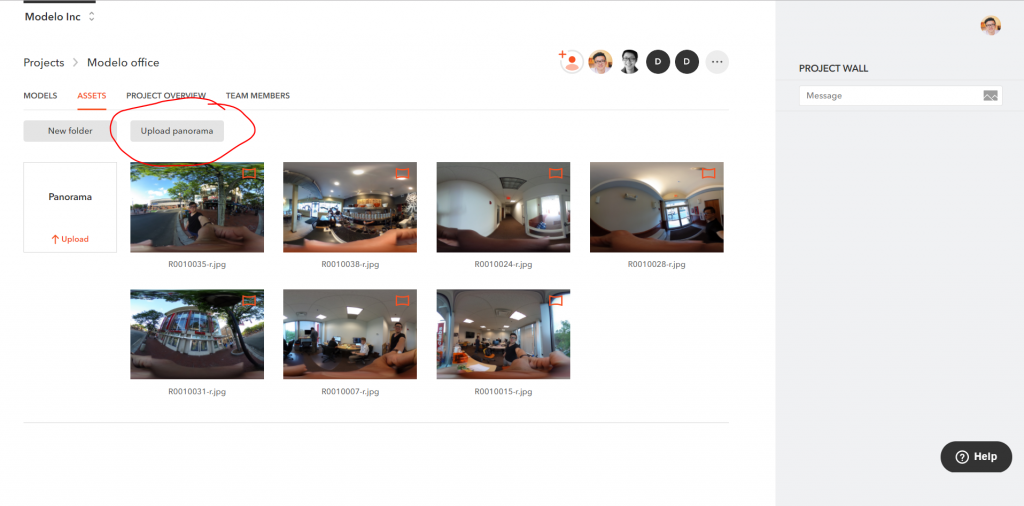
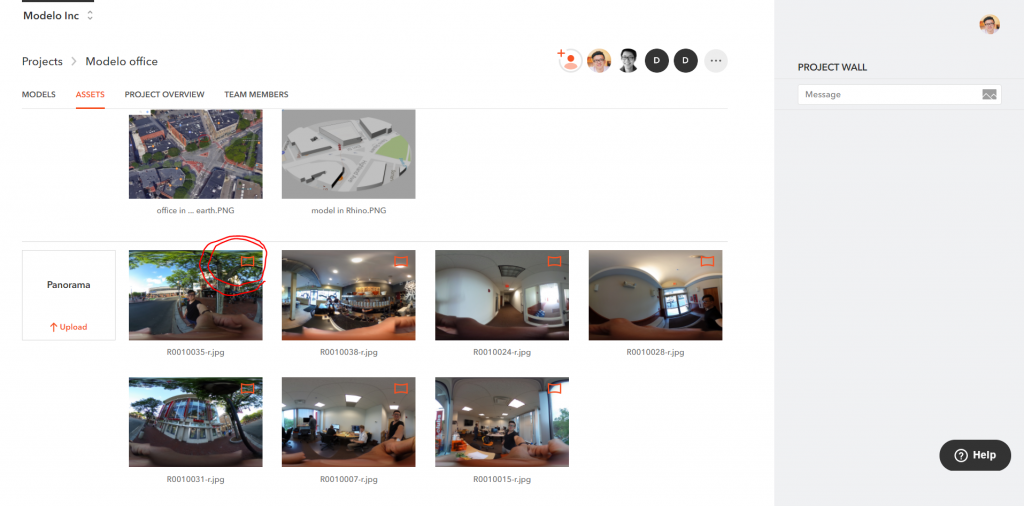
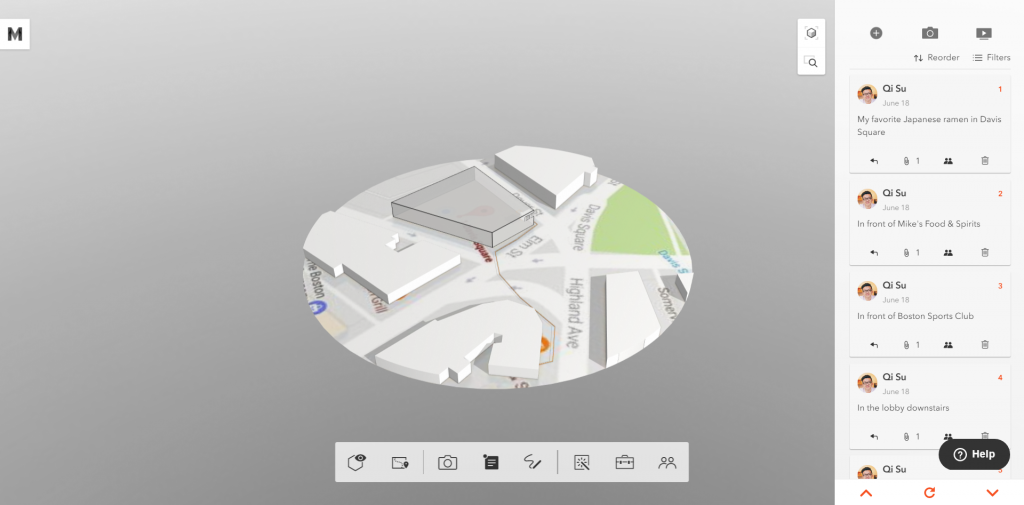
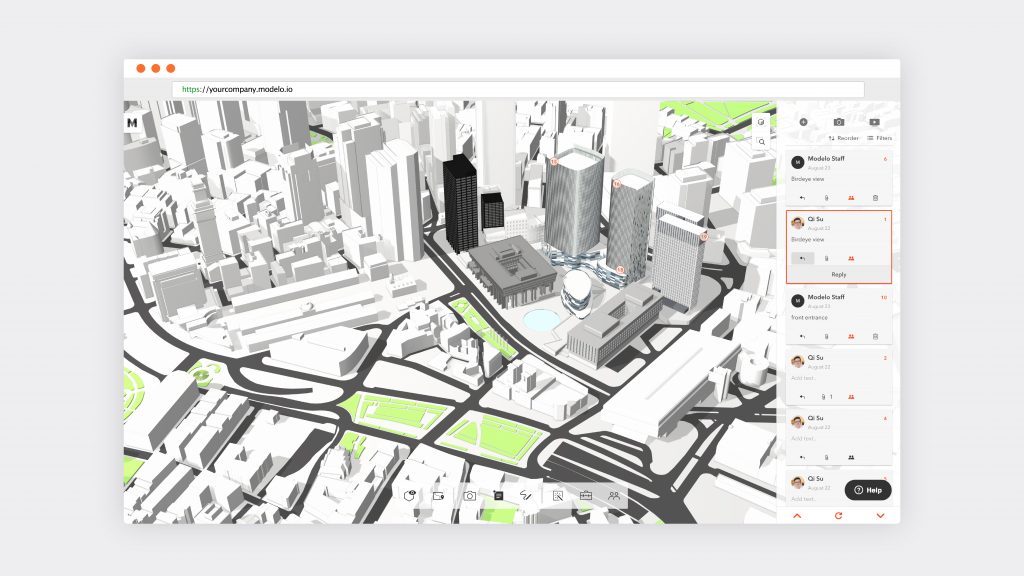
If you are familiar with Modelo (and if you aren’t, click here to set up a FREE FOREVER account), you will know that you can upload your model from almost any CAD software and use Modelo’s comment cards mark it up with new ideas, feedback, and comments anywhere on your model. When you are ready, these comment cards can be marked as being ‘Client Ready’ which means they are all set for your client to review. Now, here is the pro tip: attach panoramic images to your comment card using the paper clip icon.

Add comments to any area of your 3D model in Modelo for ultimate collaboration.

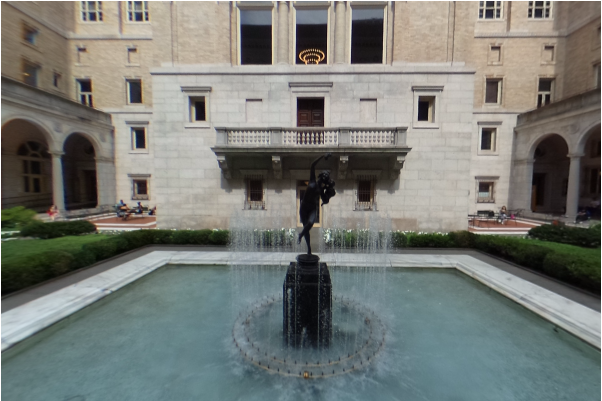
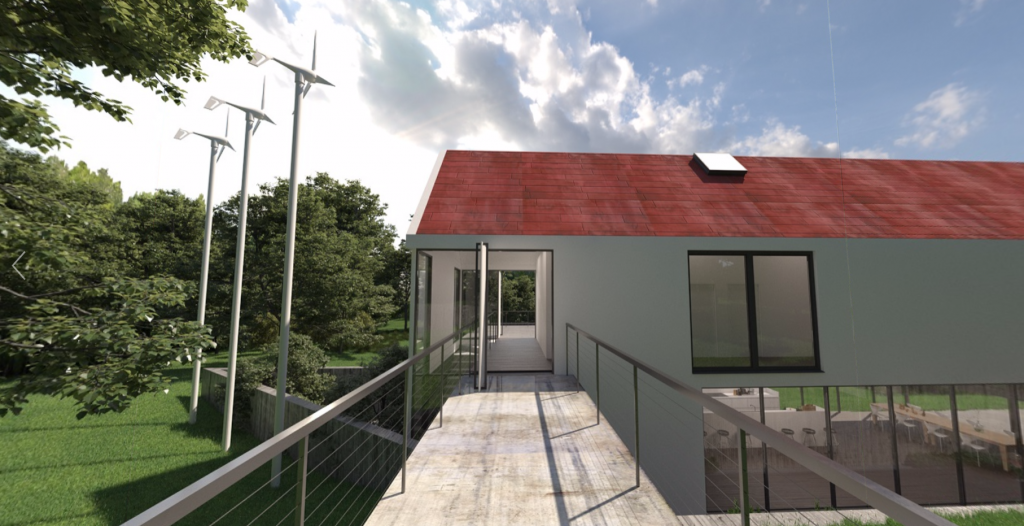
Imagine you have nailed your design brief and are showing your client all of your hard work. You’ve created an engaging 3D walkthrough of your design (which you can also create in Modelo) and it has whet their appetite. But, as you look across the table to your client, you notice that the client is struggling to imagine what their design will look like when construction is finished, a situation that I’m sure you are no doubt familiar with.

Upload 360 images to Modelo for an immersive design review process

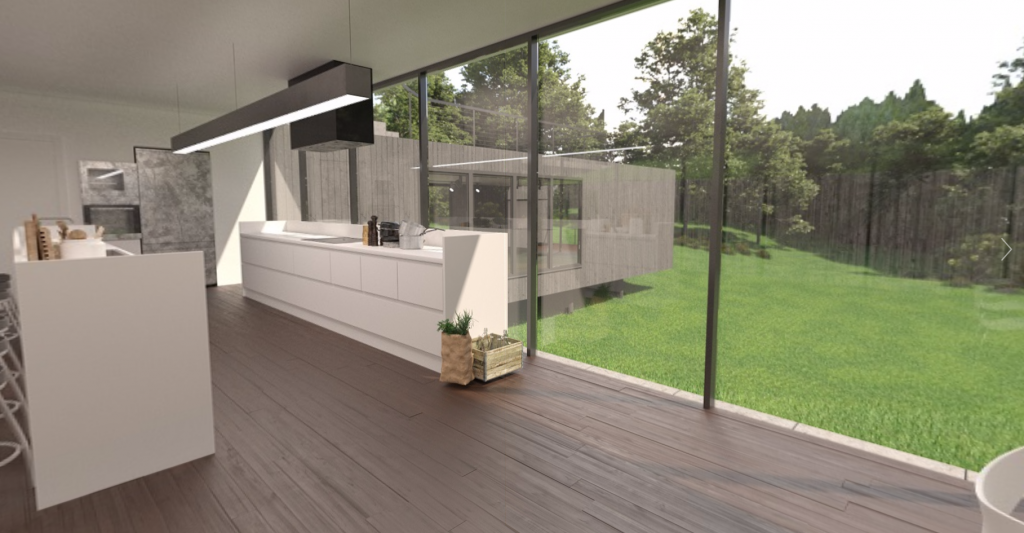
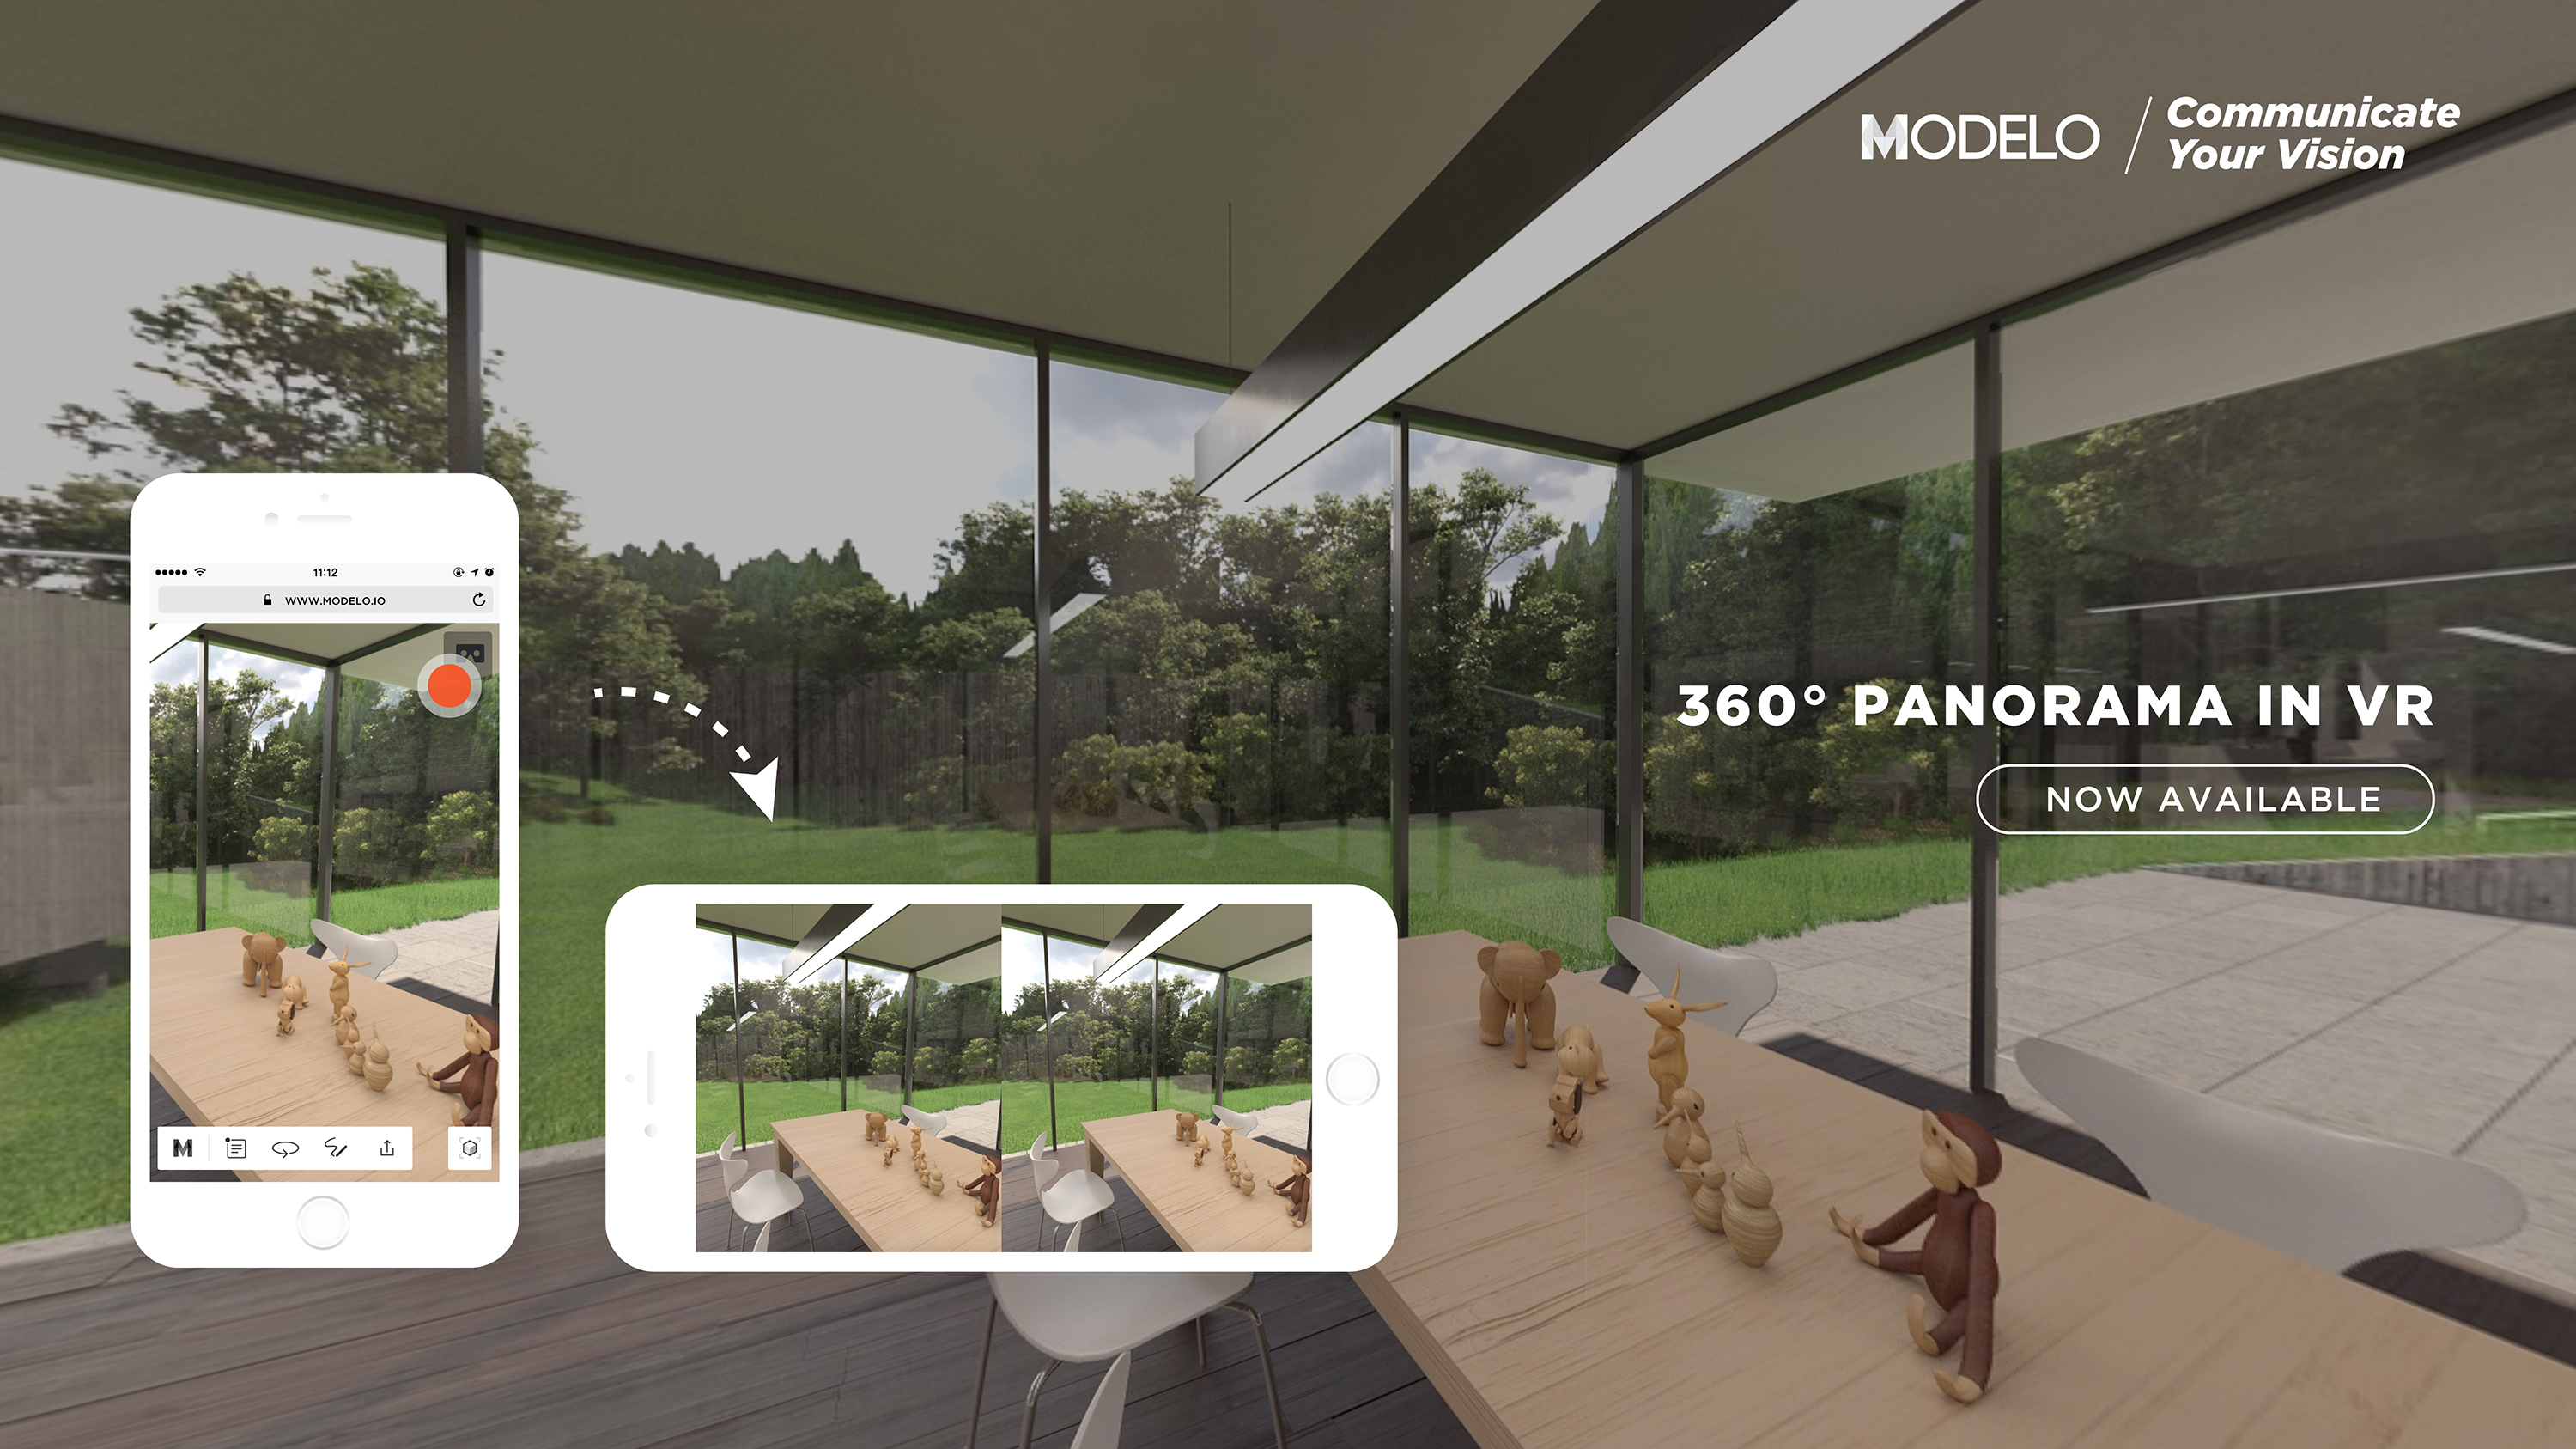
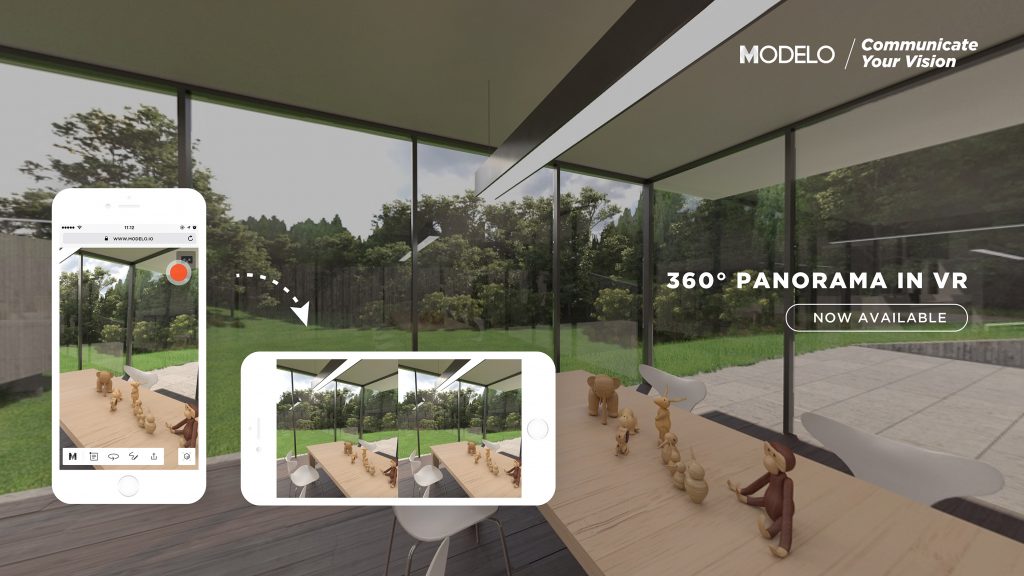
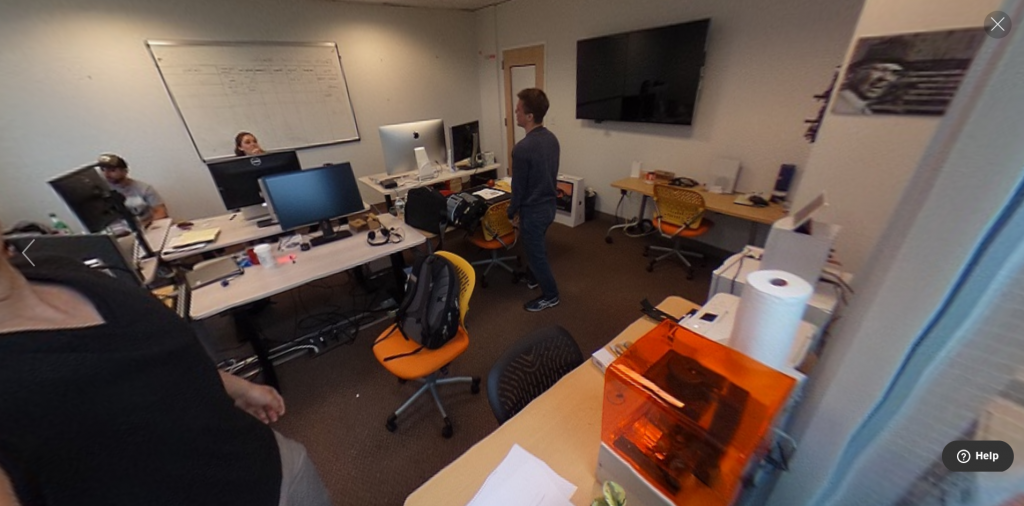
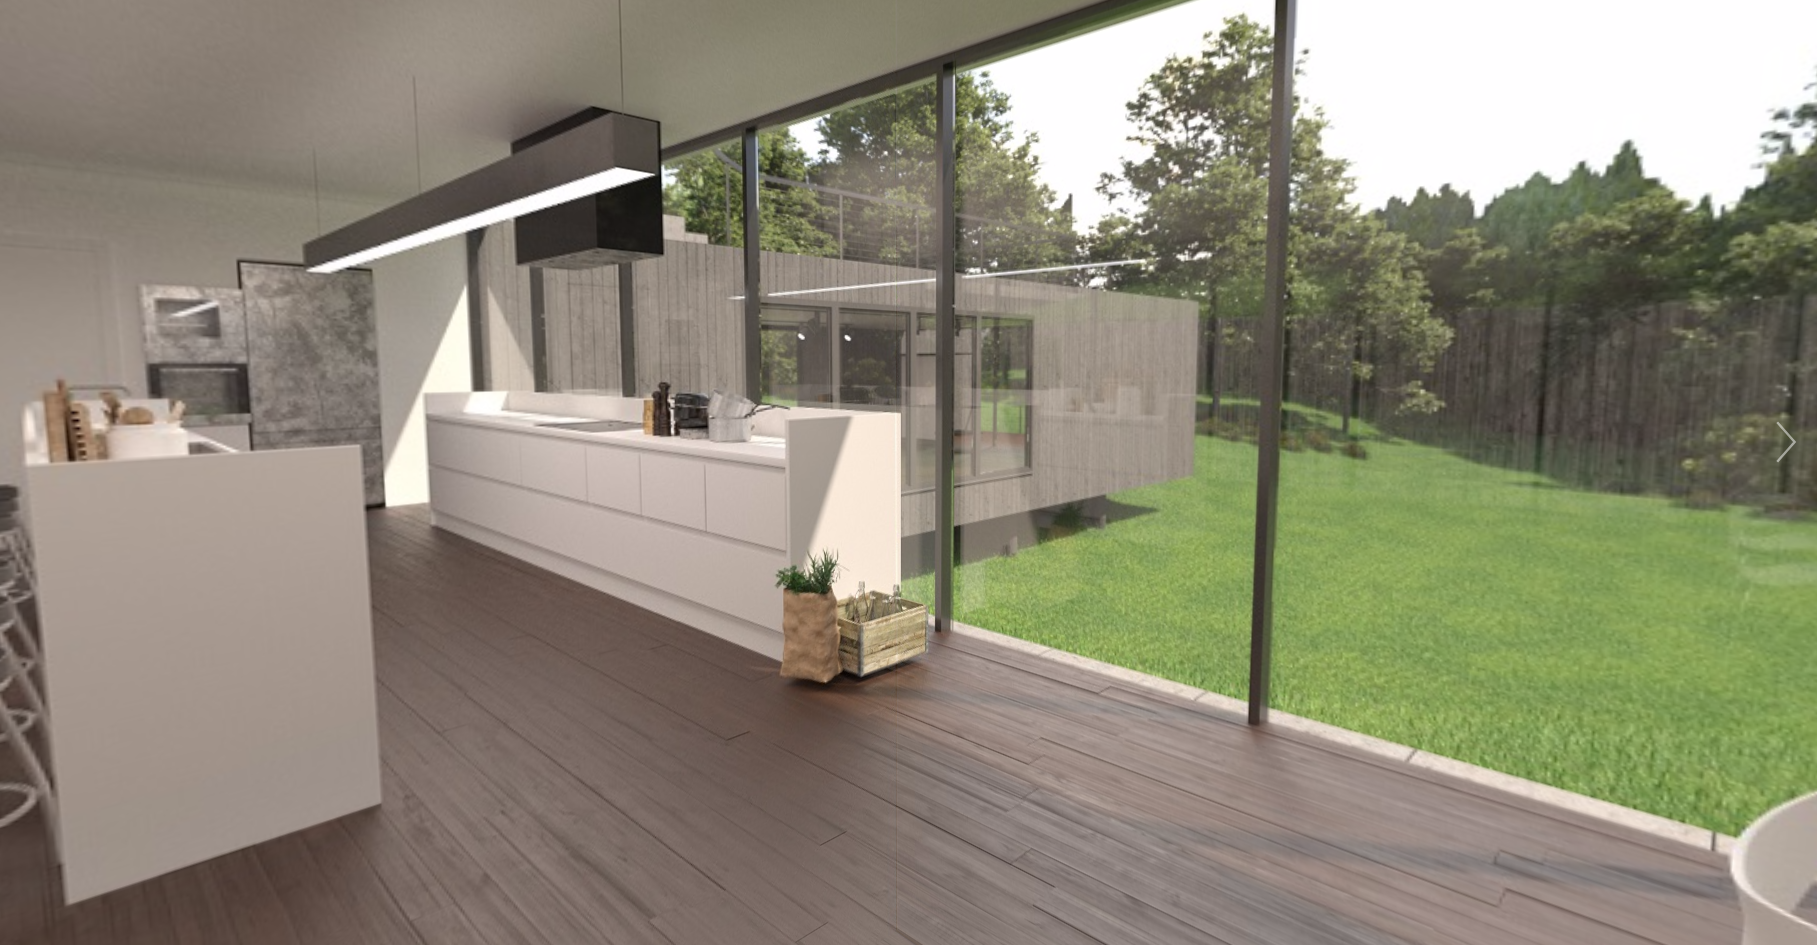
Well, the answer is that you explore each aspect of your design, open the attached panorama image and wow your client with a high resolution, photo-realistic rendered panoramic view of that same area.

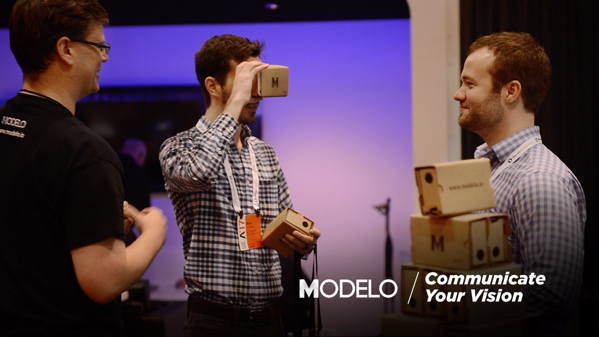
For an even more immersive experience, give your client a Google Cardboard and let them view a 360º panoramic image in virtual reality.

If you would like help from Modelo creating or attaching panoramic renderings, please contact hi@modelo.io or call your Success Specialist on +1 (617) 945-8692.

Make Design Decisions Faster by Using VR

Virtual reality visualizations allow AEC professionals to make informed design decisions on complex 3D designs quicker, allowing you and your firm to close more deals.

When you create VR tours of your 3D models, you essentially bring your design to life. No longer are you staring at a 2D drawing or even a 3D model on a computer screen. But you and your client are virtually walking through the front door, deciding which new kitchen counters to install, examining the specs of the bathroom, and truly immersing yourself in a realistic representation of the brand new charming house your client has dreamt of all her life. Plus, add a 360º image as the background of your 3D model and surround the house with the mountain flowers of Aspen, Colorado to give the full effect. After all, seeing is believing.

It’s not a mystery that designs go through many phases, and with those phases come lots of decisions. VR allows you and your client to come to design decisions quicker and it prevents misunderstandings or costly rework down the road. By using VR as a collaboration tool throughout the design review process, everyone can be on the same page, looking at the same model in VR. Modelo encourages thoughtful and beautiful design, but above all we encourage collaborative design.

When firms use Modelo’s VR tool, they upgrade their design capabilities and decision making to the next level. Learn how Modelo works perfectly with Google Cardboard, a less expensive but equally effective VR headset that’s easy to set-up. Further, pairing Modelo + Google Cardboard is especially easy for clients to use because there are no downloads required and it’s extremely intuitive for non-designers. When clients are immersed in the project along the way, they are more involved in the decision making, meaning that it’s easier to come to necessary conclusions. A client-centered approach means closing more deals and making your organization more money.

Use Modelo to view complex 3D designs in VR.

Besides client communication, VR is especially beneficial for internal collaboration. VR helps architects and designers understand their own designs better, thus allowing them to make design decisions quicker, be more productive and win more deals.

View complex 3D designs and make informed design decisions easier by using VR and Modelo throughout the design process. Sign up today for a free forever account.

5 Creative Ways to Use 360º Panorama Images

360º panorama images elevate your collaboration processes and design presentations to the next level. Not sure how to integrate them into your workflow? We’ve outlined 5 creative ways to use 360º panorama images with Modelo.

Bring 360º panorama images into VR with the click of a button for an immersive experience

  1. For your client to better understand your vision for the project, it helps for them to understand the space the structure will occupy. Immersing them in the environment, especially if it is a nice area, provides a better user experience that will surely impress your client throughout the design process.
  2. Tracking your progress and understanding your design better is crucial. Further, adding a comment card with a new 360º panorama image every week of the same view of your project allows you and your client to understand the progress of the project without ever having to step foot in the design.
  3. When giving a presentation about an actual place, like Davis Square in Cambridge, MA as our CEO, Qi Su did, panoramas are complementary. While designs are great, an immersive 360º panorama gives better context of the designs for the viewer. Check out how easy it was for him by clicking here!
  4. Sometimes your design is not exactly where you want it to be yet and you need some inspiration for your design. By attaching a 360º panorama of an additional image in a comment, you can better communicate your vision with inspirational images to project stakeholders. 
  5. Last but certainly not least, now you can view 360º panorama images in virtual reality with the click of a button to truly create an immersive, realistic experience. Learn how to best utilize Google Cardboards to upgrade your design process.

Want to learn more about using panorama images to enhance your design process? Check out Modelo’s introduction to panorama and how to embed panorama images on your website.

4 Awesome Panorama Images of Boston Courtyards

For this post, we sent our intern, Ian, on a quest to take 360º panorama images of the nicest courtyards in the immediate Boston area. Here’s what he found!

The Boston Public Library
Built in 1848, the Boston Public Library is a gorgeous building with a beautiful courtyard. With pillars, a fountain and a statue of an angel, the courtyard is extravagant but also it is still tasteful. A wonderful place to enjoy a book and cup of coffee!

Isabella Gardner Museum
This indoor courtyard is different than the rest. With colorful flowers and multiple statues this courtyard is heavily decorated. Additionally, as you ascend up and around the museum, you can always look down on the beautiful courtyard from new heights. Relaxing, tranquil, a must visit!

The Prudential
The courtyard outside the Prudential is great for anyone looking to take a shopping break. It is an open and more urban courtyard. With a beautiful fountain and grassy area, you almost forget where you are. A great place to read a book, enjoy lunch or just get some sun.

Museum of Fine Arts
At the Museum of fine arts is a lovely courtyard. With chairs and tables it is a great place to relax after a long day of walking around the museum. Plenty of shade to relax! Pro Tip: go after 4 PM and you get into the museum for FREE!

Learn how you can start embedding panorama images just like these on your own website with Modelo. Sign up today for FREE!

Convert Rhino Files to VR with Modelo

Modelo is the easiest way for Rhino users to create and share VR experiences of their models, allowing for clients and colleagues to truly understand the design vision throughout the design process.

The transition from Rhino to VR will take place in a matter of 80 seconds. When logged into Modelo on your desktop, open the page for the Project you are working on and open the Folder in which you would like to upload the Rhino model. Click on the “Upload” button, which will pull up the “Upload Model” window. Simply drag and drop the Rhino file right into that window and click the orange “upload” button. The file will be processed into Modelo in a matter of seconds.

To view the model you have uploaded from Rhino in VR, open Modelo on your mobile device. Go into the project and folder where the model was uploaded.  You will see a circular orange “3D” icon in the bottom right of the model. Click this icon to bring up the 3D view of your model. When you bring up the 3D view, you will see a VR icon in the top right of your screen. Click that icon and turn your phone to landscape and you will be in VR. Put your phone into Google Cardboard and you will be immersed in your design. Not using Google Cardboard yet? Check out these 10 reasons why you should use Google Cardboard to view 3D CAD and BIM files.

Now that you have your Rhino model in VR, it’s time to create a VR walkthrough tour of your model and share your VR experience with clients and collaborators. To learn more, check out how to Create VR tours of your 3D model and Share your model with clients.

Introduction to Modelo Panorama Images

Since 2012 when the iPhone came out with their panorama feature, the Internet has been full of panorama images. Panorama images have enabled the casual photographer to capture a greater view in their images and create a better atmosphere and context for the image. Panorama images provide the viewer with a perspective that is more distinct than a normal photo image. It is a view that encompasses more of the actual view that one is capturing and stands out whether it be on a website, on social media or in a presentation.

Integrate 360 panorama images into your interactive 3D presentation with Modelo

Panorama images also can be created to provide a 360 experience. A 360 image is one that is a panorama of all 360 degrees, including the view of above and below. These images have been very helpful for architectural designers and those selling an experience. They also create an atmosphere that virtually places the viewer in the image. With panoramas and 360 images you can create a better user experience simply by inserting one of these images into a presentation or onto your website.

In Modelo’s lastest update, we have added panorama compatibility in our commenting and presentation capabilities. You can now add panorama images to comments to improve the viewing experience of your design by providing the viewer with a different perspective of your vision. Check out this article to see how easy it is to integrate a panorama image into your next Modelo design, with this blog written by our CEO, Qi Su. Not only are panoramas impressive but they are effective in improving the communication of your vision!

How to Embed Panorama Images on Your Website with Modelo

As Modelo continues to grow and develop, we continue to add more features to our newly released panorama function. In this post, we will focus on generating a “Panorama shareable link,” the same concept as the shareable link of a model, as well as embedding a panorama image on your website.

First let’s dive into generating a panorama shareable link. When you feel that your model or panorama image is ready to share, you can easily generate a link, then email or message it to other project collaborators. Learn how to generate panorama shareable links below:


Step 1: Go to your project’s assets folder where you uploaded your panorama images. (unsure how to upload a panorama? Check out this post)

Generate a shareable link for panorama images in Modelo


Step 2: Hover your mouse on one of the panorama images and you will see a share button

Generate a shareable link for panorama images in Modelo


Step 3: Click on that share button, you will then see the shareable link in the pop up window.

Generate a shareable link for panorama images in Modelo

Here is the link of this panorama image. I’ve been asked for a similar embed function for the panorama images. In fact, our team is implementing that into our coming release so stay tuned. As for now, there is an alternative solution. Here is how to do that step-by-step:

Step 1: Go to a model page, open the embed dialog, and then copy the embed code.

Generate a shareable link for panorama images in Modelo

Step 2: Now let’s take a deeper look at this embed code since it consists of several parts. The major concept of iframe is basically putting a mini web browser window within another website. As you can see from the following, the URL after the “iframe src=” is where this link is referring to. Now if we replace this link with the shareable link of our panorama, it will then show the panorama instead of the 3D model. In addition, there are several other parameters you can change, like the width (normally you want to put 100% so that it’s responsive to the device’s dimension), height, model’s name and author.

<div class='modelo-wrapper'>
  <iframe src="https://app.modelo.io/embedded/R5IcJGDNm5?viewport=false&autoplay=false" 
             width="640" 
             height="360" 
             frameborder="0"
             mozallowfullscreen webkitallowfullscreen allowfullscreen ></iframe> 
  <p style="font-size: 13px; font-weight: bold; margin: 10px 10px 10px 0; color: #666666;">
    Revit Sample Project_Webinar 
    <span style="font-weight: normal;">
      By
    </span> 
    Phoebe Zhang
    <a href="http://www.modelo.io?utm_source=embed&utm_medium=embedfooter&utm_campaign=model%20embed%20footer"
        target="_blank" 
        style="display: inline-block; 
               margin-left: 6px; 
               padding-left: 8px; 
               border-left: 1px solid #e2e2e2; 
               color: #e8776f; cursor: pointer; 
               text-decoration: none;">
      Modelo »
    </a> 
  </p> 
</div>


Step 3: Replace the embed URL to the panorama shareable link and adjust the other parameters. Below is the final look (try clicking and dragging your mouse on the below window), and most importantly have fun!

Rotate panorama and click on orange hotspots for a guided tour Modelo »


Integrate 360º Panorama Images into Modelo Interactive 3D Presentations

In this post, I will show you how to use our newly released panorama feature to showcase your 3D building design with camera captured 360º panorama images.

First, to capture 360º panorama images you will need a special camera. These are not the panorama images that you can capture with your smartphone, but spherical ones that can be wrapped into a sphere so you can freely look around. There are many options for equipment in the market, but the one we used is Ricoh Theta S.

It’s very easy to setup and quite intuitive to use. There is even an app with which you can shoot the images and view them directly on your phone in real-time.

I brought it to our office last Friday for some panorama shooting. I started off with couple images in our office, like this:

And I soon decided to capture some surroundings. Our office is in Davis Square, Somerville, located on top of Boston Sports Club, as you can see in this image:

I decided to take a walk outside and shoot several shots around our office, including my favorite Ramen place in Davis Square.

When all the shots were taken, I still needed to create a 3D environment of our office. I then took a Google Maps screenshot and the office floor plan from our lease agreement and inserted them into Rhino.

With some quick modeling based on the above two images, I created our office room #300 in Rhino.

I downloaded the chairs and tables from Herman Miller’s website. They have all of their furniture in different 3D formats.

With the model and panorama images ready, I then went to Modelo and uploaded everything. The new panorama upload is a bit different from uploading other things in Modelo, like assets or models. Below is a step-by-step tutorial.

Step1 : go to your assets section and create a folder. 

Step 2: click “Upload panorama” button

Step 3: choose “Upload spherical map” in this case and make sure you have the right folder selected.

Step 4: select the file you want to upload and click Upload.

After successfully uploading these panorama images, you should be able to see them like the below screenshot. The thumbnails of panorama images have a special icon in the top right corner.

Now when you click on the panorama images, you can view them in full 360 degrees.

After I uploaded all of the images to Modelo, I went back to the 3D page and created 3D comment cards that reflect the locations of where I shot the panorama images.

The last step: attach panoramas to 3D comment cards.

All done! Below is the final result in 3D. Click on the comment button and then click on the attachment to view the panorama. You can turn on the present mode in the 3D page so that you can turn panorama on and off and jump from card to card more freely. Note, we will have the present mode ready for shareable links in our next release.

Modelo office #300 By Qi Su Modelo »

This concludes the brief tutorial of how to integrate panoramas into Modelo’s 3D presentation, feel free to try it yourself. In the next Modelo tutorial, we will show you how to render cubic maps and combine them into presentations.