
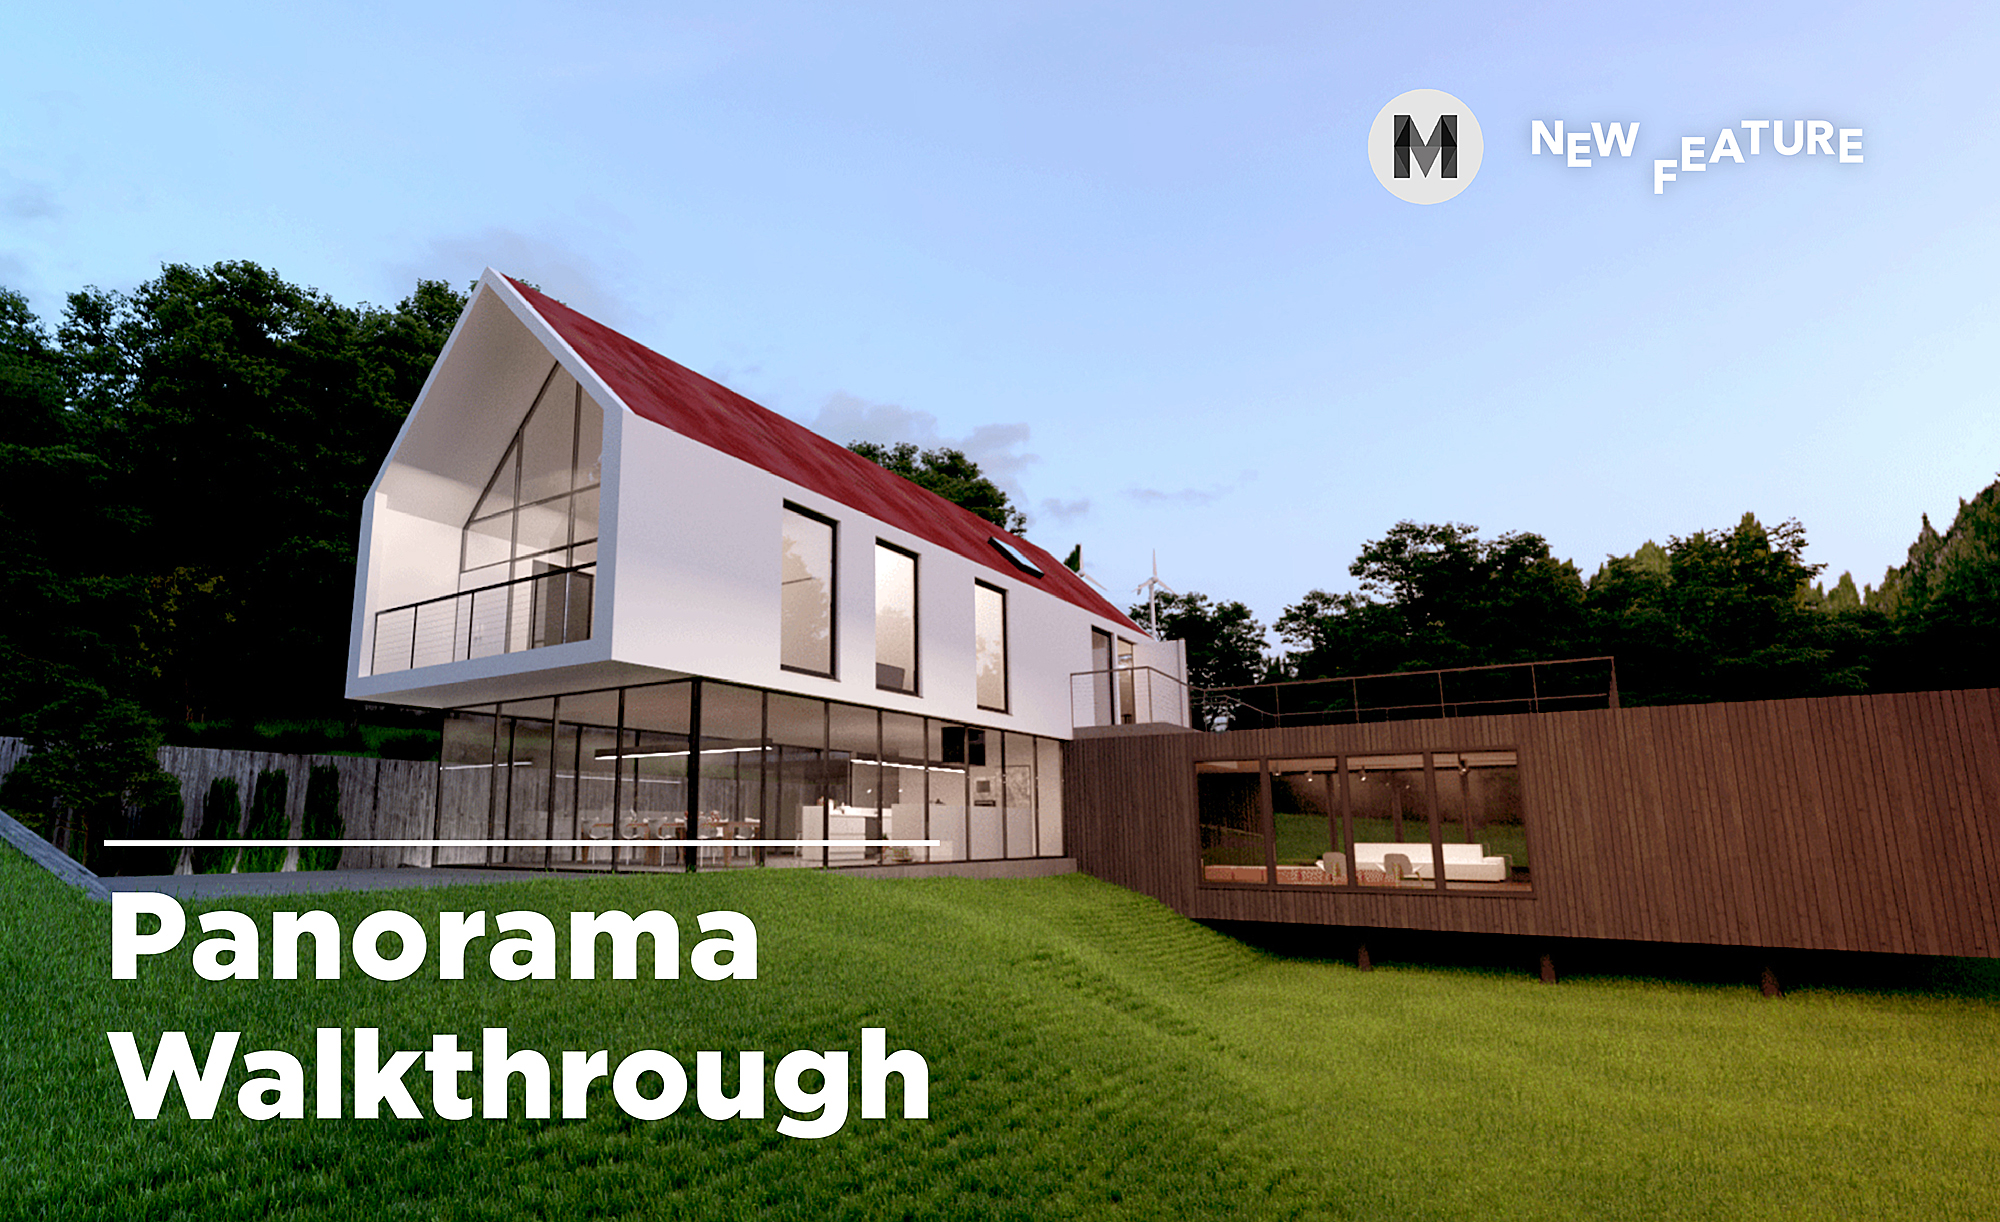
In this post, I will show you how to use our newly released panorama feature to showcase your 3D building design with camera captured 360º panorama images.
First, to capture 360º panorama images you will need a special camera. These are not the panorama images that you can capture with your smartphone, but spherical ones that can be wrapped into a sphere so you can freely look around. There are many options for equipment in the market, but the one we used is Ricoh Theta S.
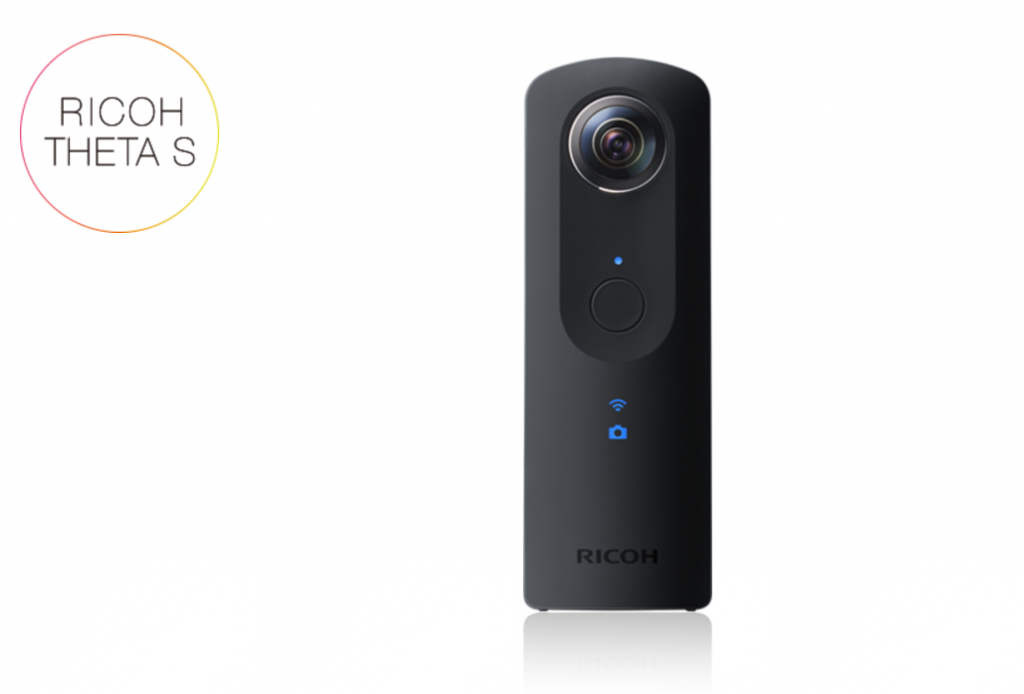
It’s very easy to setup and quite intuitive to use. There is even an app with which you can shoot the images and view them directly on your phone in real-time.
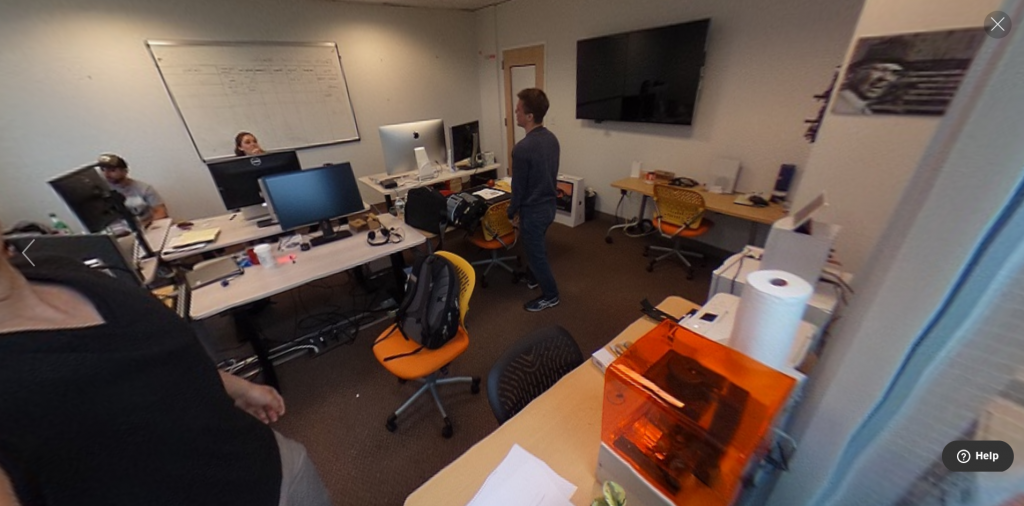
I brought it to our office last Friday for some panorama shooting. I started off with couple images in our office, like this:
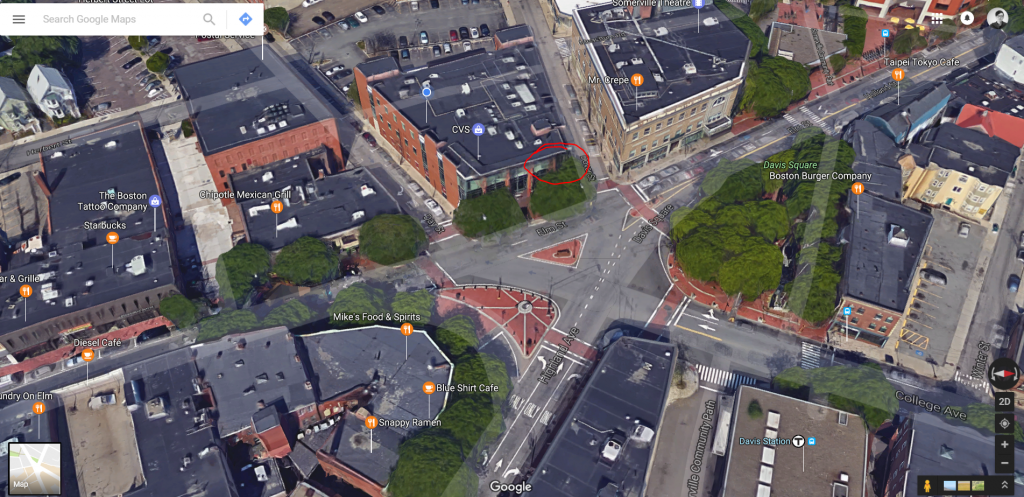
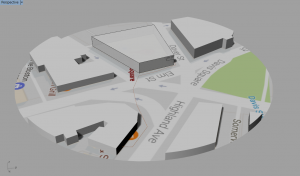
And I soon decided to capture some surroundings. Our office is in Davis Square, Somerville, located on top of Boston Sports Club, as you can see in this image:
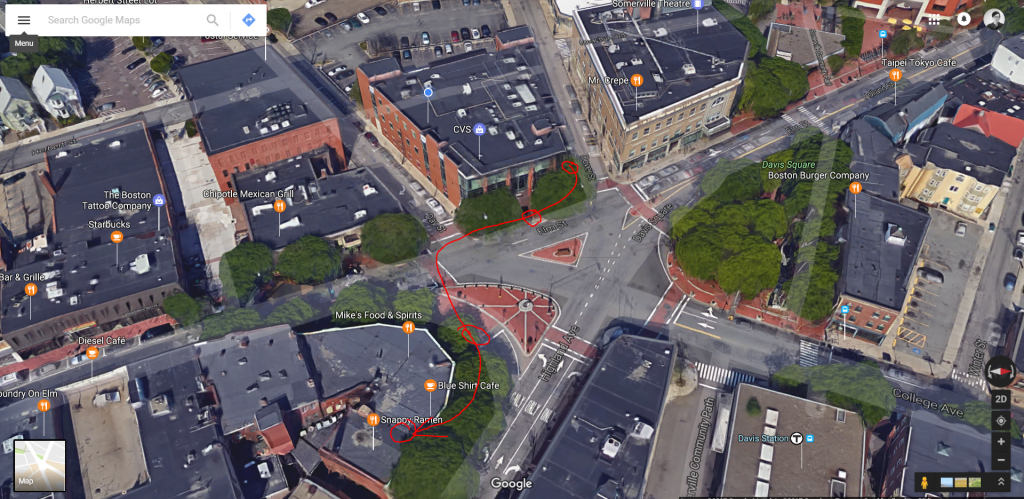
I decided to take a walk outside and shoot several shots around our office, including my favorite Ramen place in Davis Square.
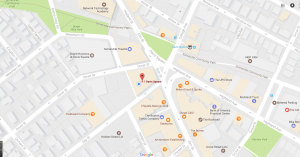
When all the shots were taken, I still needed to create a 3D environment of our office. I then took a Google Maps screenshot and the office floor plan from our lease agreement and inserted them into Rhino.
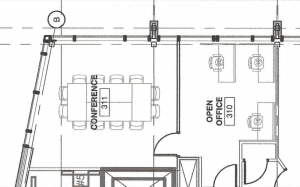
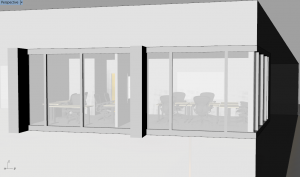
With some quick modeling based on the above two images, I created our office room #300 in Rhino.
I downloaded the chairs and tables from Herman Miller’s website. They have all of their furniture in different 3D formats.
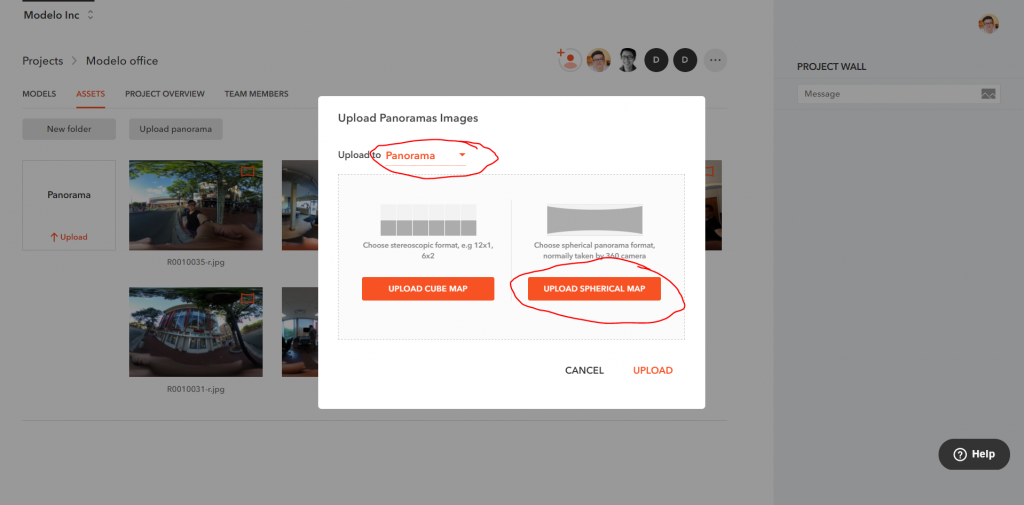
With the model and panorama images ready, I then went to Modelo and uploaded everything. The new panorama upload is a bit different from uploading other things in Modelo, like assets or models. Below is a step-by-step tutorial.
Step1 : go to your assets section and create a folder. 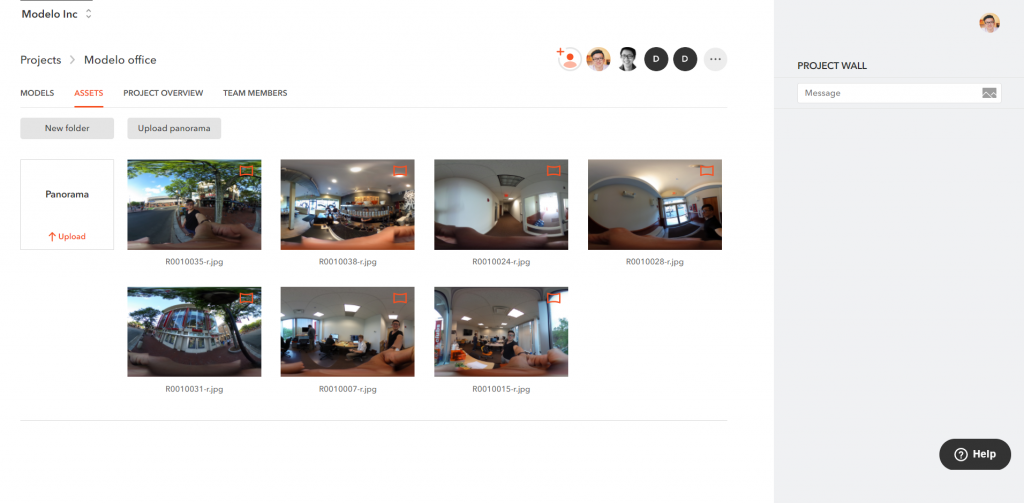
Step 2: click “Upload panorama” button
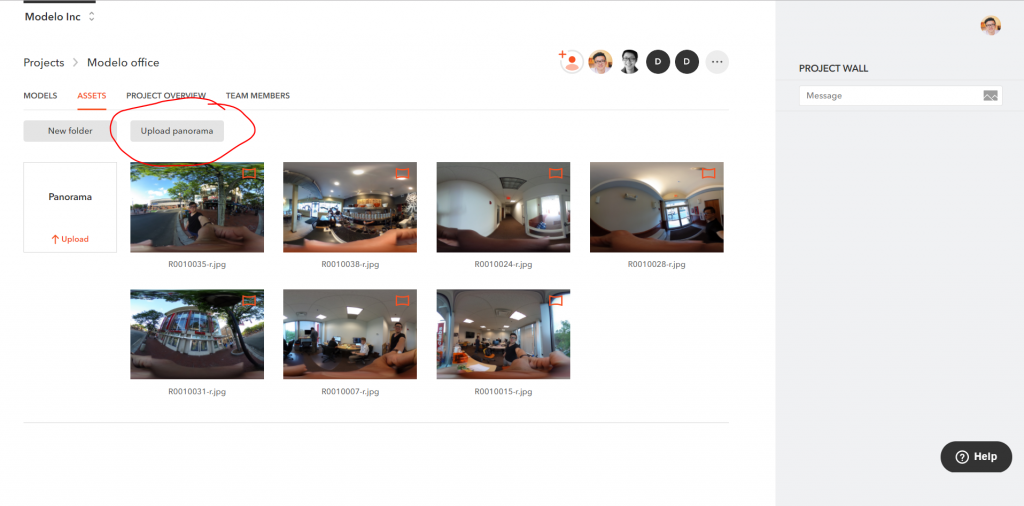
Step 3: choose “Upload spherical map” in this case and make sure you have the right folder selected.
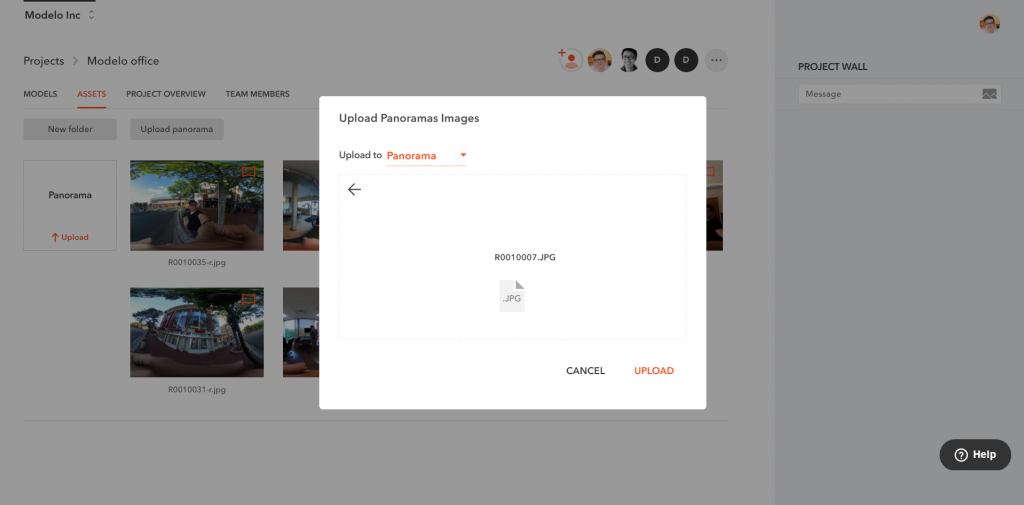
Step 4: select the file you want to upload and click Upload.
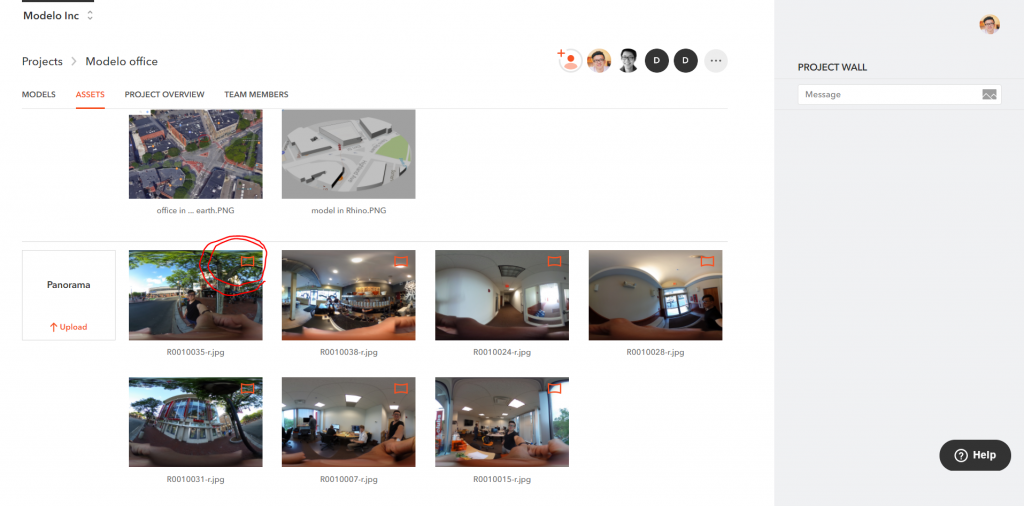
After successfully uploading these panorama images, you should be able to see them like the below screenshot. The thumbnails of panorama images have a special icon in the top right corner.
Now when you click on the panorama images, you can view them in full 360 degrees.
After I uploaded all of the images to Modelo, I went back to the 3D page and created 3D comment cards that reflect the locations of where I shot the panorama images.
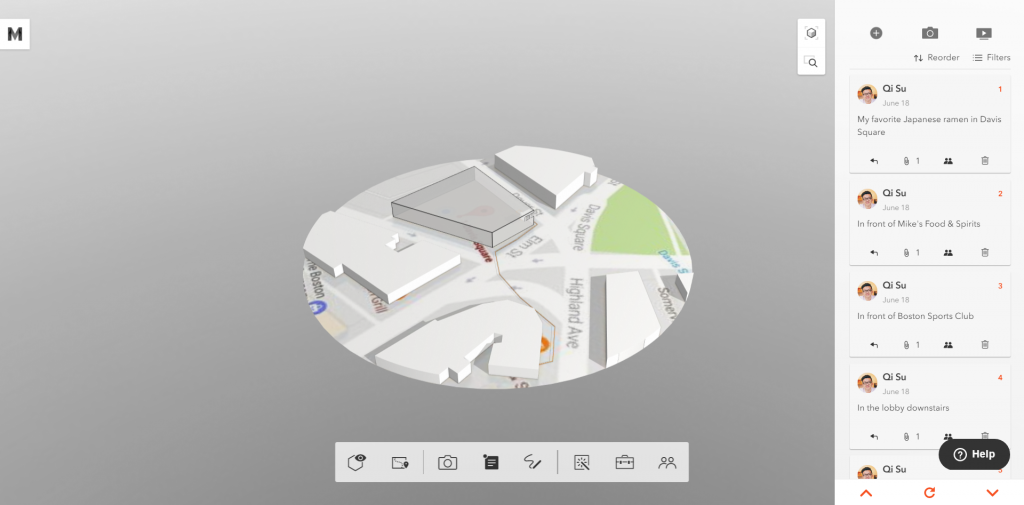
The last step: attach panoramas to 3D comment cards.

All done! Below is the final result in 3D. Click on the comment button and then click on the attachment to view the panorama. You can turn on the present mode in the 3D page so that you can turn panorama on and off and jump from card to card more freely. Note, we will have the present mode ready for shareable links in our next release.
Modelo office #300 By Qi Su Modelo »
This concludes the brief tutorial of how to integrate panoramas into Modelo’s 3D presentation, feel free to try it yourself. In the next Modelo tutorial, we will show you how to render cubic maps and combine them into presentations.