Embedding Sketchup Models into your website with Modelo.

Looking for a stable and easy method of embedding Sketchup models into websites? Use Modelo! Modelo is the leading platform to publish, share, and integrate 3D content anywhere on the webs.

Embed 3D models to your website

Register for a Free Modelo Account

1. View your Model in Modelo

Drag and upload your Sketchup models on Modelo. Once you upload your model, navigate to the 3D view page, which looks like the screenshot above.

2. Click the Share icon and select “Embed”

Click the share icon at the far right of the toolbar and select the “Embed” option. This will open an Embed Options popup, which provides you with your html code for the iframe.

3. Choose your Embed options


Modelo provides many display options in the embedding window. They can help you display models perfectly in different situations. Please read “Modelo Embedding Option” for more details.

4. Copy and Paste your Embed iframe html

With your Embed settings selected from Step 3 copy the iframe text (which will change slightly based on your preferred settings). Switch to the page in your blog or website in which you want to embed, select the embed option and paste!

Keep in mind: You will probably need to play around with the settings a bit and explore the embed support options within your own publishing platform.

Register for a Free Modelo Account


Modelo Compatibility Functionality Update in November

As a well-known 3D platform, Modelo is committed to improving compatibility and supporting more 3D model formats. Today, I’m excited to announce the major improvements that users can upload the 3ds Max and Revit 2021 models to Modelo. You can view 3ds Max online now!

Modelo Supports 3ds Max Format Now! 

Since releasing, 3ds Max has won the favor of a large number of architects with its excellent modeling and rendering capabilities. Now you can view your 3ds Max models online anywhere via Modelo. Just drag and drop 3ds Max models to Modelo directly. The models and textures in your max file will be perfectly displayed online.


Revit 2021 Plugin is Ready!  

Modelo released the latest Revit plugin which supports Revit 2021. We have also improved the stability and upload speed of the plugin.

Minor Update

  • Modelo toolbox measure function adds the millimeter(mm) dimension.
  • Hyperlinks in Modelo comments become clickable 

Bugs

  • Fix flip error issues for obj models
  • Fix the background name mismatch issue in KooRender
  • Fix the background lost issue in the Modelo offline executable file 

Ten City 3D Models Up For Grabs

Good News. In order to thank you for the continued support, we provide a thanksgiving gift – free city models for all Modelo users. The first batch of city models will include ten American cities and we will continually add new models regularly.

These free design materials are located in Modelo recent releasing notes and under the link:  A thanksgiving gift from Modelo: Click to get city models. 


If you miss the releasing note on the main page, don’t worry. You can also find the link in our “What’s new” tab. 


New Modelo users which signed up after 11/12/2020 can also access these models.  Introduce Modelo to your family, friends, and colleague now. They will also have a chance to travel to these beautiful cities at home. Please see the New York city model on Modelo!

Bring me to Modelo!

http://www.modelo.io

How to Combine Models in Modelo

Combining models is always a complex and time-consuming task, especially for different types of models. However, Modelo’s model combination solution – BUILD makes this job much easier. Now it takes only 3 steps to combine different types of models.

What is BUILD?

Modelo BUILD is an Application Program Interface (API) with a friendly Graphical User Interface (GUI).  It provides a platform that helps users to develop Modelo’s customized requirements. In Build, we have released plenty of fascinating special features, and the model combination is one of them. 

Step 1: Upload the models to BUILD

Upload the models that should be combined to BUILD. BUILD supports all mainstream 3D model types, including rvt, 3dm, skp, fbx, and so on.


Step 2:  Calibrate Combination

Click “Combine models”, select the models you want to combine in the pop-up box and name the combined file. Then click ‘Calibration’.  On the calibration page, you can move and rotate the models to the proper places. After adjusting the position, click “Combine models” to complete combination work.

Step 3: Upload the Combined Model to Modelo

With the upload token generated from Modelo DAM, you can upload the combined model to Modelo and browse the model with the best visualization effect. Don’t forget to share these combined models with others!

Right now, this fascinating feature is only available to Modelo Business users. To learn more, visit our website or contact us directly.

Request a Trial

5 AEC SOFTWARE THAT WORKS DURING COVID-19

In light of the COVID-19 pandemic and the subsequent work from home policies that companies around the globe were quick to enforce, many members of the AEC industry have found themselves adapting to the use of remote software — an unpredictable shift that will be the new reality for the foreseeable future. This blog will introduce 5 AEC software that works during Covid-19.

1.BIM 360

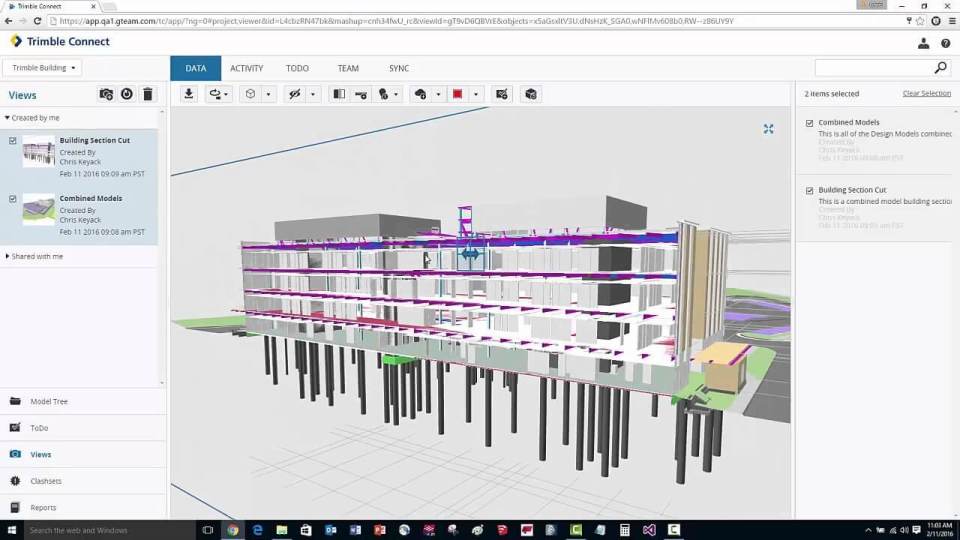
BIM 360 is a unified platform connecting project teams and data in real-time, supporting informed decision-making, and leading to more predictable and profitable outcomes. It offers the right tools for building project management, construction site management, and facility management. BIM 360 connects all project stakeholders to execute projects from conceptual design through construction and ultimately project turnover. As a single connected platform that brings data together in a common data environment, BIM 360 delivers the distinct advantage of being able to minimize the integration limitations of previous-generation software that often worked on disparate platforms, which enables project delivery and management across the building lifecycle.

Compared with other collaboration software, the biggest advantage of BIM360 is the real-time synchronization with Autodesk software such as Revit, CAD, and so on. For these users, BIM 360 is one of the best collaboration platforms now.

2. Naviswork

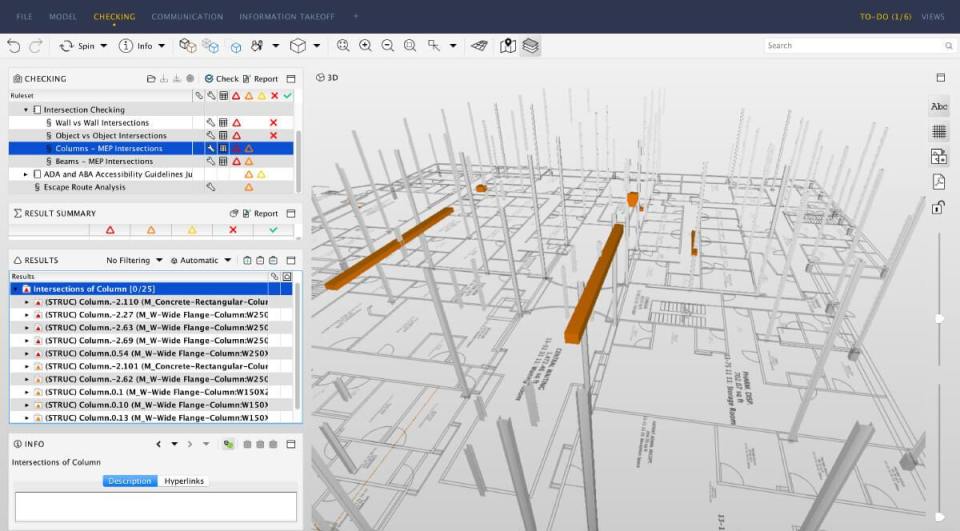
Naviswork is a BIM validation/checking software that is used primarily in construction industries to complement 3D design packages. It has 3 versions: Freedom, Simulate and Manage, which includes 5 main functions: design review, clash detection, construction simulation, quantification, and rendering. Clash detection is the most popular one.

Clash Detective enables users to implement interference detection. This means users can select parts of the model and look for places where the geometry conflicts. This is for finding faults in the design and leads to construction that is more precise and more efficient in terms of sustainability since waste and design errors can be minimized. It makes remoting design possible. This feature is available for Autodesk Navisworks Manage users only.

3. BIMobject

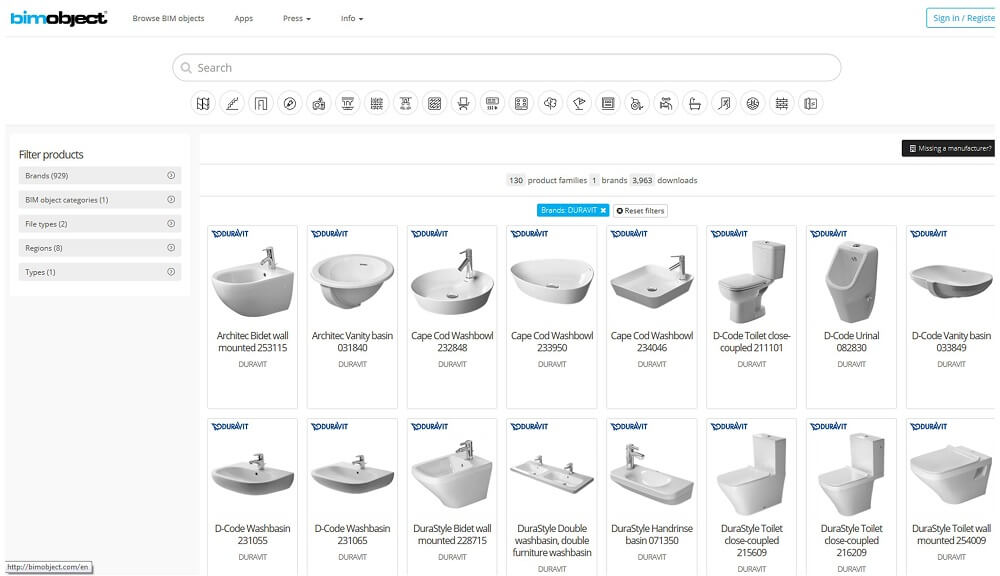
BIMobject provides a free BIM content platform to search for thousands of BIM objects. These objects can describe the parts of buildings in detail, and can also be integrated into digital models that can be used throughout the design and construction processes.

BIMobject is welcomed by manufacturers who want to show their products to designers during this special period. These product models can easily be integrated into the drawing and design software commonly used by construction companies, architects, and designers and tend to have a higher chance of being the final product that is purchased and used in the actual building.

4. Vico Office

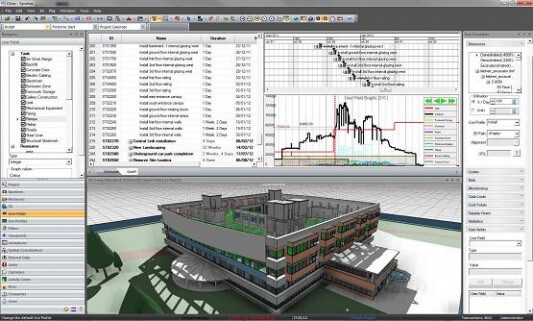
Vico Office is a star product of Trimble, which is a company with rich experience in the field of construction software. It can connect your 3D models (e.g. from Revit and IFC) to your finances (5D) and your schedule (4D). The combination of the three modules within the Vico Office suite allows the planner to plan/review/implement their schedule within a seamless workflow. During the COVID-19 pandemic, Vico Office is truly a software that combines designers and non-designers, such as financial staff, scheduler, and so on.

5. Modelo

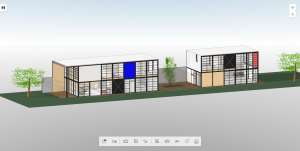
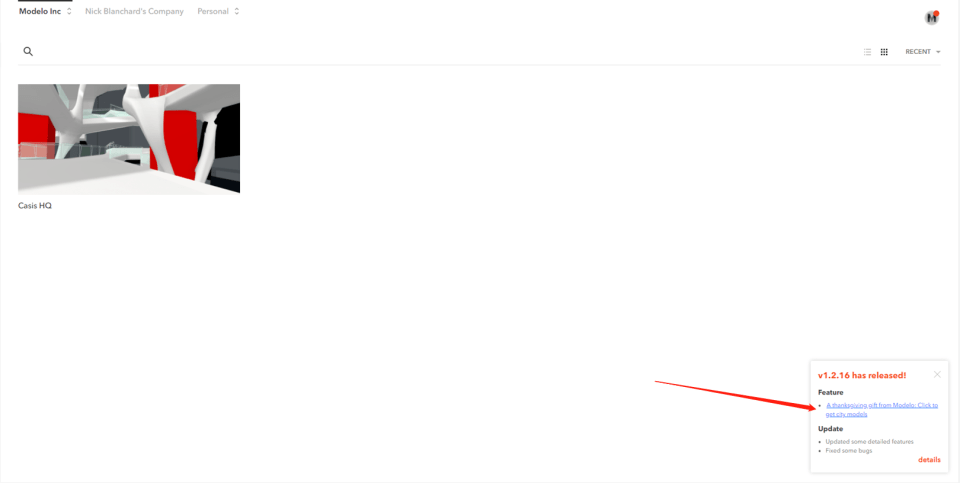
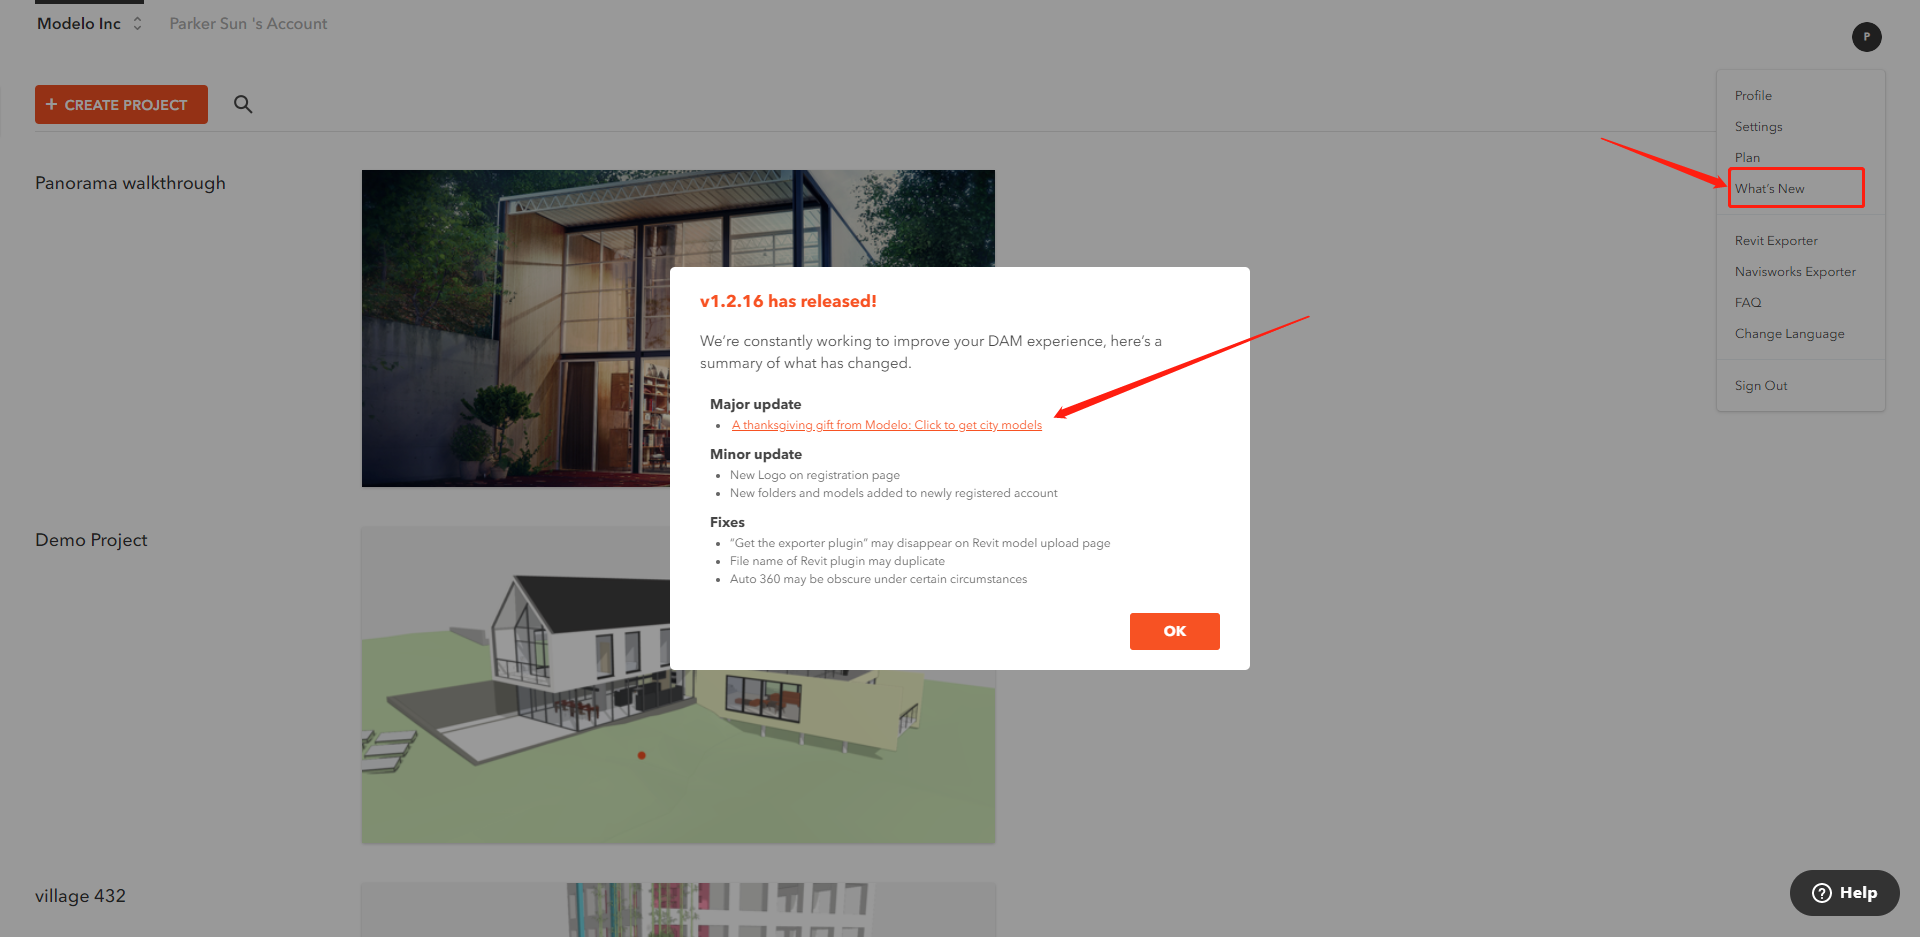
Modelo provides a design asset management to help professionals who work with CAD software, including Revit, Rhino, and SketchUp, more intuitively collaborate with team members to perfect their designs and interactively present them. During the COVID epidemic, Modelo provides the safest and easiest method for AEC project delivery.

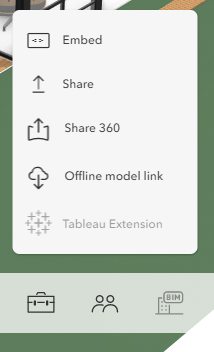
Modelo can solve the following 4 delivery difficulties via the Modelo Auto 360 Tour feature.

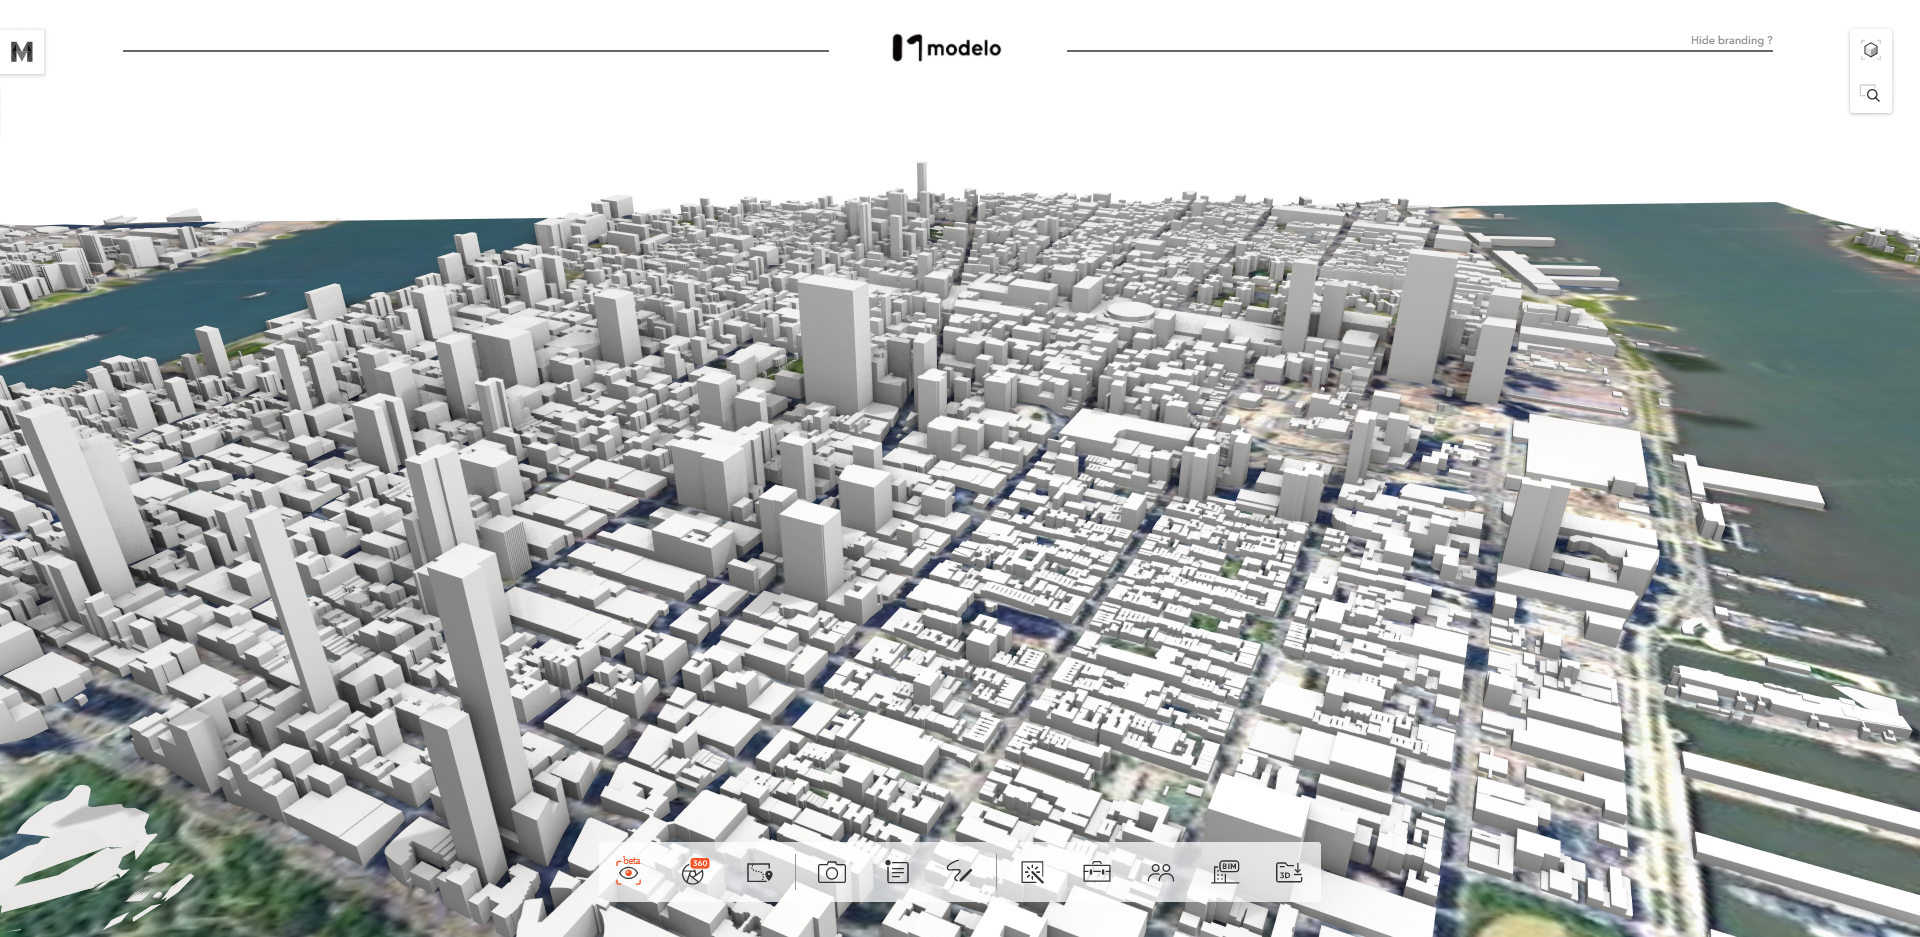
  • Information security: Architects always concern that model information may be leaked or lost in model delivery. Instead of sharing a model, sharing the 360 panorama tour not only guarantees information security but also gives clients a stronger sense of immersion.
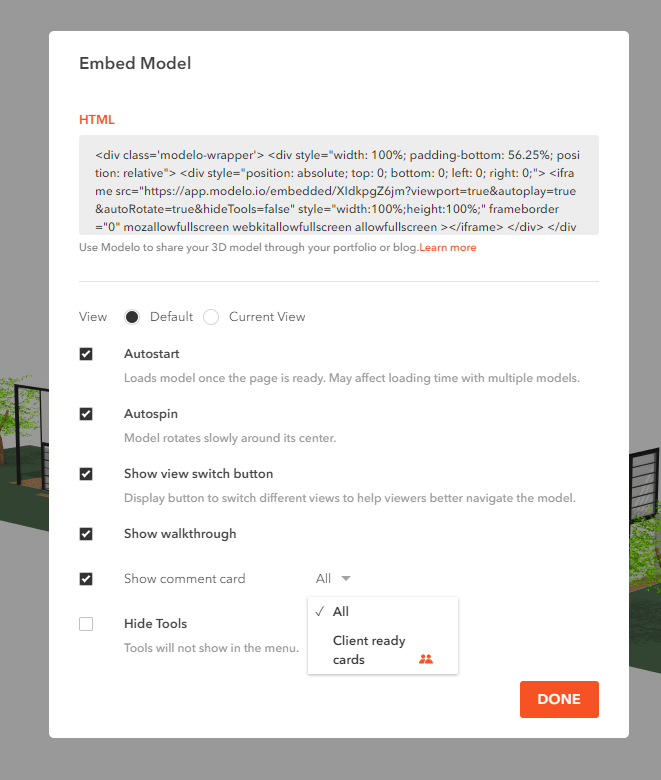
  • Model display degree: Architects are usually asked to show their works when the models are not completed. So they urgently need a method to restrict the client’s view of shared models. Modelo can help you do that. You can render a 360 panorama at a fixed angle of the model and share it with clients while hiding the unfinished parts.
  • Platform compatibility: Loading the panorama images is much faster and easier than opening the same model. All the devices can easily show your excellent work.
  • Operational issues: Modelo automatically connects all panorama images and the clients only need to follow the arrow to enjoy your tour. So you don’t need to worry about operational issues.

Modelo – The fastest and easiest way to deliver your model to the client without your creation being stolen

During architectural design, how to best showcase their work to clients has always been a tough issue for architects. Traditional 2D drawings and renderings can no longer meet the clients’ needs. That gives rise to the need for architects to display 3D models at the early stage of design so that the clients can better follow up and control the overall project. And for those clients who have backgrounds in the architectural industry, they would naturally put forward more requirements, even ask to have the BIM models. But now Modelo can help you solve this issue. This article will discuss the designers’ frustrations when asked to deliver a model and explain why Modelo is the fastest and easiest way to deliver your model.

Frustrations when asked to deliver a model

  • Information security: At present, most architects use Revit, Sketchup, and other modeling software to make models. In the process of the model, file delivery, information security becomes a crucial issue. Architects often encounter information leakage problems. What’s more, some unethical clients will take the model files as their own after obtaining them, or in other words, stole the work, which every architect hates.
  • Model completion issue: When referring to seeing a model, clients may usually expect the complete building model. But considering the competitive pressure and time cost of the architectural industry, it is almost impossible for architects to show the model to clients only after the model is fully completed. Therefore, architects urgently need a way to show the best side of a model to clients and hide other parts that can be improved in the future.
  • Platform compatibility problem: With the refinement of the architectural model and the continuous update of the modeling software, a complete architectural model can easily be hundreds of MB or even a few GB. Such a model also requires the architect and clients’ computers to have above-average hardware to process. Many architects often meet the dilemma that their models cannot be opened on clients’ computers.
  • Operational issues: Although clients would like to watch models, most of them may have no experience in operating professional model software. Therefore, even if clients get a complete building model, the high learning cost will cause them to fail to fully understand the models’ value and architects’ work.

Modelo is here to help you deliver

Modelo was founded to help professionals who work with CAD software, including Revit, Rhino, and SketchUp, more intuitively collaborate with team members to perfect their designs and interactively present them. The powerful display function of Modelo solves the pain points of the above-mentioned architects one by one. Show the architect’s model to clients in the fastest and safest way. Here is what Modelo could help you.

  • Modelo supports all the mainstream model formats in the ACE industry, such as rvt, skp, 3dm, etc., and converts the model to a proprietary format. Clients can only view the models but cannot download them, which guarantees the model information security. You can even use the Auto 360 function to render the model into a 360 panorama tour, which not only guarantees information security but also gives clients a stronger sense of immersion when watching the model.
  • Aiming at the problem of model completion, Modelo creatively invented the “Client Ready” function. It can be set to show only part of the model to clients and hide the unfinished parts. You can also render a 360 panorama at a fixed angle of the model and share it with clients in one click.
  • Modelo is a browser-based model platform. Clients can view the model without installing any software. In addition, Modelo is currently the fastest 3D model conversion and rendering engine on the market and can increase the clarity of the model when needed. It has been tested that the loading and rendering speed of Revit models on Modelo is 10 times faster than BIM360. The Modelo rendering frame is 56-60FPS, while the BIM360 only has 4-28FPS.
  • The Modelo operation is extremely simple, which the model can be operated by simply dragging the mouse. Architects can also use Modelo to make multimedia PowerPoint and attach audio, video, picture and other files. Through the sharing function, Modelo reduces the clients’ learning cost to see the model significantly.

Case study: world-renowned architecture firms are really using Modelo

Woods Bagot is an internationally renowned architectural firm that originated with a history of 138 years in Australia, and its design works have spread all over the world. According to the 2017 ranking of the top 100 construction companies in the world given by the architectural design magazine “Building Design”, Woods Bagot ranked seventh in the world. Not only that, Woods Bagot has been ranked among the world’s top 10 companies for three consecutive years and firmly holds the position of Australia’s largest architectural design company.

As an architectural firm with extensive project experience, Woods Bagot has also experienced the many pain points of showing the model to clients. For example, in the Angel Hospital project, Woods Bagot encountered almost all the above-mentioned pain points: due to the project model is too large and the model is too duplicated, it is difficult for clients to open the model through professional software in their computers. Even after a successful opening, it is difficult to understand the value of the model in a short time because the client does not have the model operation skills. In addition, Woods Bagot, as an internationally renowned architectural firm, has high requirements for project information security. Therefore, Woods Bagot urgently needs an innovative model display software that can solve all pain points. After comparing and screening nearly a thousand software on the market, Modelo was recognized by Woods Bagot for its stable, outstanding, and innovative characteristics and became its main model display tool in the future. In addition, Woods Bagot is very keen to use the Modelo Auto 360 feature, and praised it as “an impressive creative invention in the field of model display.” Woods Bagot used Modelo to perfectly realize the fastest and safest way to show the model to Clients.

In the project display phase, Woods Bagot often uses the Modelo “Client Ready” feature to show the finished parts of the model to clients. This not only ensures the security of model information but also meets the client’s needs for viewing the models. In addition, the lightweight feature of Modelo allows the clients to easily open the model shared by Woods Bagot. Modelo’s simple operation method also greatly reduces the learning cost for the client. Woods Bagot also often renders the finished part of the model into a 360 panorama at a specific angle and then shares the panorama to others, which further reduces the difficulty for the client to view the model.

Rhino to 360 VR Tour in One Click

Modelo is the easiest way for Rhino users to create and share VR experiences of their models. By using Modelo’s new auto 360 tour feature, you can effortlessly create 360 VR tours in one click, allowing for clients and colleagues to truly understand the design vision throughout the design process.

Step 1. Import your model into Modelo

Drag your Rhino models into Modelo. All the views in your model will automatically transfer to Modelo Comments. If you need more views, just create one more comment in Modelo!

Step 2. Start Rendering

Click “Rendering 360” icon on the left of the Modelo toolbar. You jump to the panorama page. Then click the “Start Rendering” on the top right of the page. Modelo will start to render your views into HD panorama images. Later, these images will be connected in the correct order automatically.

Now your 360 VR tour is ready. Isn’t it easy? Try it now! 

Revit to 360 VR Tour in One Click

Revit has become an essential software in every stage of design because of all of its powerful tools. But users often have painful experience in rendering time-consuming and complex VR tours in Revit. Today we will talk about how with Modelo you can create 360 VR tours from Revit files in one click and have your clients viewing models in VR without any training or fancy hardware needed.

Steps to convert Revit files to VR:

Step 1: Go to www.modelo.io to create a free account and to download the Revit exporter that can be found in the top right corner of your home page when logging into Modelo. If you don’t know how to do that, please watch this video.

Step 2:  Open up your model in Revit, copy and paste your token from Modelo to upload it into the correct project and folder. Make sure to select the view you want to upload with. These views will convert to Modelo Comment Cards automatically. If you need more views, just click one more comment in Modelo.

Step 3: After your comment cards are ready, click “Rendering 360” icon on the left of the Modelo toolbar. You will jump to the panorama page. Then click the “Start Rendering” on the top right of the page. Modelo will start to render your views into HD panorama images. Later, these images will be connected in the correct order automatically.


Now that you have your Revit model in 360 VR tour, it’s time to share your 360 VR tour with clients and collaborators. Besides, you can turn everything into a PC compatible executable file.

3D Max to 360 VR Tour in One Click

Modelo is the easiest way for 3D Max users to create and share 360 VR tours of their models, allowing for clients and colleagues to truly understand the design vision throughout the design process. All you need to do are uploading your 3D Max models and creating 360 VR tours in one click.

Drag your 3D Max models into Modelo. All the views in your model will automatically transfer to Modelo Comments. If you need more views, just create one more comment in Modelo!

Modelo will transfer your 3D Max views to Modelo comment cards automatically. If you need more views, don’t worry, just simply create a new comment card.

After your comment cards are ready, click “Rendering 360” icon on the left of the Modelo toolbar. You will jump to the panorama page. Then click the “Start Rendering” on the top right of the page. Modelo will start to render your views into HD panorama images. Later, these images will be connected in the correct order automatically.

Now that you have your 3D Max model in 360 VR tour, it’s time to share your 360 VR tour with clients and collaborators. To learn more, check out how to and Share your VR tours with clients.

SketchUp to 360 VR Tour in One Click

Creating your 360 VR tour from your SketchUp models has never been easier. By using Modelo’s new auto 360 tour feature, you can effortlessly create 360 VR tour in one click. It is faster and easier than anything available on the market by following these simple steps:

Step 1. Import your model into Modelo

Drag your SketchUp models into Modelo. All the views in your model will automatically transfer to Modelo Comments. If you need more views, just create one more comment in Modelo!

Step 2. Start Rendering

Click “Rendering 360” icon on the left of the Modelo toolbar. You jump to the panorama page. Then click the “Start Rendering” on the top right of the page. Modelo will start to render your views into HD panorama images. Later, these images will be connected in the correct order automatically.

Now your 360 VR tour is ready. Isn’t it easy? Try it now!