Convert Vectorworks files to VR with Modelo in seconds. Below we’ve outlined the steps you need to follow for both MAC and PC systems:
For Mac users:
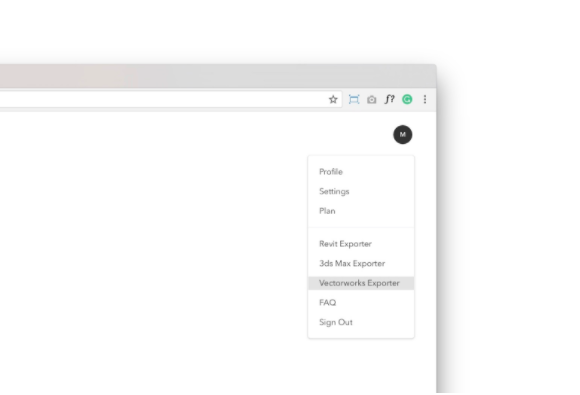
First, download the required installation zip folders from either the Vectorworks Partner Products Page, or from within your Modelo user interface by clicking on your avatar.
Unzip it and open the folder called “Export to Modelo.” Within this folder you will see:
Step 1:
With Vectorworks closed, find the folder where you installed your Vectorworks application, in our case, it’s a folder named Vectorworks 2016. Open it and then open the folder Plug-ins. Then move the “Export to Modelo.vsm” and “ExportVGX.vwlibrary” files into this folder.
Step 2:
Now go back to applications, open the Vectorworks installation folder (the first folder you opened in step 1) again, and right click on the actual executable Vectorworks app (the icon which you click to open the application), and select “Show package contents.” Then follow this path: Frameworks/Python.framework/Versions/3.3/lib/python3.3/. You want to copy & paste the entire requests folder here.
Step 3:
Now, open up your Vectorworks application. Go to the Tools menu and select Workspaces. Select Edit Current Workspace.
On the right side, expand File and then scroll down and expand Export.
From the Commands List expand All Menus scroll down to the Export section of the list and then drag and drop Export to Modelo over to the Menus list on the right and drop it in Export, which you expanded a couple moments ago. Hit OK.
Now you’re officially done with all the installation steps.
Go back and open a model you want to export from Vectorworks to Modelo. Click File, Export and then you can select Export to Modelo from the list.
When you choose to export, you will be prompted to paste in a token to set the destination of your exported file in Modelo. At this point we’re assuming you’ve already signed up for Modelo.
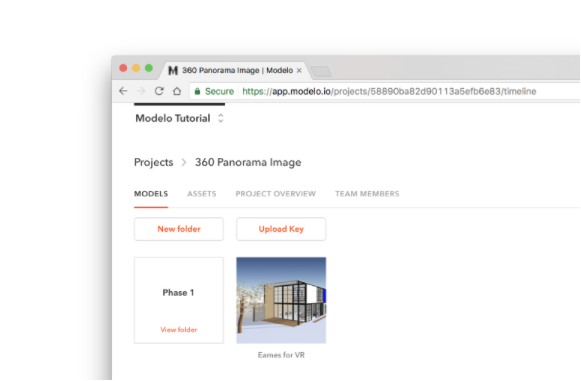
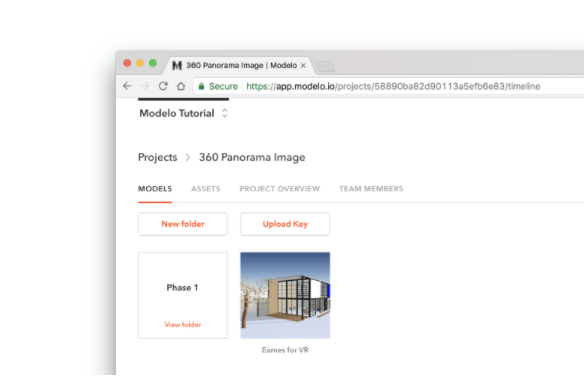
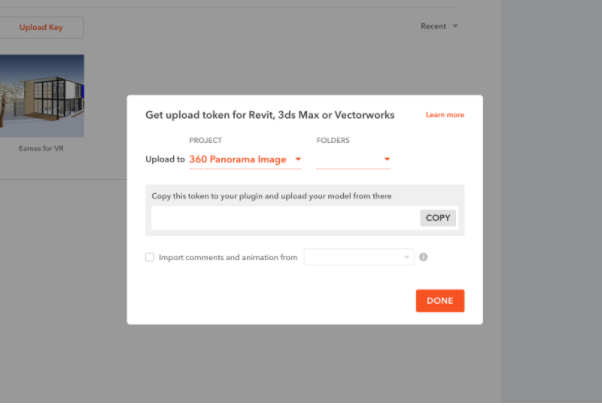
Log into your Modelo account in the browser, go to the project where you want to upload your model to, click the upload key. This is going to prompt us to select our Project and folder that we want to import our Vectorworks file to.
With those selected, Modelo generates a token. Paste the token into Vectorworks and click OK. In only a few moments you will see a model begin uploading in the folder you selected!

And there you have it, your Vectorworks file imported to Modelo for Mac.
For PC users:
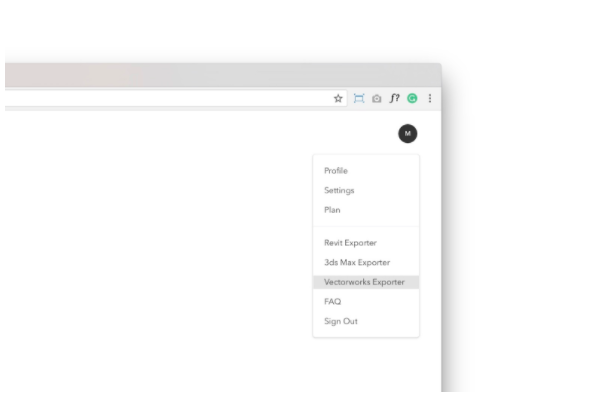
First, again download the required installation zip folders from either the Vectorworks Partner Products Page, or from within your Modelo user interface by clicking on your avatar.
Open the zip you just downloaded, look for the folder named “Vectorworks_Plug-in_PC”, and open that folder, then you will find two other zips are included:
You’re going to want to unzip both of these folders and place files within into specific Vectorworks application folders.
Step 1:
With Vectorworks closed, find the folder where you installed your Vectorworks application, in our case, it’s a folder named Vectorworks 2016. Open it and then open the folder Plug-ins.
Now open the Export to Modelo folder you just downloaded and unzipped and copy the three files within:
Paste these three files into the Plug-ins folder.
Step 2:
Now return to the Vectorworks 2016 folder and from there open the Python33 folder. Then from within Python33, open the Lib folder (not to be confused with the libs folder).
Within Lib, open the site-packages folder. This is where you’re going to paste the requests folder you downloaded.
Step 3:
Open up your Vectorworks application. Go to the Tools menu and select Workspaces. Select Edit Current Workspace.
On the right side, expand File and then scroll down and expand Export.
From the Commands List expand All Menus scroll down to the Export section of the list and then drag and drop Export to Modelo over to the Menus list on the right and drop it in Export, which you expanded a couple moments ago. Hit OK.
Now you’re officially done with all the installation steps for PC.
Go back and open a model you want to export from Vectorworks to Modelo. Click File, Export and then you can select Export to Modelo from the list.
When you choose to export you will be prompted to paste in a token to set the destination of your exported file in Modelo. At this point we’re assuming you’ve already signed up for Modelo.
Log into your Modelo account in the browser, go to the project where you want to upload your model to, click the upload key. This is going to prompt us to select our Project and folder that we want to import our Vectorworks file to. With those selected, Modelo generates a token. Paste the token into Vectorworks and click ok and in a few moments you will see a model begin uploading in the folder you selected!
And there you have it, your Vectorworks file imported to Modelo for PC.
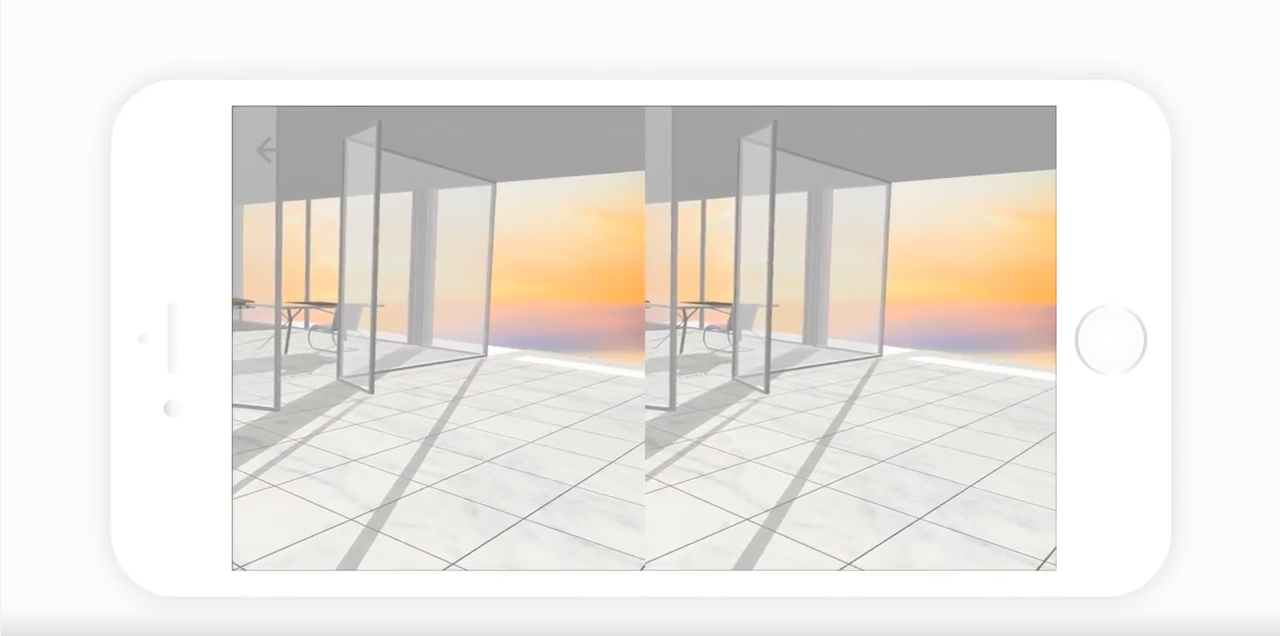
Once you’ve converted your Vectorworks file to Modelo, it’s time to view in VR. Follow this easy step-by-step guide to learn how to create VR tours of your 3D models to then view in Google Cardboard. Plus check out the VR requirements for Modelo.
Start converting your Vectorworks files to VR with Modelo today!